Jun 15, 2024
Masterful Tile Installation: Expert Tips for Precision Placement
Brief History of Tile Usage in Construction
Tiles have been used in construction for centuries, with evidence dating back to ancient civilizations like the Egyptians and Romans. These early civilizations recognized the durability and beauty of tiles, using them to adorn their palaces, temples, and public buildings.
The art of tile-making has evolved over time, with advancements in technology allowing for a wide variety of shapes, colors, and patterns. Today, tiles are a staple in interior design, adding a touch of elegance and sophistication to any space.
Importance of Proper Tile Installation
Proper tile installation is crucial for ensuring the longevity and functionality of your tiled surfaces. When tiles are installed correctly, they provide a durable and easy-to-maintain surface that can withstand daily wear and tear.
A well-installed tile floor or wall not only enhances the aesthetic appeal of a room but also adds value to your property. Improper installation can lead to issues such as cracked tiles, uneven surfaces, or water damage—costly problems that can be avoided with careful attention to detail during the installation process.
The Art of Tile Installation
Tile installation is more than just laying down tiles—it's a meticulous process that requires patience and precision. From preparing the substrate to grouting the joints, each step plays a crucial role in creating a flawless tiled surface. Whether you're embarking on a DIY project or hiring a professional installer, understanding the basics of tile installation will help you achieve stunning results.
With the right tools, materials, and techniques at your disposal, you can transform any space into a work of art using beautiful tiles.
The Art of Tile Installation
Unveiling the Past: A Brief History of Tile Usage
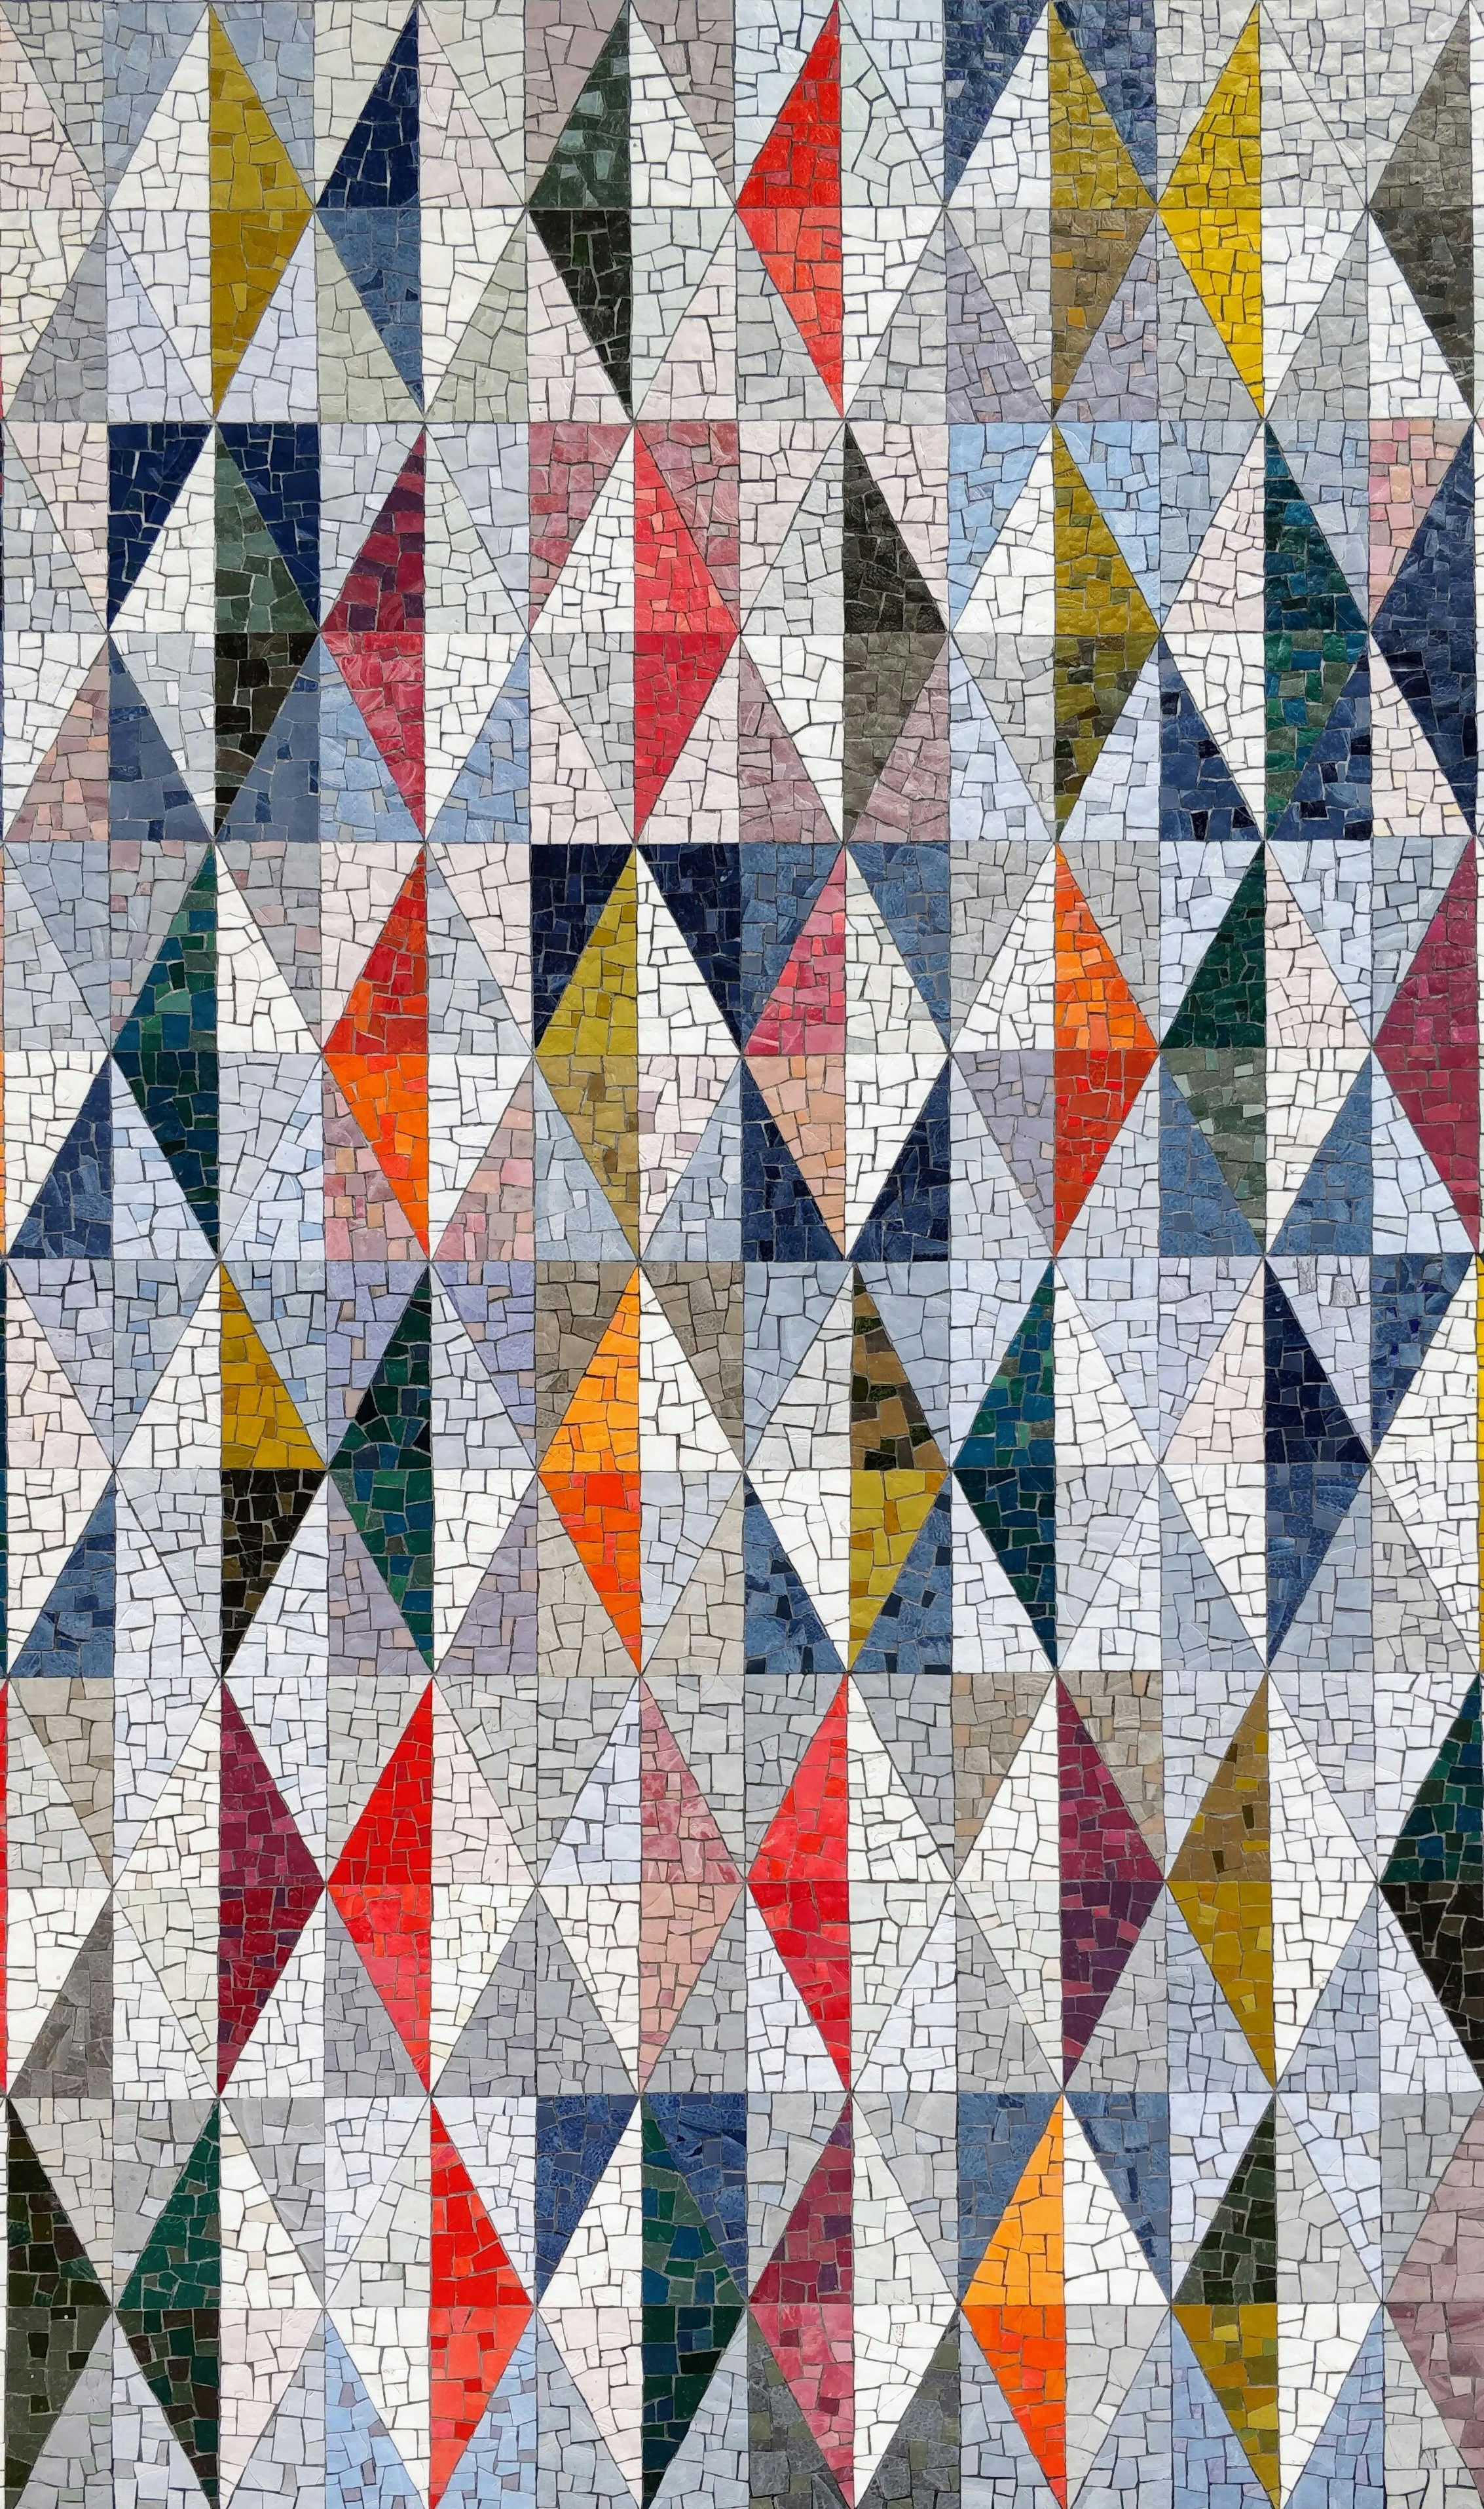
Tiles have been an integral part of construction for centuries, dating back to ancient civilizations such as the Egyptians and Romans. The use of tiles can be traced back to as early as 4000 BC when clay tiles were first crafted and used to adorn the walls and floors of temples and palaces.
These early tiles were hand-formed, dried in the sun, and fired in kilns to create durable surfaces that were not only functional but also aesthetically pleasing. As civilizations evolved, so did tile-making techniques, leading to the development of intricate mosaic patterns and colorful glazes that adorned the walls of grand buildings and cathedrals.
The Crucial Role of Proper Tile Installation
When it comes to tile installation, doing it right is essential for both durability and aesthetics. Properly installed tiles not only enhance the beauty of a space but also ensure longevity by providing a sturdy surface that can withstand daily wear and tear. Improperly installed tiles can lead to issues such as uneven surfaces, cracked or loose tiles, and water damage due to inadequate sealing.
By taking the time to install tiles correctly, you not only enhance the visual appeal of your space but also invest in a long-lasting solution that adds value to your home or project. In essence, proper tile installation is like laying down a foundation for a work of art; each tile carefully placed contributes to the overall masterpiece that is your space.
Whether you're creating a sleek modern kitchen backsplash or transforming a bathroom into a spa-like oasis, understanding the significance of proper installation ensures that your vision comes to life with precision and finesse. So next time you embark on a tiling project, remember that attention to detail Everett transforms mundane surfaces into expressions of creativity and craftsmanship.
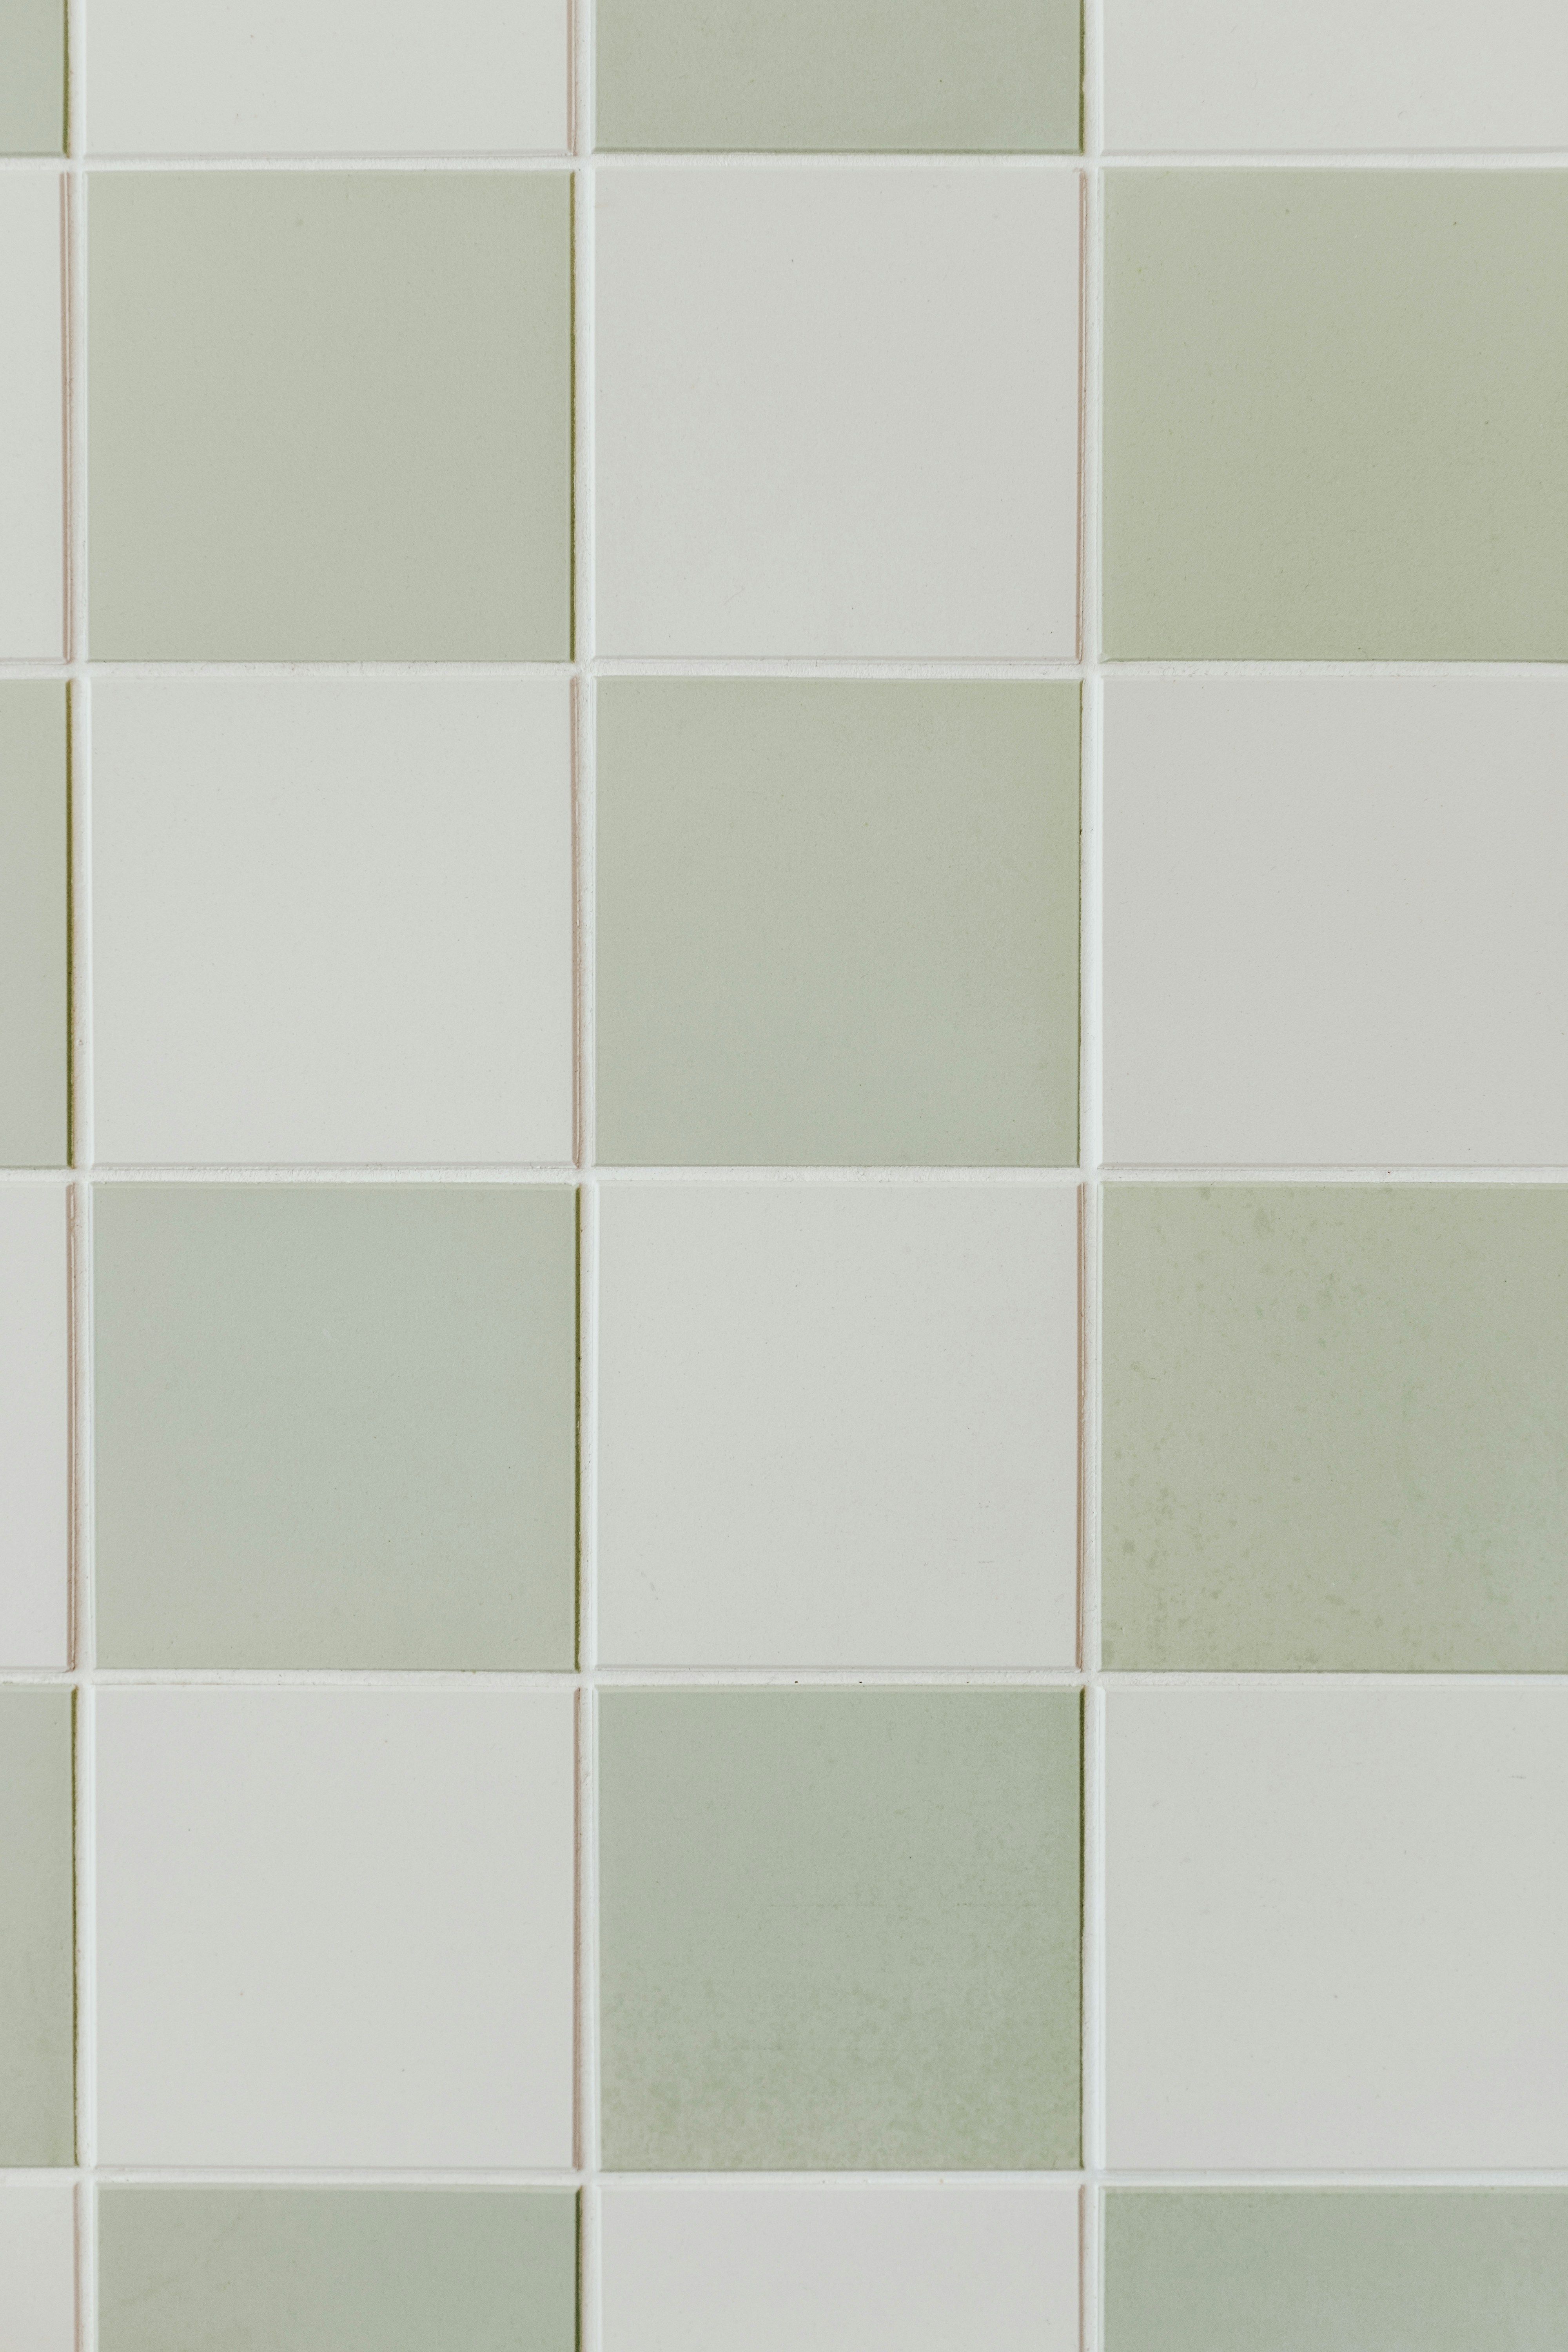
Ceramic Tiles: Versatile and Easy to Maintain
When it comes to tile installation, ceramic tiles are a popular choice due to their versatility and low maintenance. Ceramic tiles come in a wide range of colors, sizes, and patterns, making them suitable for various design styles.
Whether you prefer a sleek modern look or a more traditional aesthetic, ceramic tiles offer endless possibilities. These tiles are known for their durability and resistance to water, making them ideal for use in bathrooms, kitchens, and even outdoor spaces.
One of the key advantages of ceramic tiles is how easy they are to maintain. A simple wipe down with a damp cloth or mop is usually all it takes to keep ceramic tiles looking fresh and clean.
For tougher stains or grime buildup, mild cleaning solutions can be used without the risk of damaging the tiles. With proper care, ceramic tiles can retain their beauty for years to come, making them a practical choice for busy households looking for both style and convenience.
Porcelain Tiles: Durable and Water-Resistant
Porcelain tiles are another popular option for those seeking durability and water resistance in their tile choices. These tiles are made from dense clay that is fired at high temperatures, resulting in a hard-wearing material that can withstand high traffic areas with ease. Porcelain tiles excel in areas prone to moisture exposure such as bathrooms and kitchens due to their non-porous nature that makes them highly resistant to water absorption.
In addition to being durable and water-resistant, porcelain tiles also offer excellent aesthetic appeal. They come in various finishes like matte, glossy, or textured surfaces that can mimic the look of natural stone or wood.
This versatility allows homeowners to achieve the desired look without compromising on performance. Whether you're aiming for a contemporary urban vibe or rustic charm in your space.
Tools and Materials Needed
The Mighty Trowel: Your Best Friend in Tile Installation
When it comes to tile installation, your trusty trowel is like a superhero saving the day! This handy tool is used to spread the thin-set mortar evenly on the surface before laying down the tiles. Make sure you choose the right size of trowel based on the tile size and type of installation you're doing.
A proper trowel ensures that your tiles adhere well and stay in place for years to come. Remember, a good trowel is worth its weight in gold when it comes to Everett!
Spacers, The Unsung Heroes of Tile Alignment
Don't underestimate the power of spacers in achieving that professional-looking tile layout. These small but mighty tools help maintain consistent spacing between tiles, ensuring your grout lines are uniform and aesthetically pleasing.
Whether you're going for a tight or wide grout line look, spacers are essential for keeping everything neat and aligned. Trust me, once you start using spacers, you'll wonder how you ever tiled without them – they're that crucial for an Everett-style finish!
Grout Float and Sponge: The Dynamic Duo of Grout Application
Once your tiles are set in place, it's time to tackle grouting with your trusty grout float and sponge by your side. The grout float helps spread the grout smoothly into the joints between tiles while ensuring proper coverage. Use a diagonal motion to work the grout into those spaces effectively – think of it as giving your tiles a cozy blanket hug!
After letting the grout set for a bit, grab your sponge to gently wipe away excess grout from the tile surfaces before it hardens completely. Remember, this dynamic duo is key to achieving clean, polished grout lines that would impress even Everett himself!
Preparing the Surface
Cleaning for Strong Adhesion
Before diving into the exciting part of applying tiles, we need to ensure that our surface is as clean as a whistle. Think of it as prepping a canvas before painting your masterpiece. Use a good quality cleaner to remove any dust, dirt, or grease lingering on the substrate.
A clean surface not only promotes better adhesion but also prevents any unwanted surprises down the road. Remember, Everett, a little extra effort in cleaning now can save you a whole lot of trouble later on.
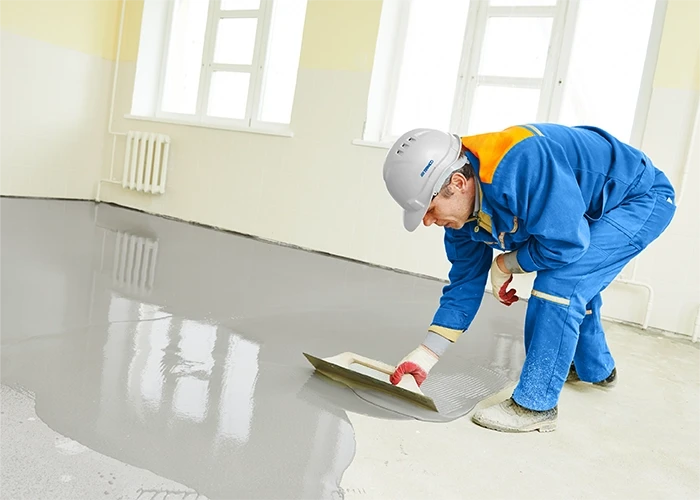
Leveling with Finesse
Now, let's talk about leveling – an essential step to avoid wonky tiles that scream DIY disaster. If your surface isn't perfectly flat (and let's be real, when is it ever?), consider using a self-leveling compound. This magical potion will help smooth out any bumps or dents, creating a flawless foundation for your tiles to shine upon.
Just pour it on, watch it work its magic, and voilà – you've got yourself a perfectly level surface ready for tile installation. It's like giving your floor a spa day – pamper those imperfections away!
Installing the Tiles
Spreading Mortar Evenly with a Trowel
When it comes to tiling, getting the mortar consistency just right is like finding the perfect pancake batter - not too thick, not too runny. Grab your trusty trowel and start spreading that mortar like butter on toast. The key here is to ensure an even layer across the surface, so your tiles have a solid foundation to stick to.
Don't skimp on the mortar - be generous with it for good adhesion. Picture yourself as a maestro conducting an orchestra, but instead of music notes, you're orchestrating a beautiful tile masterpiece.
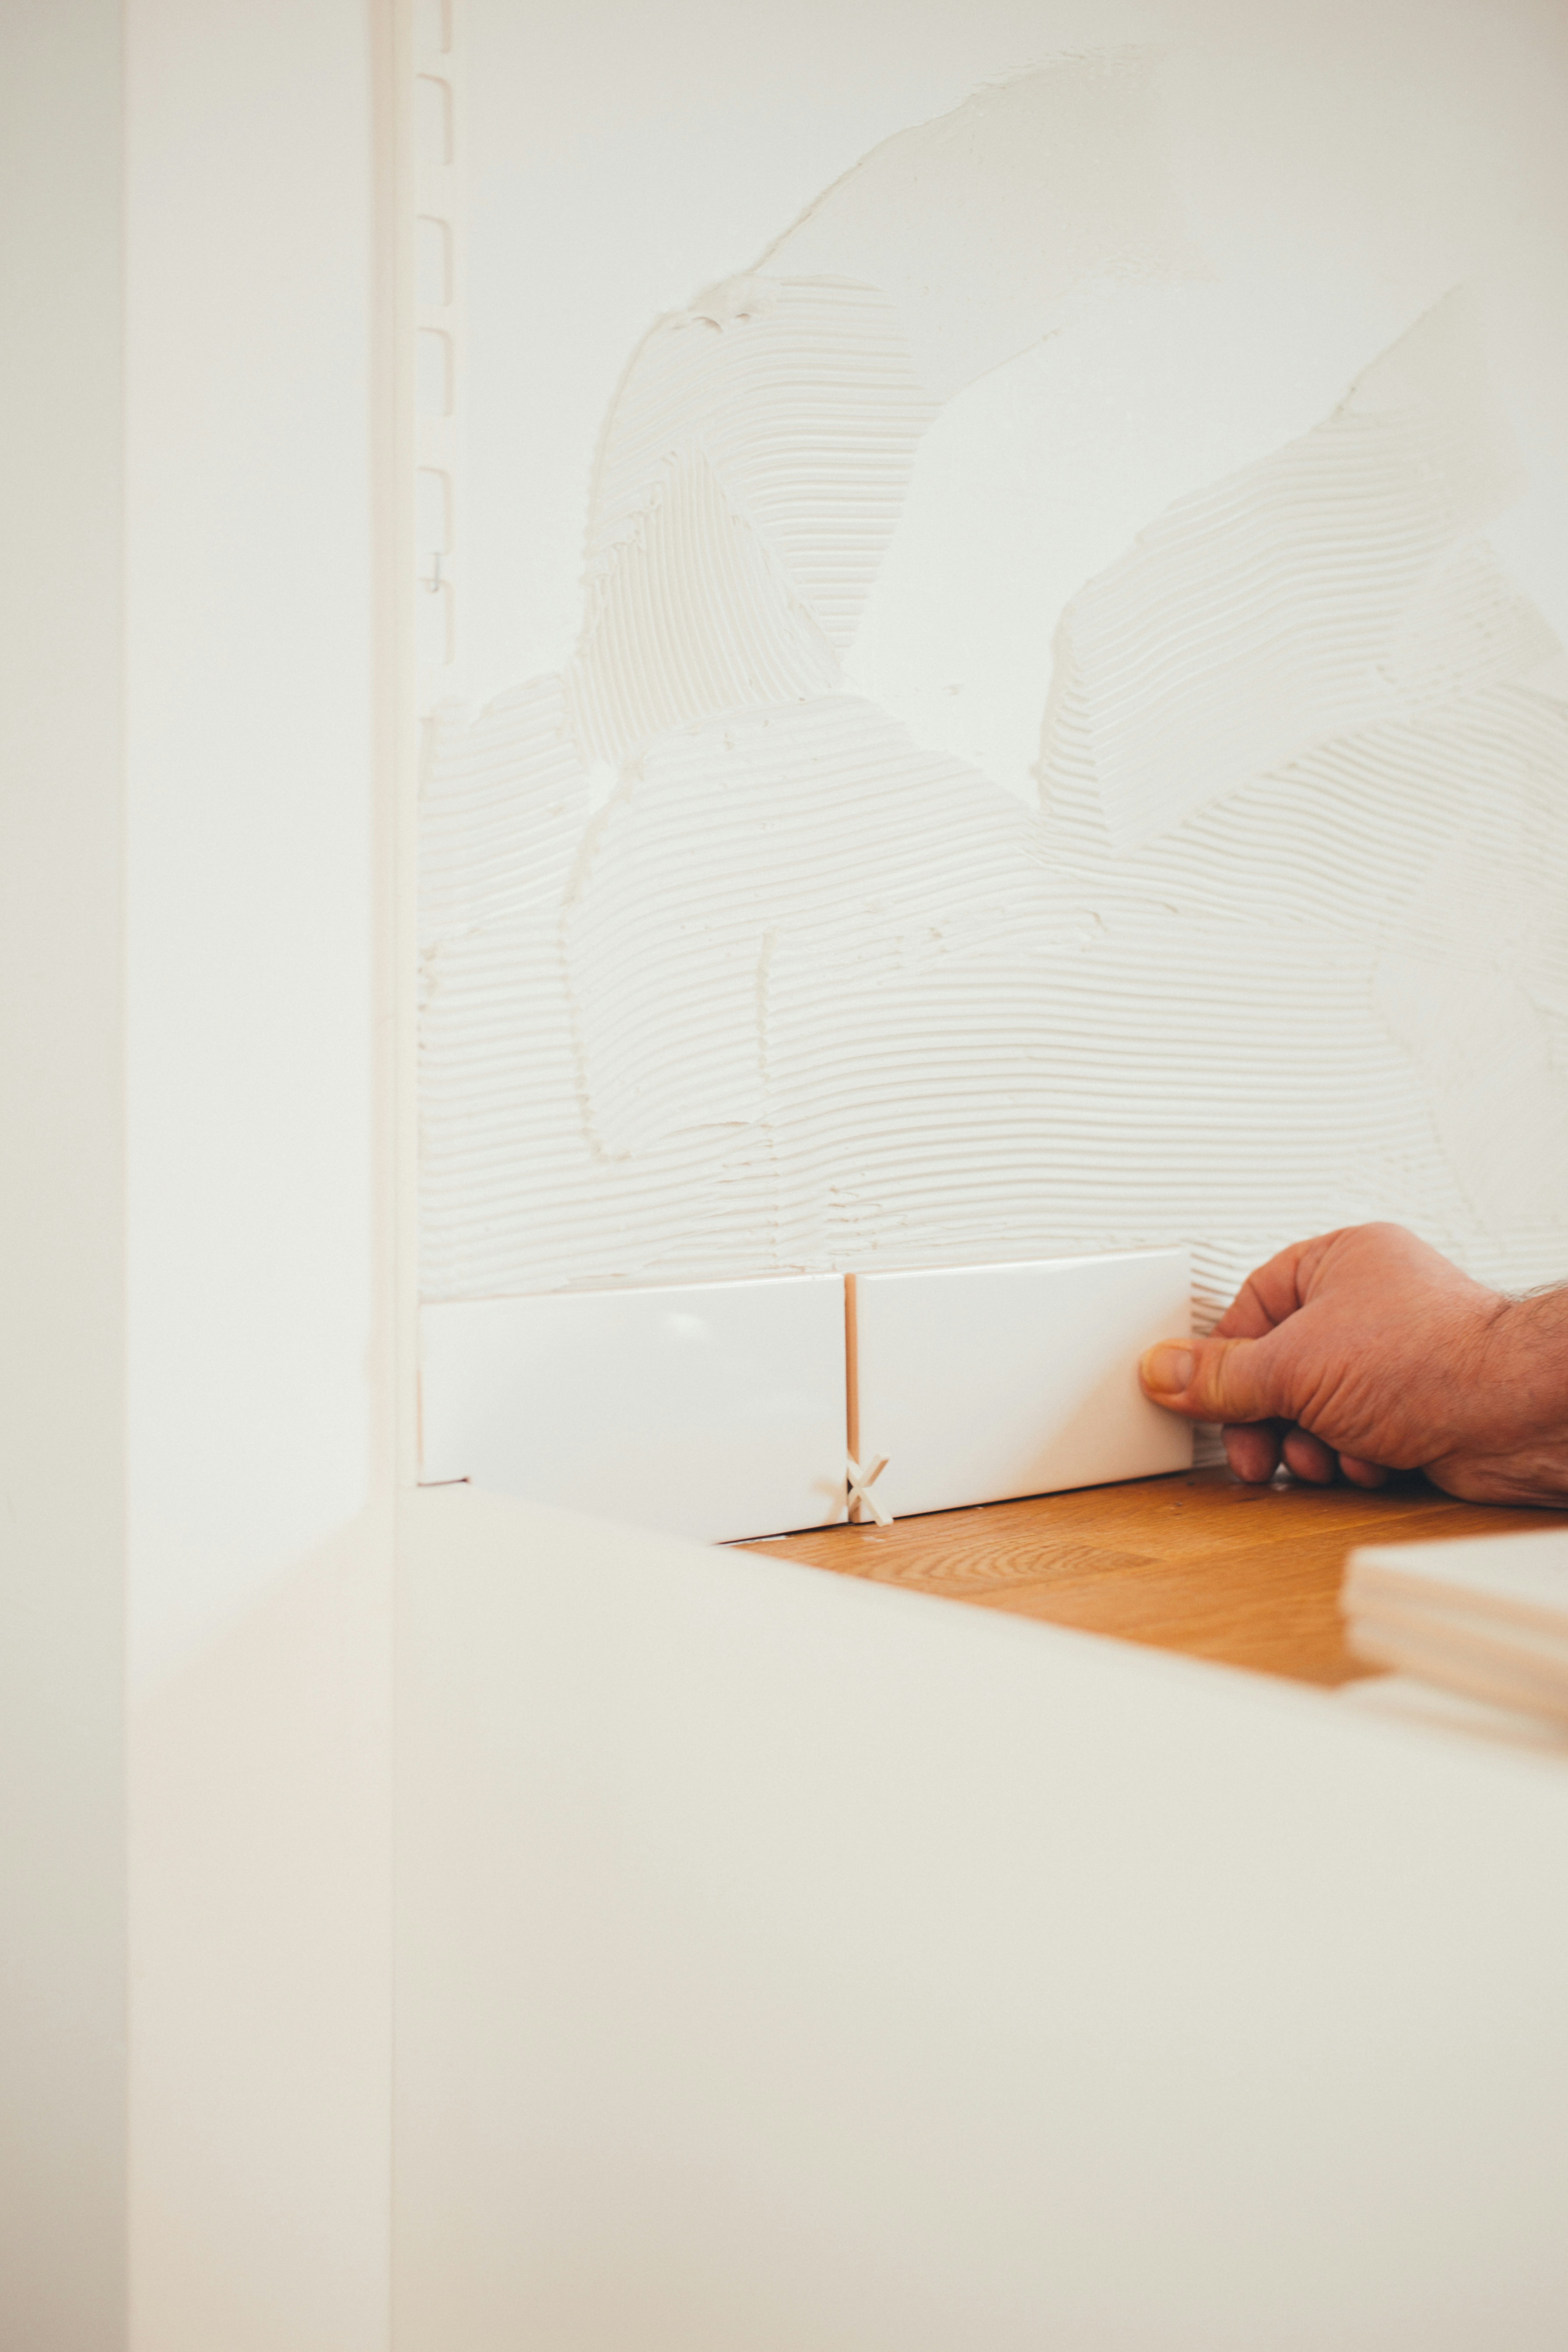
Placing Tiles in Desired Pattern with Spacers for Even Spacing
Now comes the fun part - placing those tiles like puzzle pieces coming together to form a stunning mosaic. Use spacers between each tile to maintain consistent spacing and alignment. It's like creating your own DIY grid system but with a touch of creativity.
Start from the center and work your way outwards, adjusting as needed to ensure everything lines up perfectly. This step requires patience and precision, so channel your inner perfectionist and watch your vision come to life piece by piece.
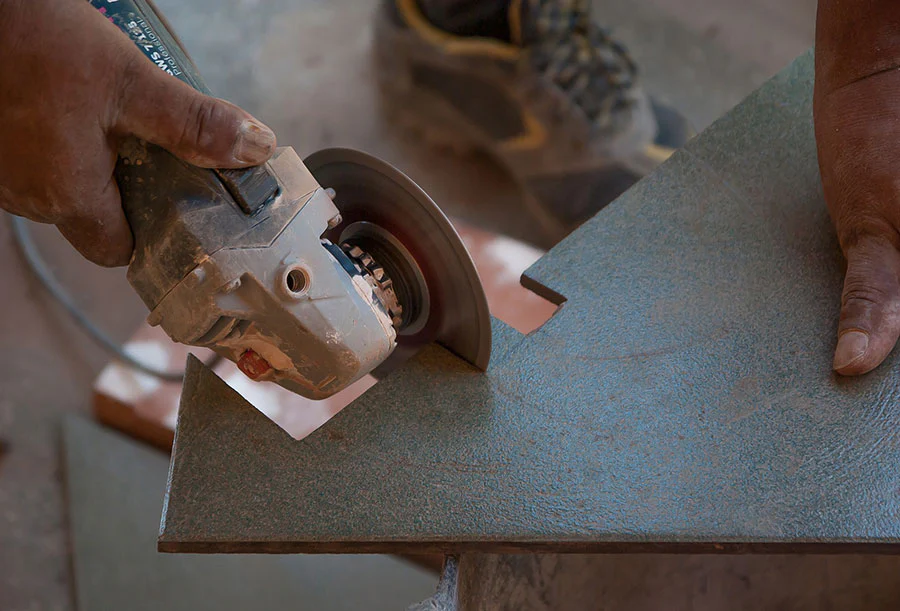
Cutting Tiles to Fit Edges or Corners using a Tile Cutter or Wet Saw
Ah, the art of cutting tiles - where precision meets power tools. Whether you're dealing with edges that need trimming or corners that require finesse, having a tile cutter or wet saw handy is key. Measure twice, cut once - words to live by in the world of tiling.
Take your time with each cut, ensuring accuracy for seamless integration into your overall design. Embrace your inner craftsman as you sculpt those tiles into shape like a modern-day Michelangelo creating his masterpiece on the Sistine Chapel ceiling.
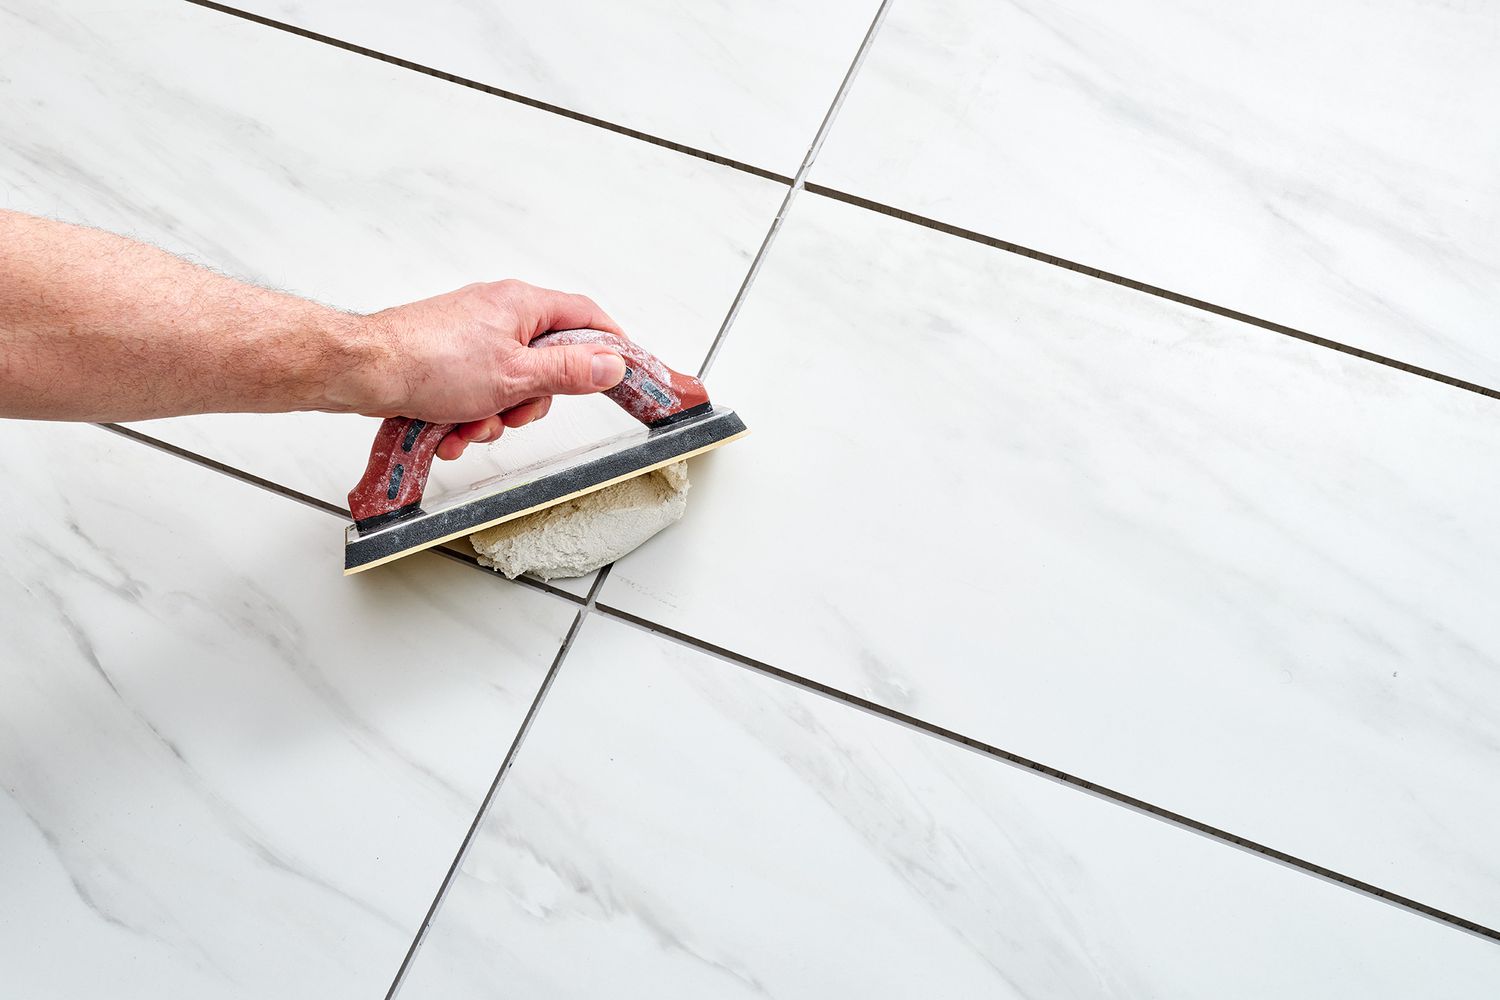
Filling Gaps with Grout: The Finishing Touch
When it comes to tile installation, grouting is like the cherry on top of a sundae – it brings everything together and adds that final touch of finesse. Using a float, which is basically a flat tool with a rubber base, spread the grout evenly over the tiled surface.
Make sure to press the grout into the gaps between tiles at a 45-degree angle to ensure thorough coverage. This step not only enhances the overall look of your tiles but also helps in securing them firmly in place.
Wiping Away Excess Grout: The Cleanup Crew
After you've filled all those gaps with grout, it's time for some cleanup duty! Grab a damp sponge (not too wet, not too dry) and start wiping off the excess grout from the surface of the tiles. Work in circular motions to avoid pulling out too much grout from between the tiles.
Rinse your sponge regularly and change water as needed to keep it clean. This process can be a bit messy, but trust me, once you see those clean lines emerge, you'll feel like an artist putting final touches on their masterpiece.
Sealing Grout Lines: Fortifying Your Tile Installation
To ensure your hard work stands strong against staining and moisture penetration, sealing the grout lines is crucial. Choose a high-quality penetrating sealer specifically designed for grout protection and follow the manufacturer's instructions for application. Use a small brush or roller to evenly coat the grout lines with sealer and allow it to cure completely before exposing it to water or heavy traffic. Your sealed grout will not only look fresh for longer but also withstand daily wear and tear more effectively – an investment that pays off in long-lasting beauty.
Finishing Touches
Removing Spacers Once Grout is Dry
Alright, so you've laid down those tiles like a pro and the grout has had time to set and work its magic. Now comes the fun part - removing those trusty spacers that have been holding everything in place.
Grab yourself a pair of needle-nose pliers or a tool specifically designed for spacer removal. Gently wiggle the spacer out by twisting it slightly, being careful not to damage the freshly grouted areas.
It's like unwrapping a present - revealing the beautiful tile work you've just completed. Enjoy this moment of satisfaction, my friend!
Caulking Along Edges for a Clean Finish
Ah, caulking - the unsung hero of tile installation! Once your tiles are all snugly in place and the spacers are out, it's time to seal the deal with some quality caulking along the edges. Choose a color that matches your grout for a seamless look or go bold with a contrasting color for some added flair.
Run a bead of caulk along where your tiles meet walls or other surfaces to prevent water seepage and give your project that polished, professional finish. Smooth out any excess caulk with your finger or a damp cloth for that Everett-approved clean look.
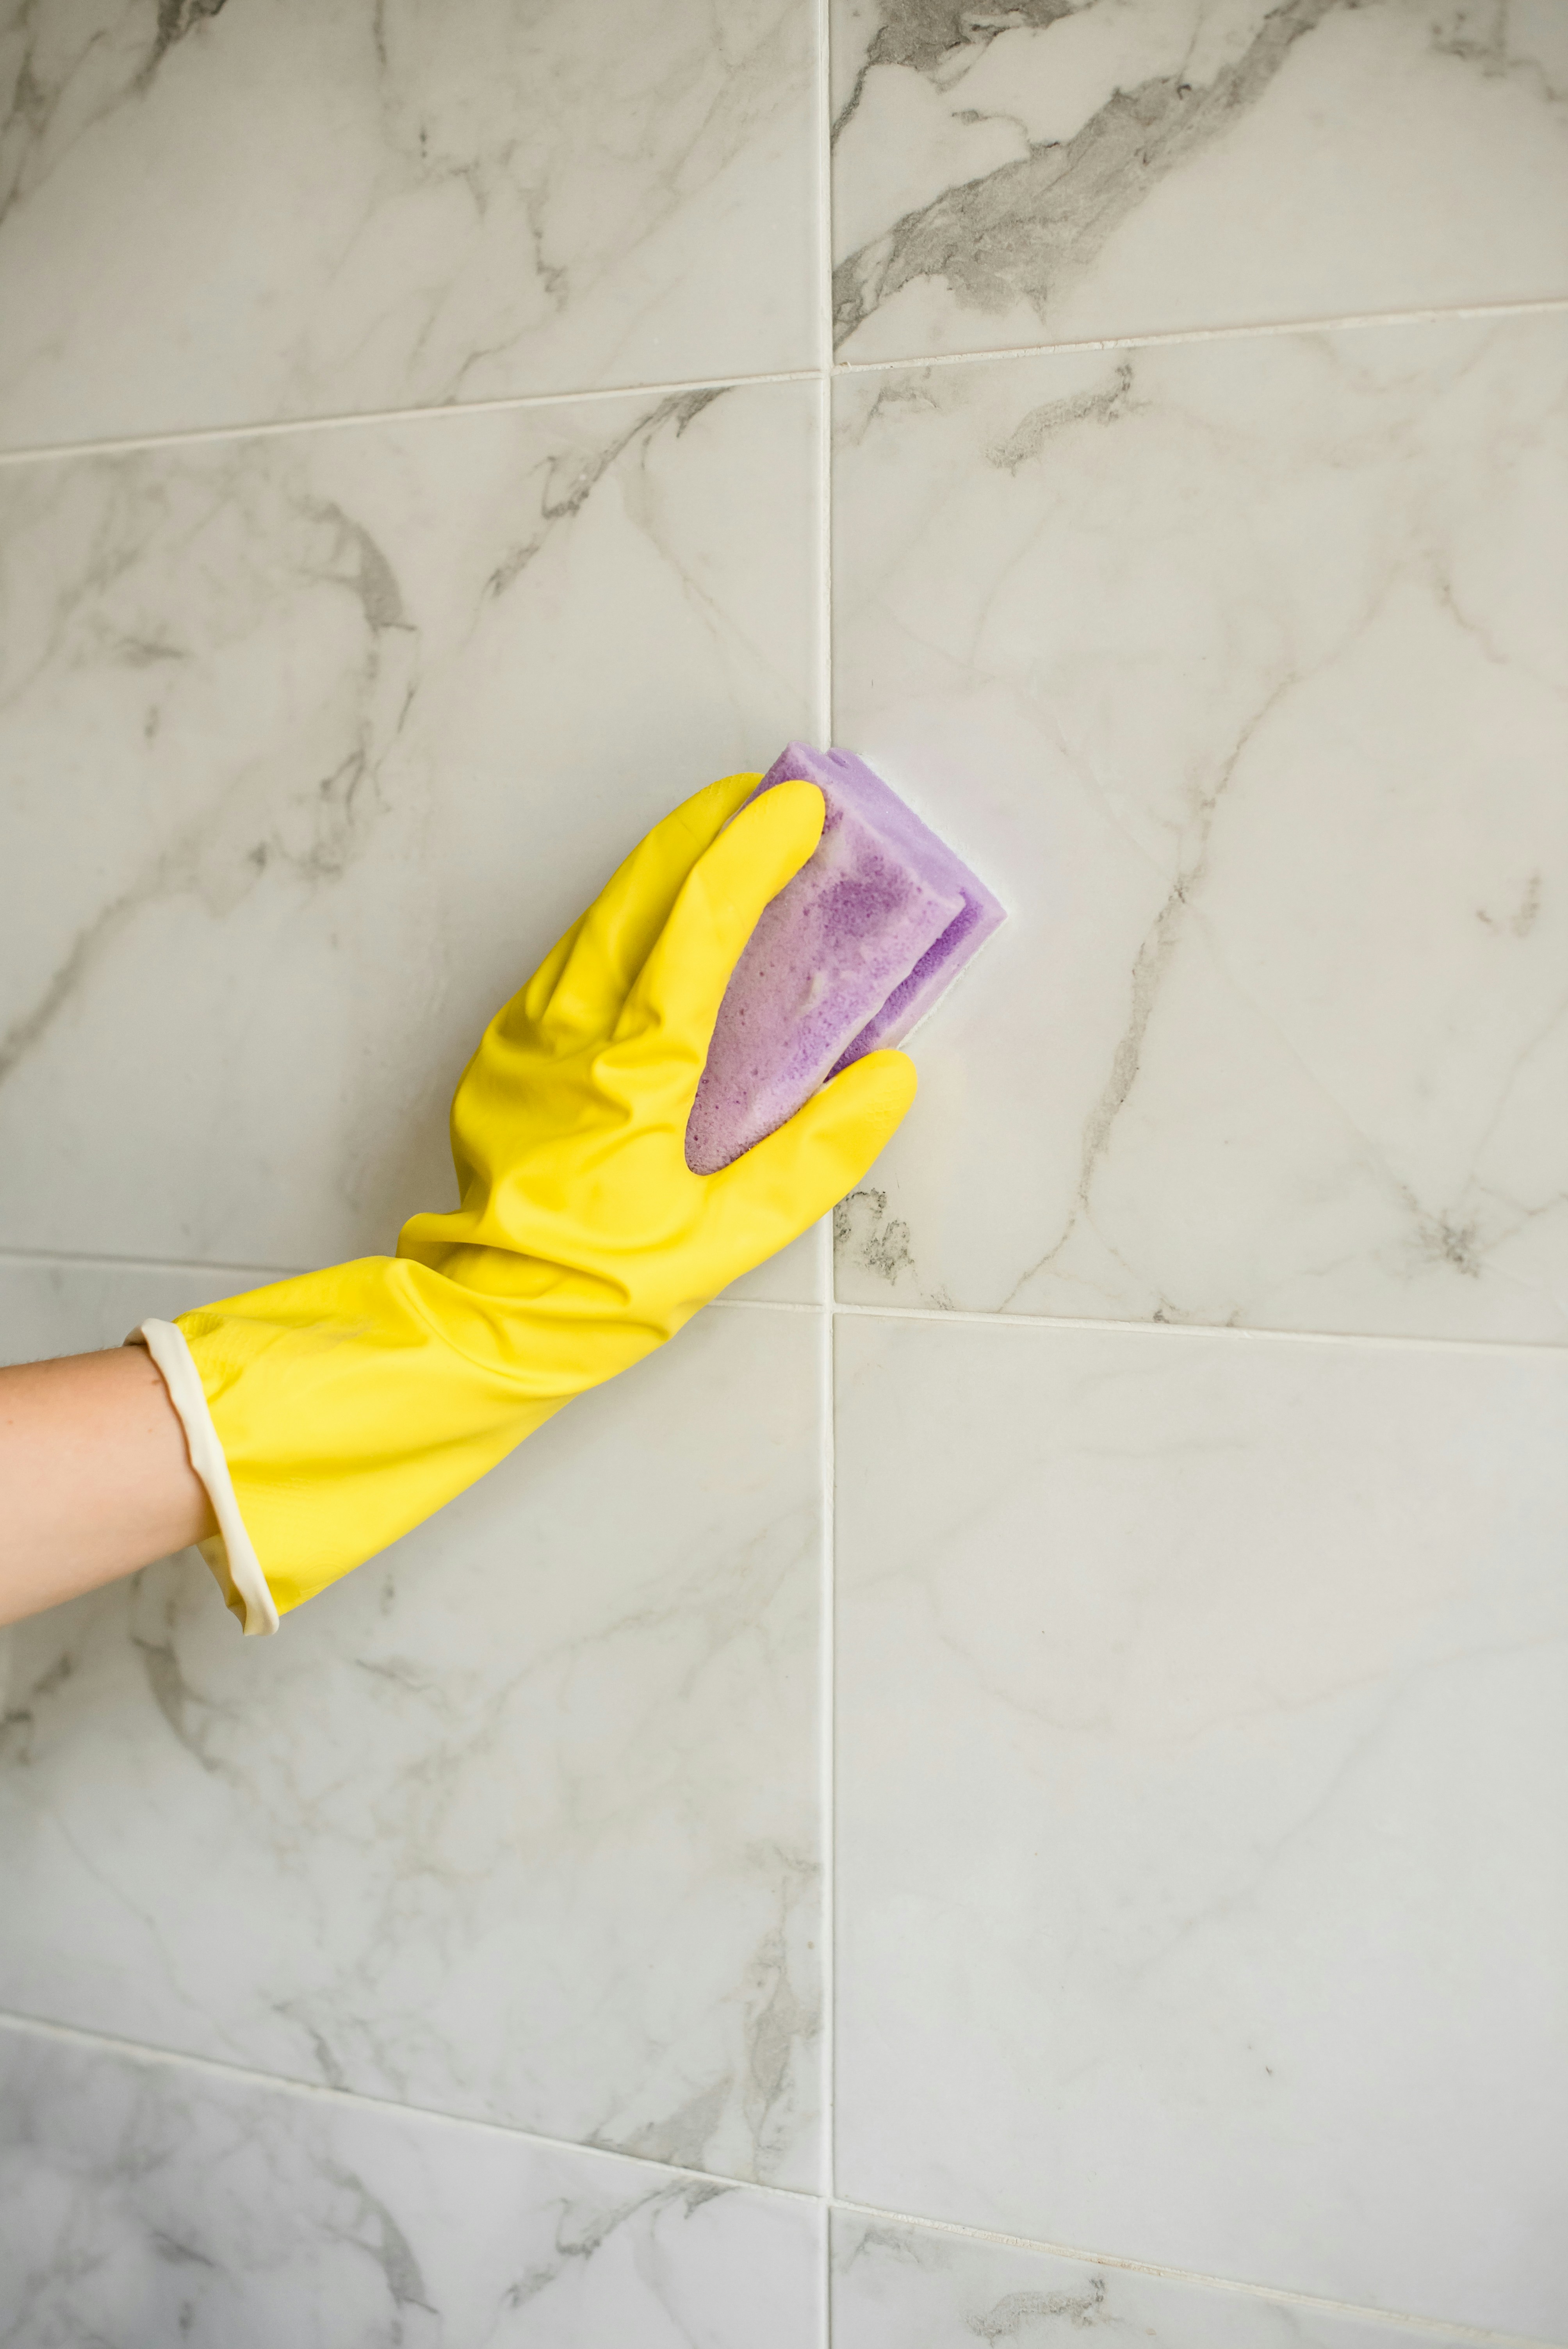
Cleaning the Tiled Surface Thoroughly
Now that you've put in all that hard work and attention to detail, it's crucial to keep your tiled surface looking pristine. Grab a bucket of warm water mixed with mild detergent - nothing too harsh now; we're treating these tiles with respect!
Use a soft sponge or mop to gently clean the surface, making sure to remove any grout haze or residue from the installation process. Don't forget those hard-to-reach corners and edges!
Once you're done cleaning, step back and admire your handiwork - bask in the glow of perfectly installed tiles ready to stand the test of time. Well done, tile master!
Maintenance Tips
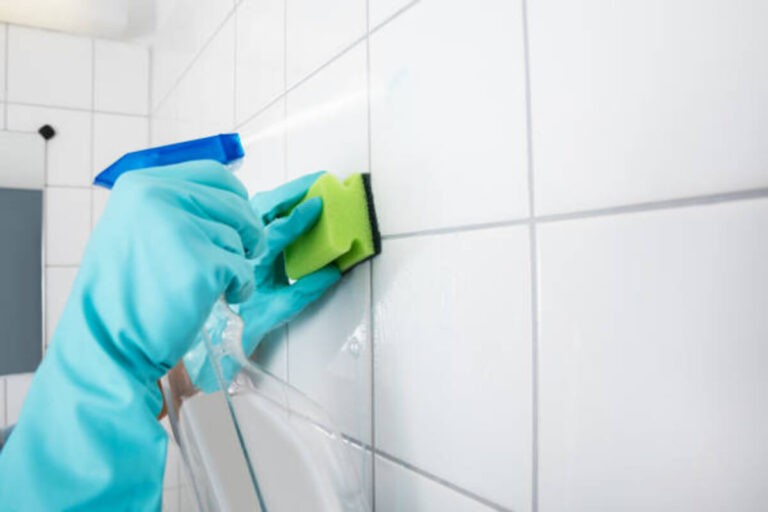
Regular Cleaning with Mild Detergent and Water
Keeping your tiled surfaces clean is crucial for maintaining their beauty and longevity. A simple yet effective way to clean tiles is by using a mild detergent mixed with water. This gentle solution helps to remove dirt, grime, and stains without damaging the tile or grout.
Regular cleaning not only keeps your tiles looking pristine but also prevents the buildup of mold and mildew in damp areas like bathrooms and kitchens. When cleaning your tiles, remember to use a soft sponge or cloth to avoid scratching the surface.
Start by sweeping or vacuuming the area to remove any loose debris. Then, mix a small amount of mild detergent with warm water and gently scrub the tiles in a circular motion.
Rinse thoroughly with clean water to ensure all soap residue is removed. By incorporating regular cleaning into your maintenance routine, you can enjoy beautiful, sparkling tiles for years to come.
Replacing Cracked or Damaged Tiles Promptly
Even with the best care, tiles can sometimes crack or become damaged due to accidents or wear and tear. It's essential to address these issues promptly to prevent further damage and maintain the integrity of your tiled surface. When you notice a cracked or chipped tile, carefully remove it using a chisel or putty knife.
Take care not to damage surrounding tiles during this process. Once the damaged tile is removed, clean the area thoroughly and apply new adhesive or mortar before placing the replacement tile.
Ensure that the new tile sits level with the surrounding tiles and allow proper drying time before grouting. By addressing cracked or damaged tiles promptly, you can prevent water seepage, maintain a seamless appearance, and prolong the life of your tiled surface.
Conclusion
Proper maintenance is key to preserving the beauty and functionality of your tiled surfaces over time. Everett By following these maintenance tips such as regular cleaning with mild detergent and water, Everett as well as promptly replacing cracked or damaged tiles, Everett you can ensure that your tiled spaces remain stunning for years ahead. Everett Remember that taking care of your tiles not only enhances their appearance but also contributes to creating a healthy living environment.Everett So roll up those sleeves,Everett get ready for some light scrubbing,Everett and watch as your tiles shine bright once again!