Jun 26, 2024
Master the Art of Tile Installation: Pro Tips & Techniques
Importance of Proper Tile Installation Techniques
Proper tile installation techniques are crucial for achieving long-lasting, visually appealing results. Whether it's a residential kitchen floor or a commercial bathroom wall, the way tiles are installed can impact not only the aesthetic quality but also the structural integrity of the surface. Using correct methods ensures that tiles are securely bonded to the substrate, reducing the risk of cracking or loosening over time.
Moreover, proper tile installation techniques contribute to water resistance and maintenance ease. Grout lines must be sealed effectively to prevent moisture penetration, which can lead to mold growth or damage beneath the surface.
Additionally, precise alignment and spacing during installation create a seamless finish that enhances both visual appeal and functionality. By following industry best practices for tile installation, homeowners and contractors can enjoy beautiful tiled surfaces that stand the test of time.
The artistry behind tile installation lies not only in creating visually stunning patterns but also in implementing sound technical principles that guarantee durability and longevity.
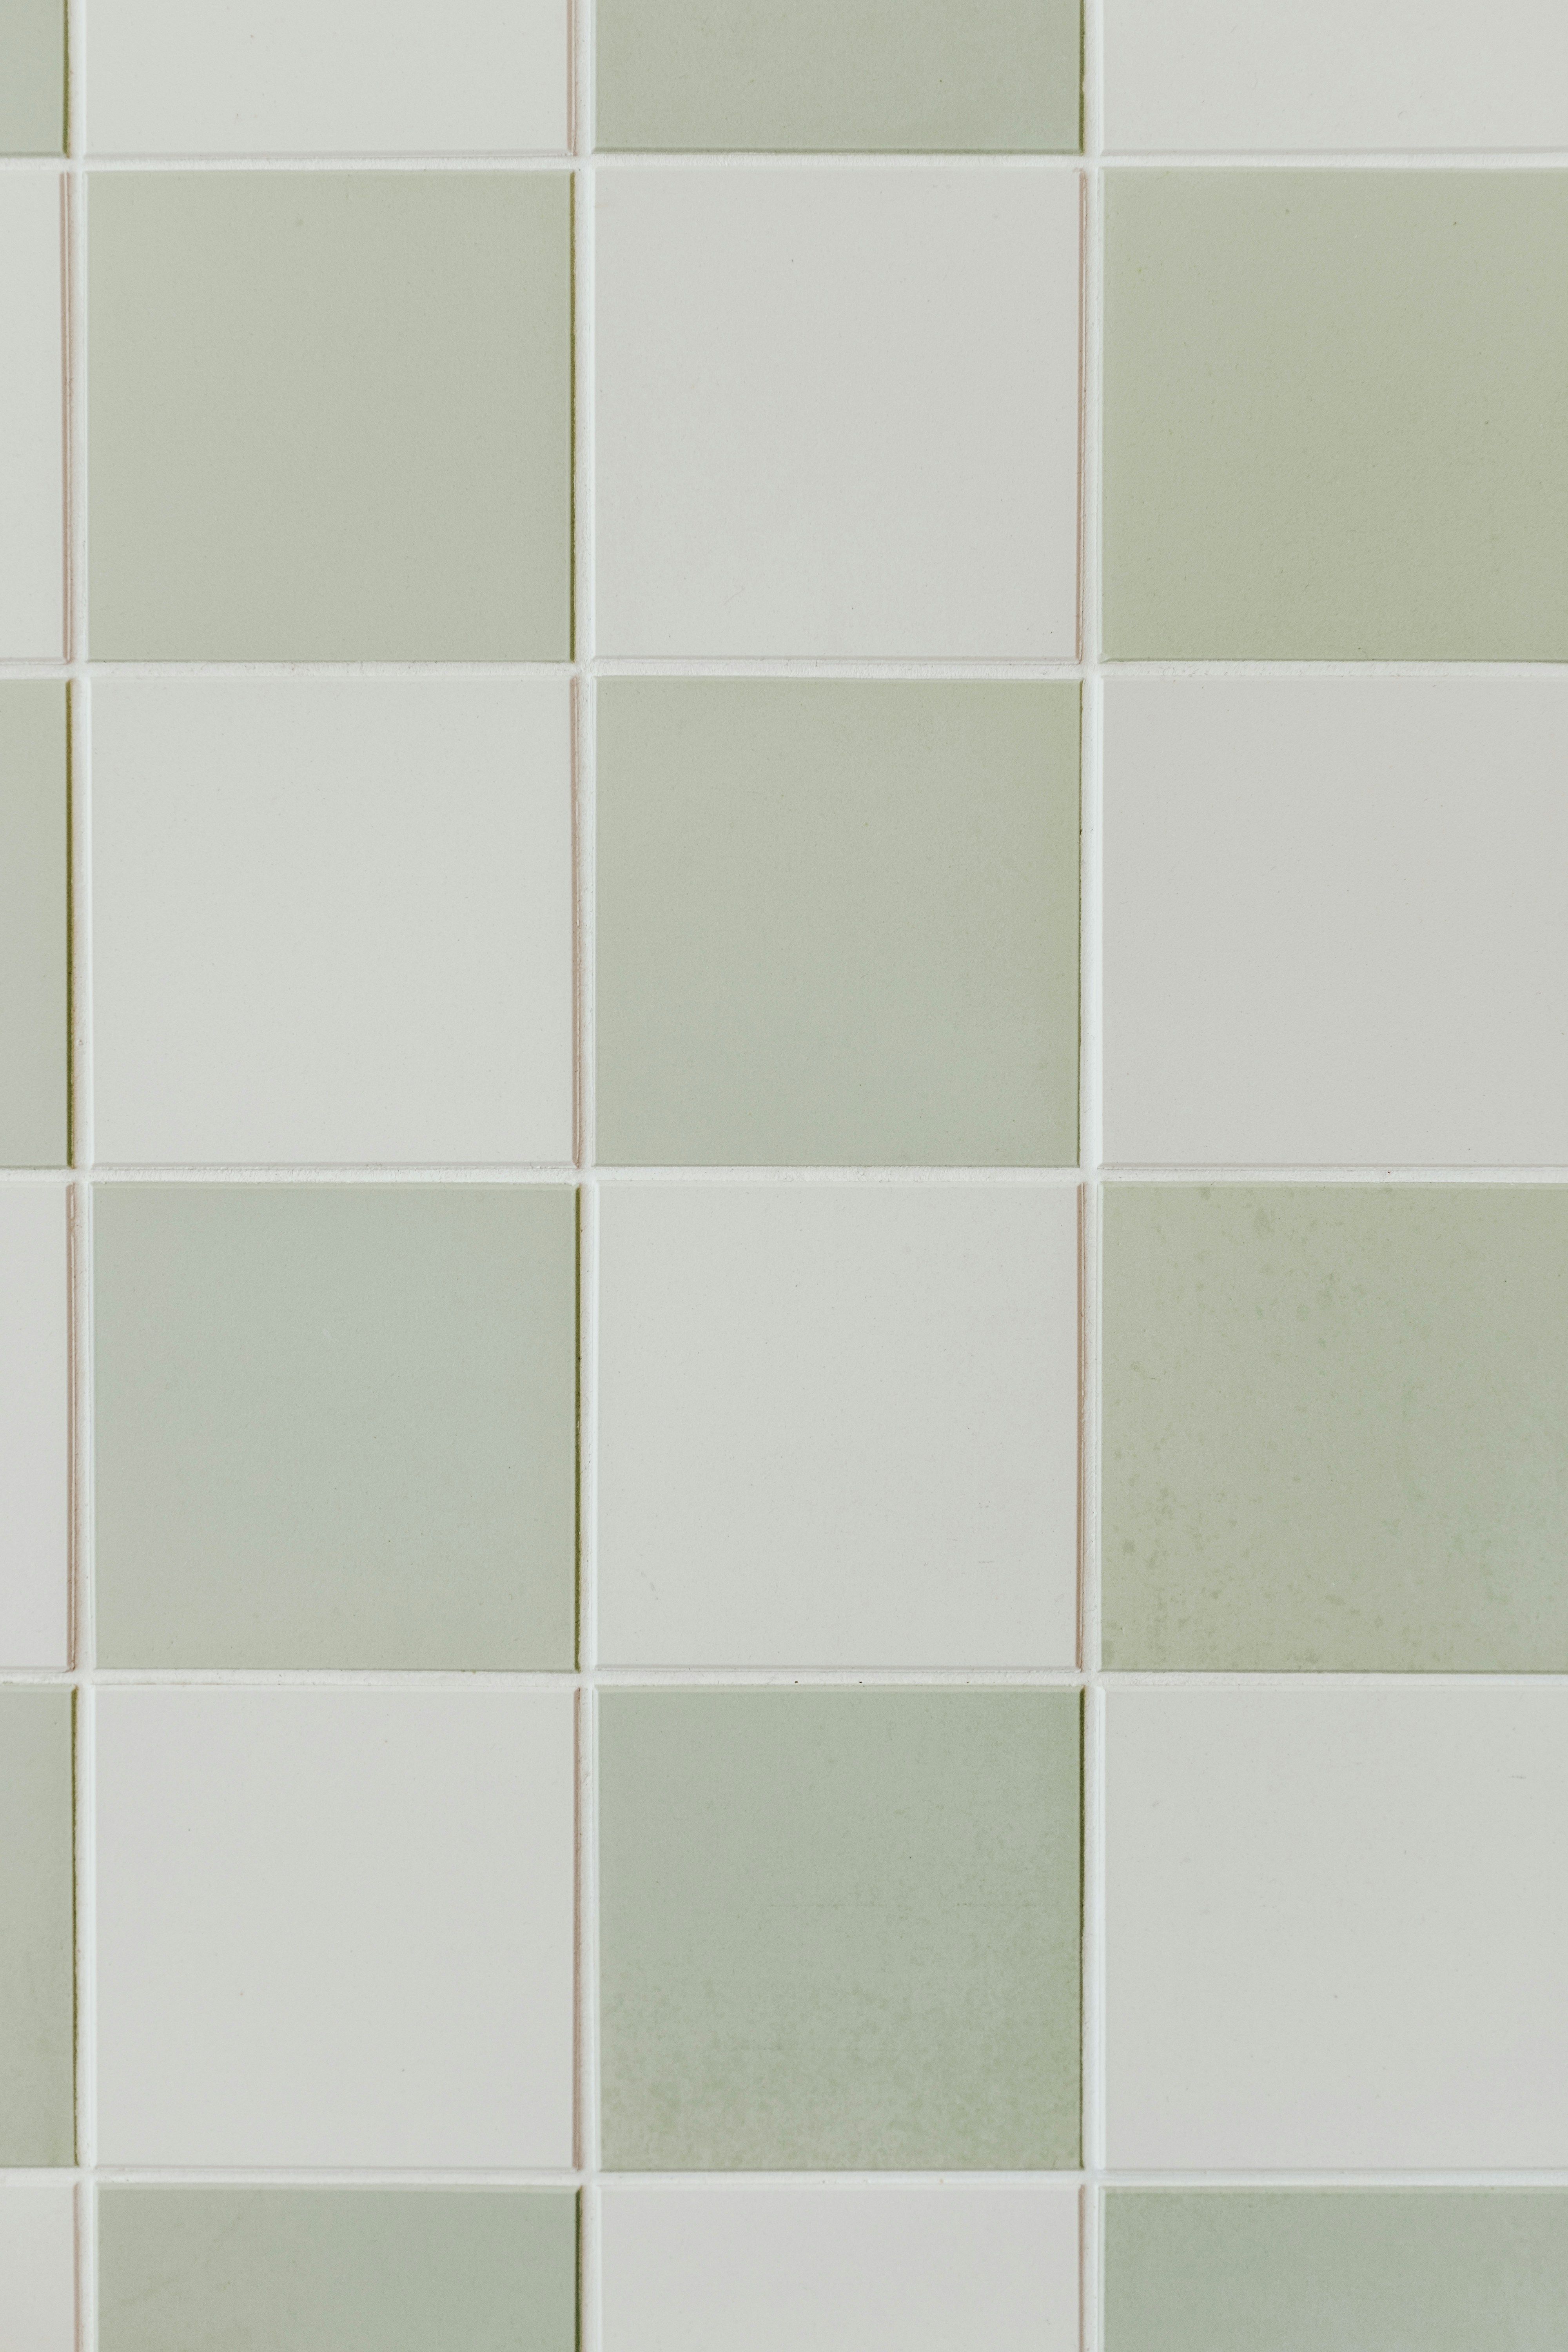
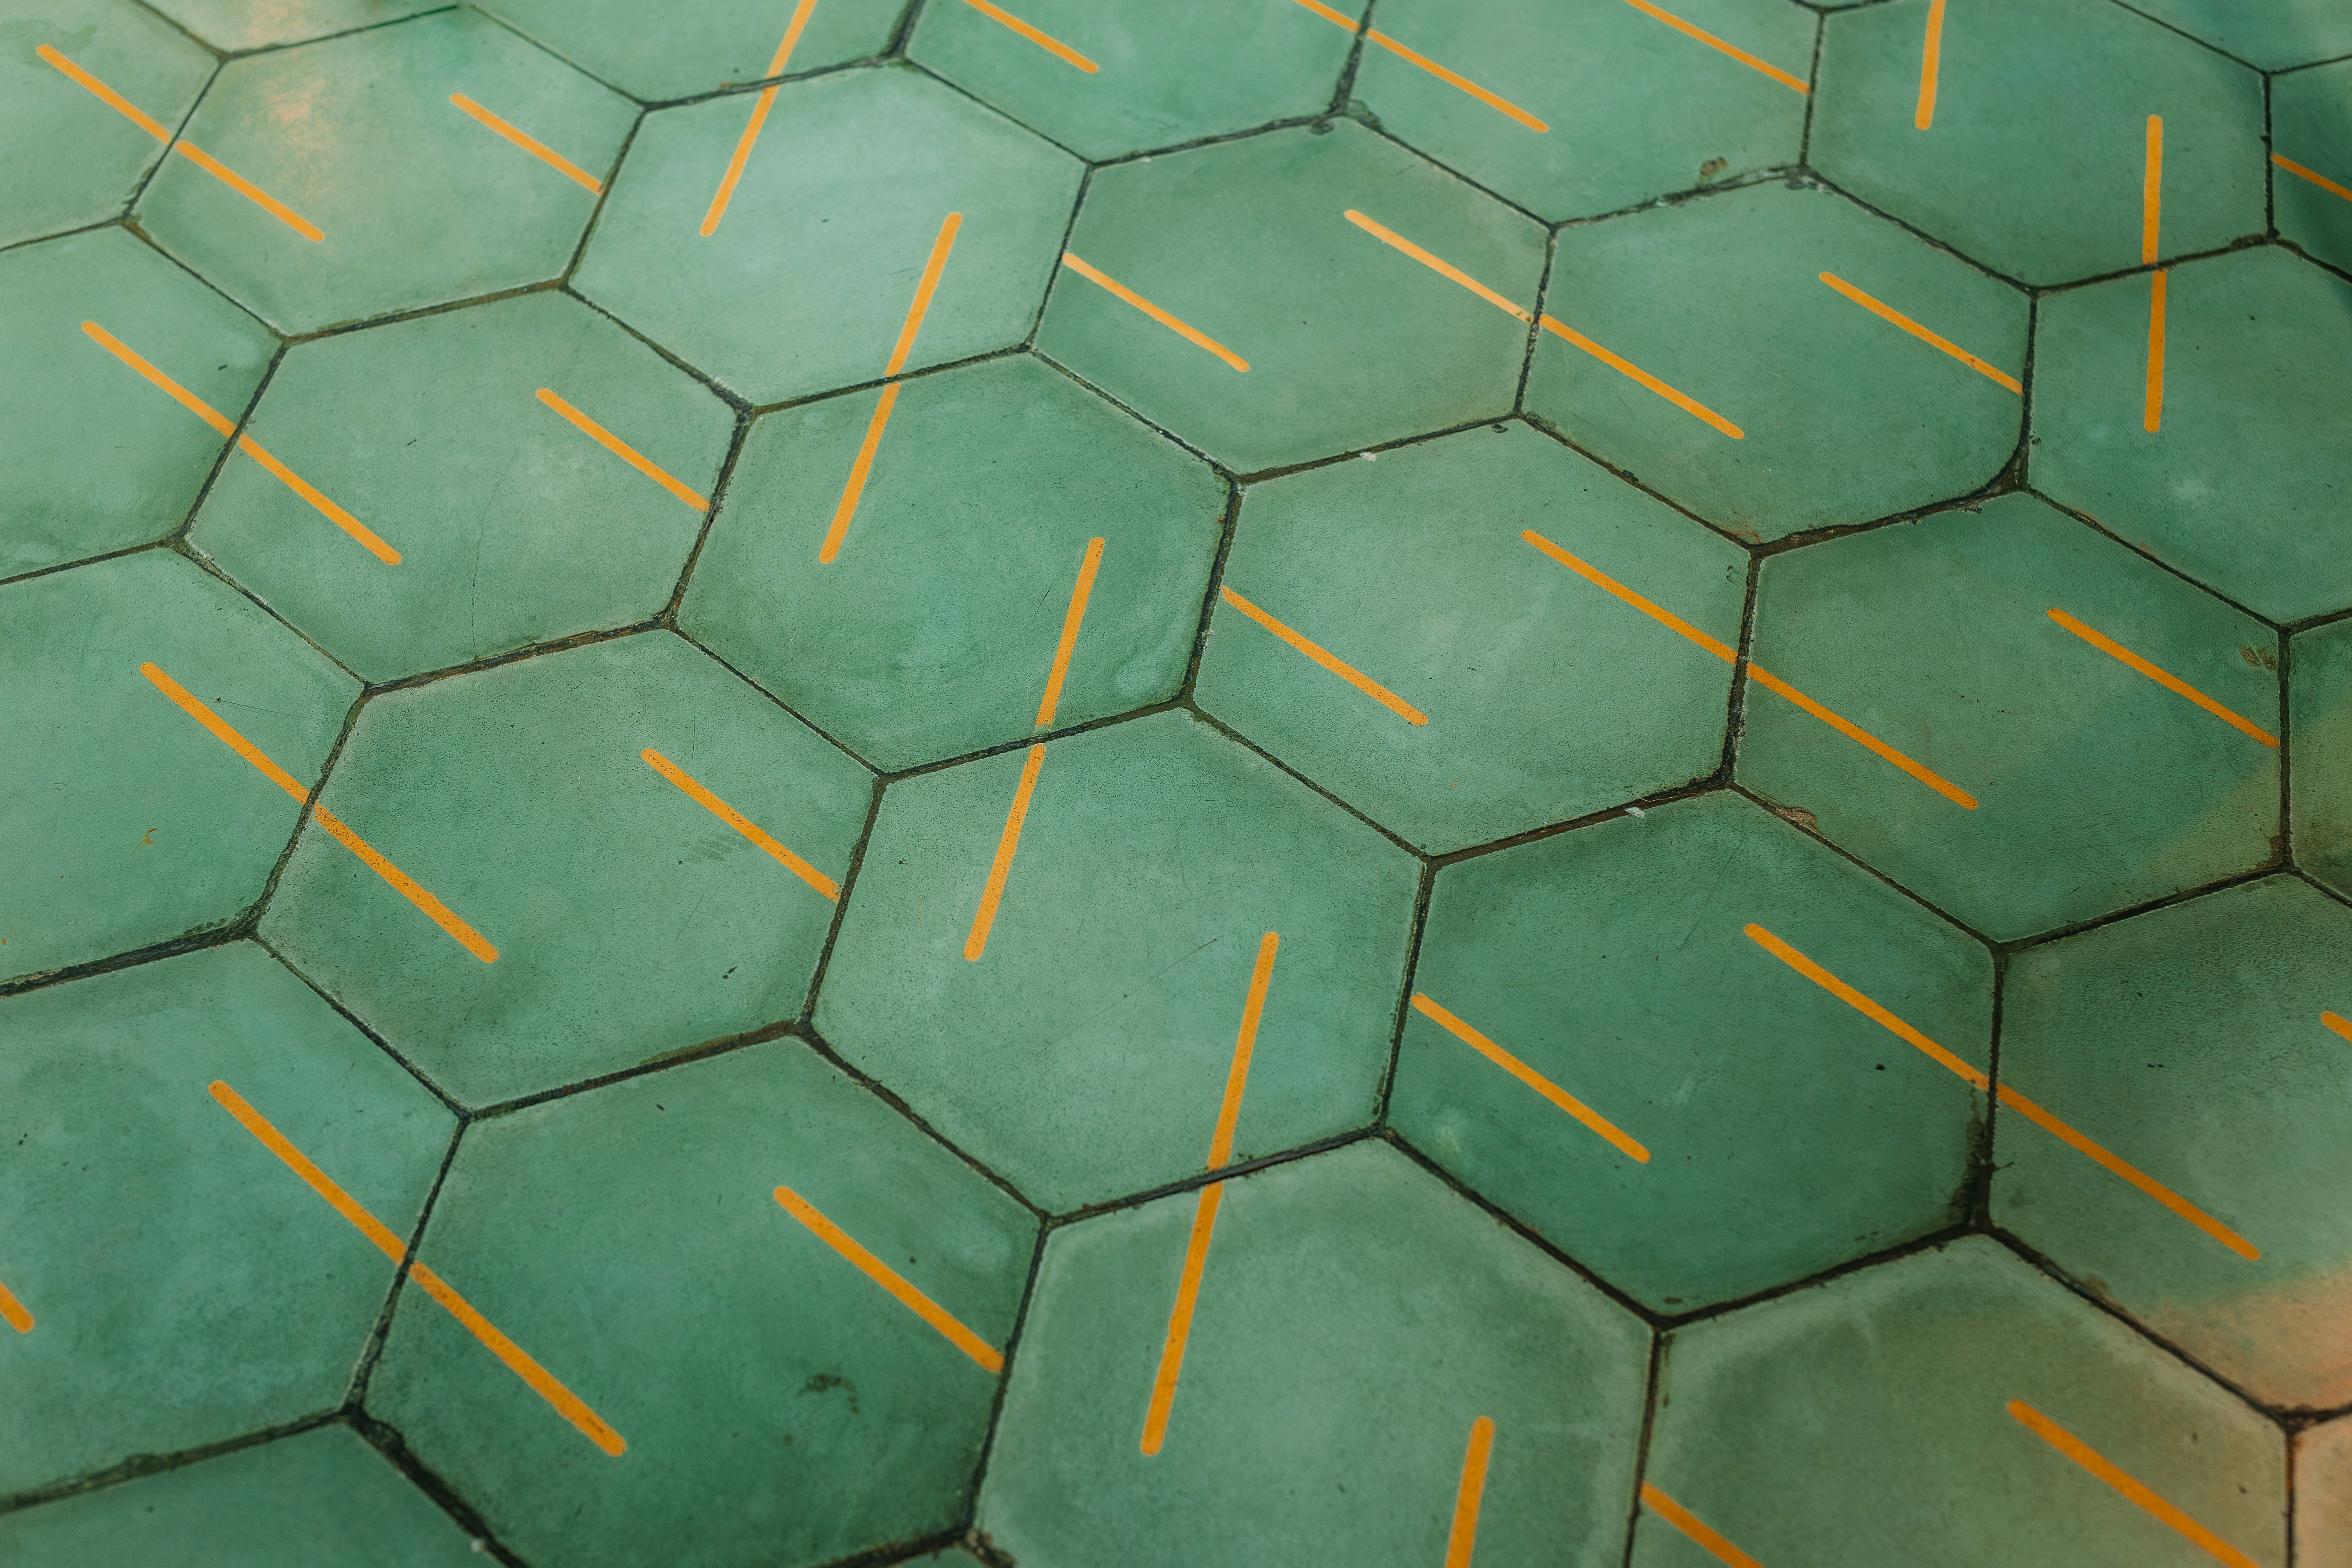
Ceramic Tiles
Porcelain vs. Non-Porcelain Ceramic Tiles
Porcelain ceramic tiles are made of fine porcelain clay that is fired at extremely high temperatures, making them denser and more durable compared to non-porcelain ceramic tiles. This density makes porcelain tiles less porous, which means they are highly resistant to water absorption and are suitable for both indoor and outdoor applications. Non-porcelain ceramic tiles, on the other hand, are typically made of red or white clay fired at lower temperatures. They are more porous than porcelain tiles and may require sealing to prevent water damage in moisture-prone areas like bathrooms.
Glazed vs. Unglazed Ceramic Tiles
Glazed ceramic tiles have a protective layer of liquid glass applied to the surface before firing, giving them a shiny finish and making them stain-resistant and easy to clean. Unglazed ceramic tiles do not have this additional layer, which gives them a more natural look but also makes them more susceptible to staining and scratching. Glazed tiles come in a wide range of colors and designs, making them versatile for various design styles, while unglazed tiles offer a more rustic or earthy aesthetic.

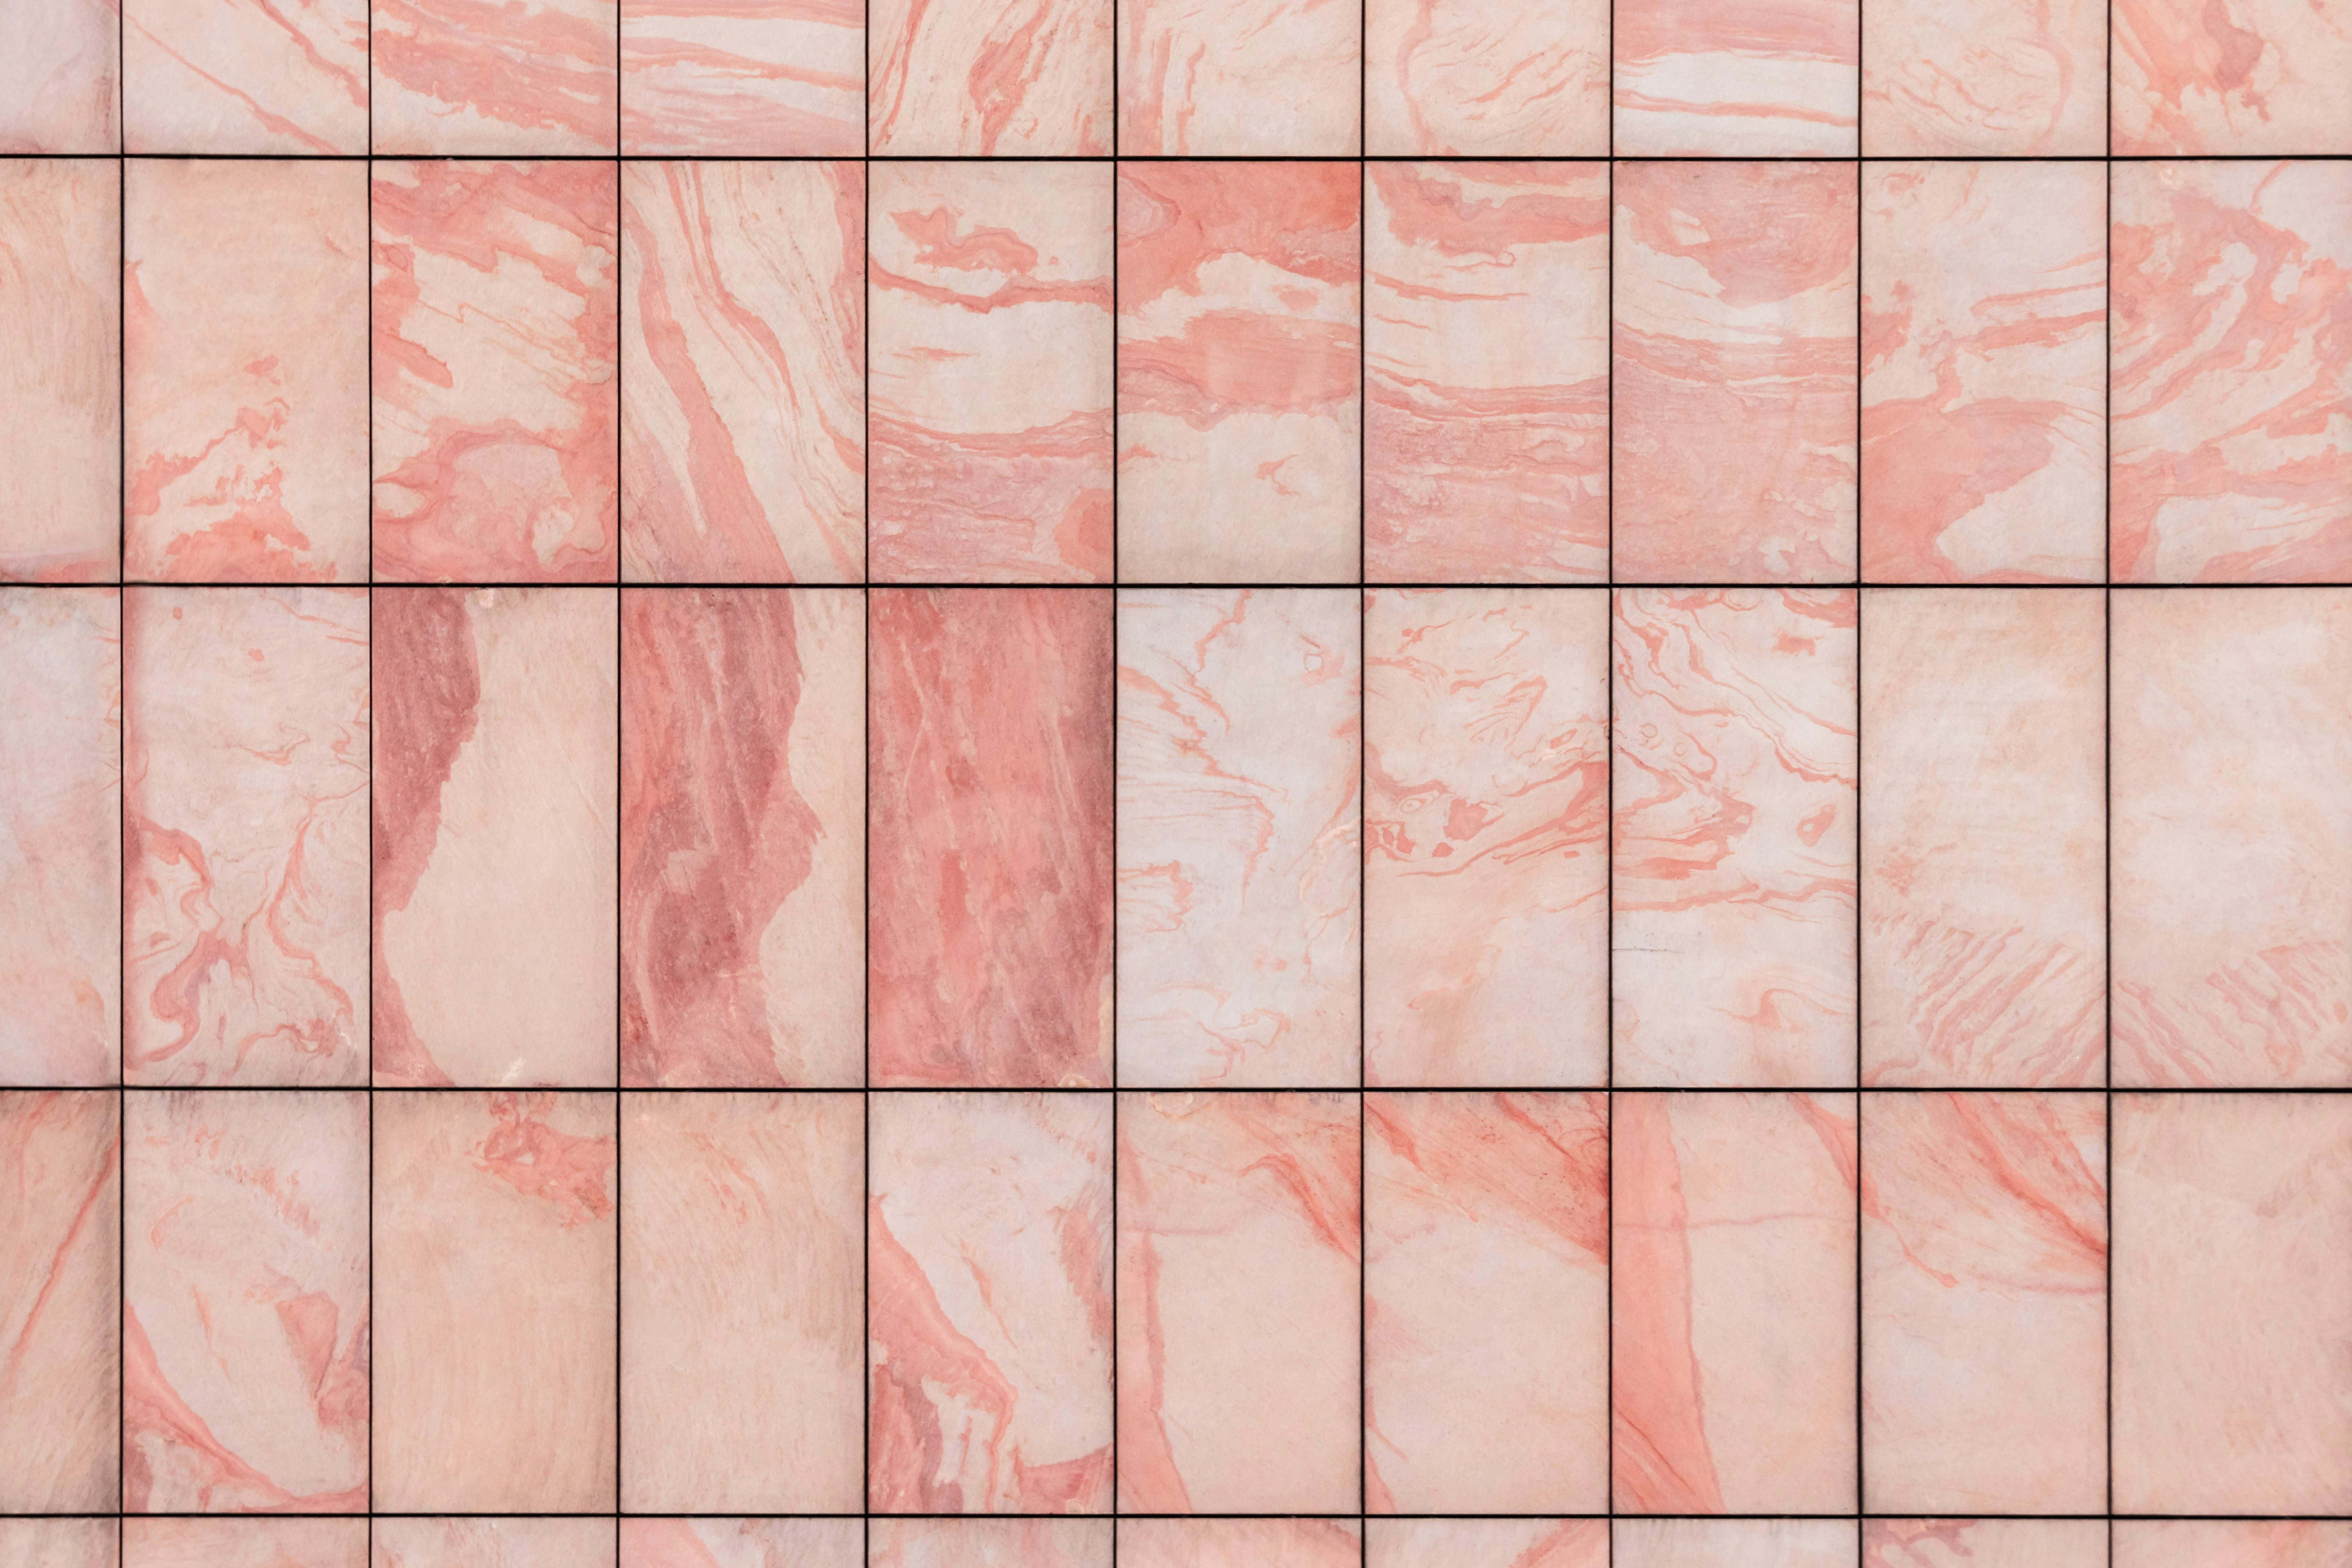
Natural Stone Tiles
Marble, Granite, Slate, Travertine, etc.
Natural stone tiles such as marble, granite, slate, travertine, limestone, and sandstone offer unique textures and colors that add elegance and sophistication to any space. Marble is known for its luxurious appearance with intricate veining patterns and comes in various hues like white, beige, gray, and black. Granite is prized for its durability and resistance to heat and scratches due to its dense composition.
Slate features a distinct cleft surface texture that adds character to floors or walls while being naturally slip-resistant. Travertine exudes warmth with its earthy tones ranging from ivory to walnut shades.
Each type of natural stone tile has its own set of advantages and considerations when it comes to maintenance and installation. While marble may require regular sealing due to its porous nature, granite is relatively low-maintenance but may need resealing over time depending on usage.
Slate's textured surface can hide dirt but requires specific cleaning products to maintain its appearance. Travertine's softness makes it susceptible to scratching but can be honed or filled with resin for added durability based on the desired finish.
Concrete Substrates
Proper Curing Time Before Tiling
When working with concrete substrates for tile installation, it is crucial to allow the concrete to cure adequately before proceeding with the tiling process. Proper curing time ensures that the concrete reaches its maximum strength and minimizes the risk of cracks or other issues developing beneath the tiles. The standard recommendation is to wait at least 28 days after pouring the concrete before tiling, although specific timelines may vary based on factors such as humidity and temperature.

Moisture Testing and Mitigation Techniques
Before laying tiles on a concrete substrate, conducting moisture testing is essential to prevent potential problems such as tile delamination or mold growth due to excess moisture. Common moisture testing methods include using a moisture meter or performing a plastic sheet test. If high moisture levels are detected, mitigation techniques such as applying a waterproofing membrane or using a moisture barrier can be employed to ensure successful tile installation and long-term durability.
Wood Substrates
Advantages and Challenges of Tiling Over Wood
Tiling over wood substrates can provide a warm, natural aesthetic in interior spaces, offering a unique look compared to traditional tile installations on concrete surfaces. However, there are challenges associated with tiling over wood due to its organic nature and susceptibility to expansion/contraction caused by changes in humidity and temperature. Proper preparation and understanding of these challenges are essential for achieving a successful wood-tile installation that stands the test of time.

Recommended Underlayment Materials
To address the challenges of tiling over wood substrates effectively, using appropriate underlayment materials is key. Options such as cement backer board or uncoupling membranes can provide stability and prevent movement between the wood subfloor and the tiled surface.
These underlayment materials help distribute weight evenly, reduce flexing in the wood substrate, and create a solid base for tile adhesion. Choosing high-quality underlayment materials suitable for tiling over wood is critical for ensuring the longevity and performance of the tiled floor or wall.
Tile Cutters
When it comes to tile installation, having the right tools can make all the difference. Tile cutters are essential for achieving precise cuts and ensuring a professional-looking finish.
Manual tile cutters are commonly used for straight cuts on ceramic tiles. These tools consist of a sharp wheel that scores the surface of the tile, allowing it to be snapped along the score line.
Manual tile cutters are ideal for smaller projects or when you need to make quick, straight cuts. For more complex cuts or cutting natural stone tiles, electric wet saws are often preferred.
Electric wet saws use a diamond-coated blade that rotates and is cooled by water to prevent overheating and ensure clean cuts. These saws are versatile and can handle various types of tiles with ease, making them a valuable tool for professional installers.
Trowels
Trowels play a crucial role in spreading adhesive evenly and efficiently during the tiling process. Notched trowels are commonly used for this purpose, as they create ridges in the adhesive that help secure the tiles in place.
The size of the notches on the trowel should correspond to the size of the tiles being installed – larger tiles require larger notches to ensure proper coverage. In addition to notched trowels, margin trowels are handy for detailed work and reaching tight spaces around corners or edges.
Margin trowels have a flat blade that allows for precision application of adhesive or grout in small areas where larger trowels may be impractical. Having both types of trowels in your toolkit ensures you can tackle any installation scenario with ease.
Levels and Spacers
Ensuring your tile installation is level and properly spaced is essential for achieving a polished end result. Levels help you check that your tiles are aligned correctly both horizontally and vertically, preventing crooked lines or uneven surfaces.
A quality spirit level is a must-have tool for any installer looking to achieve professional results. Spacers come in various sizes and materials (such as plastic or rubber) and are used to maintain consistent spacing between tiles while the adhesive sets.
Proper spacing ensures grout lines are uniform across your installation and helps prevent shifting or misalignment during curing. Using spacers in conjunction with levels will help you achieve a flawless finish that enhances the overall aesthetic appeal of your tiled surface.
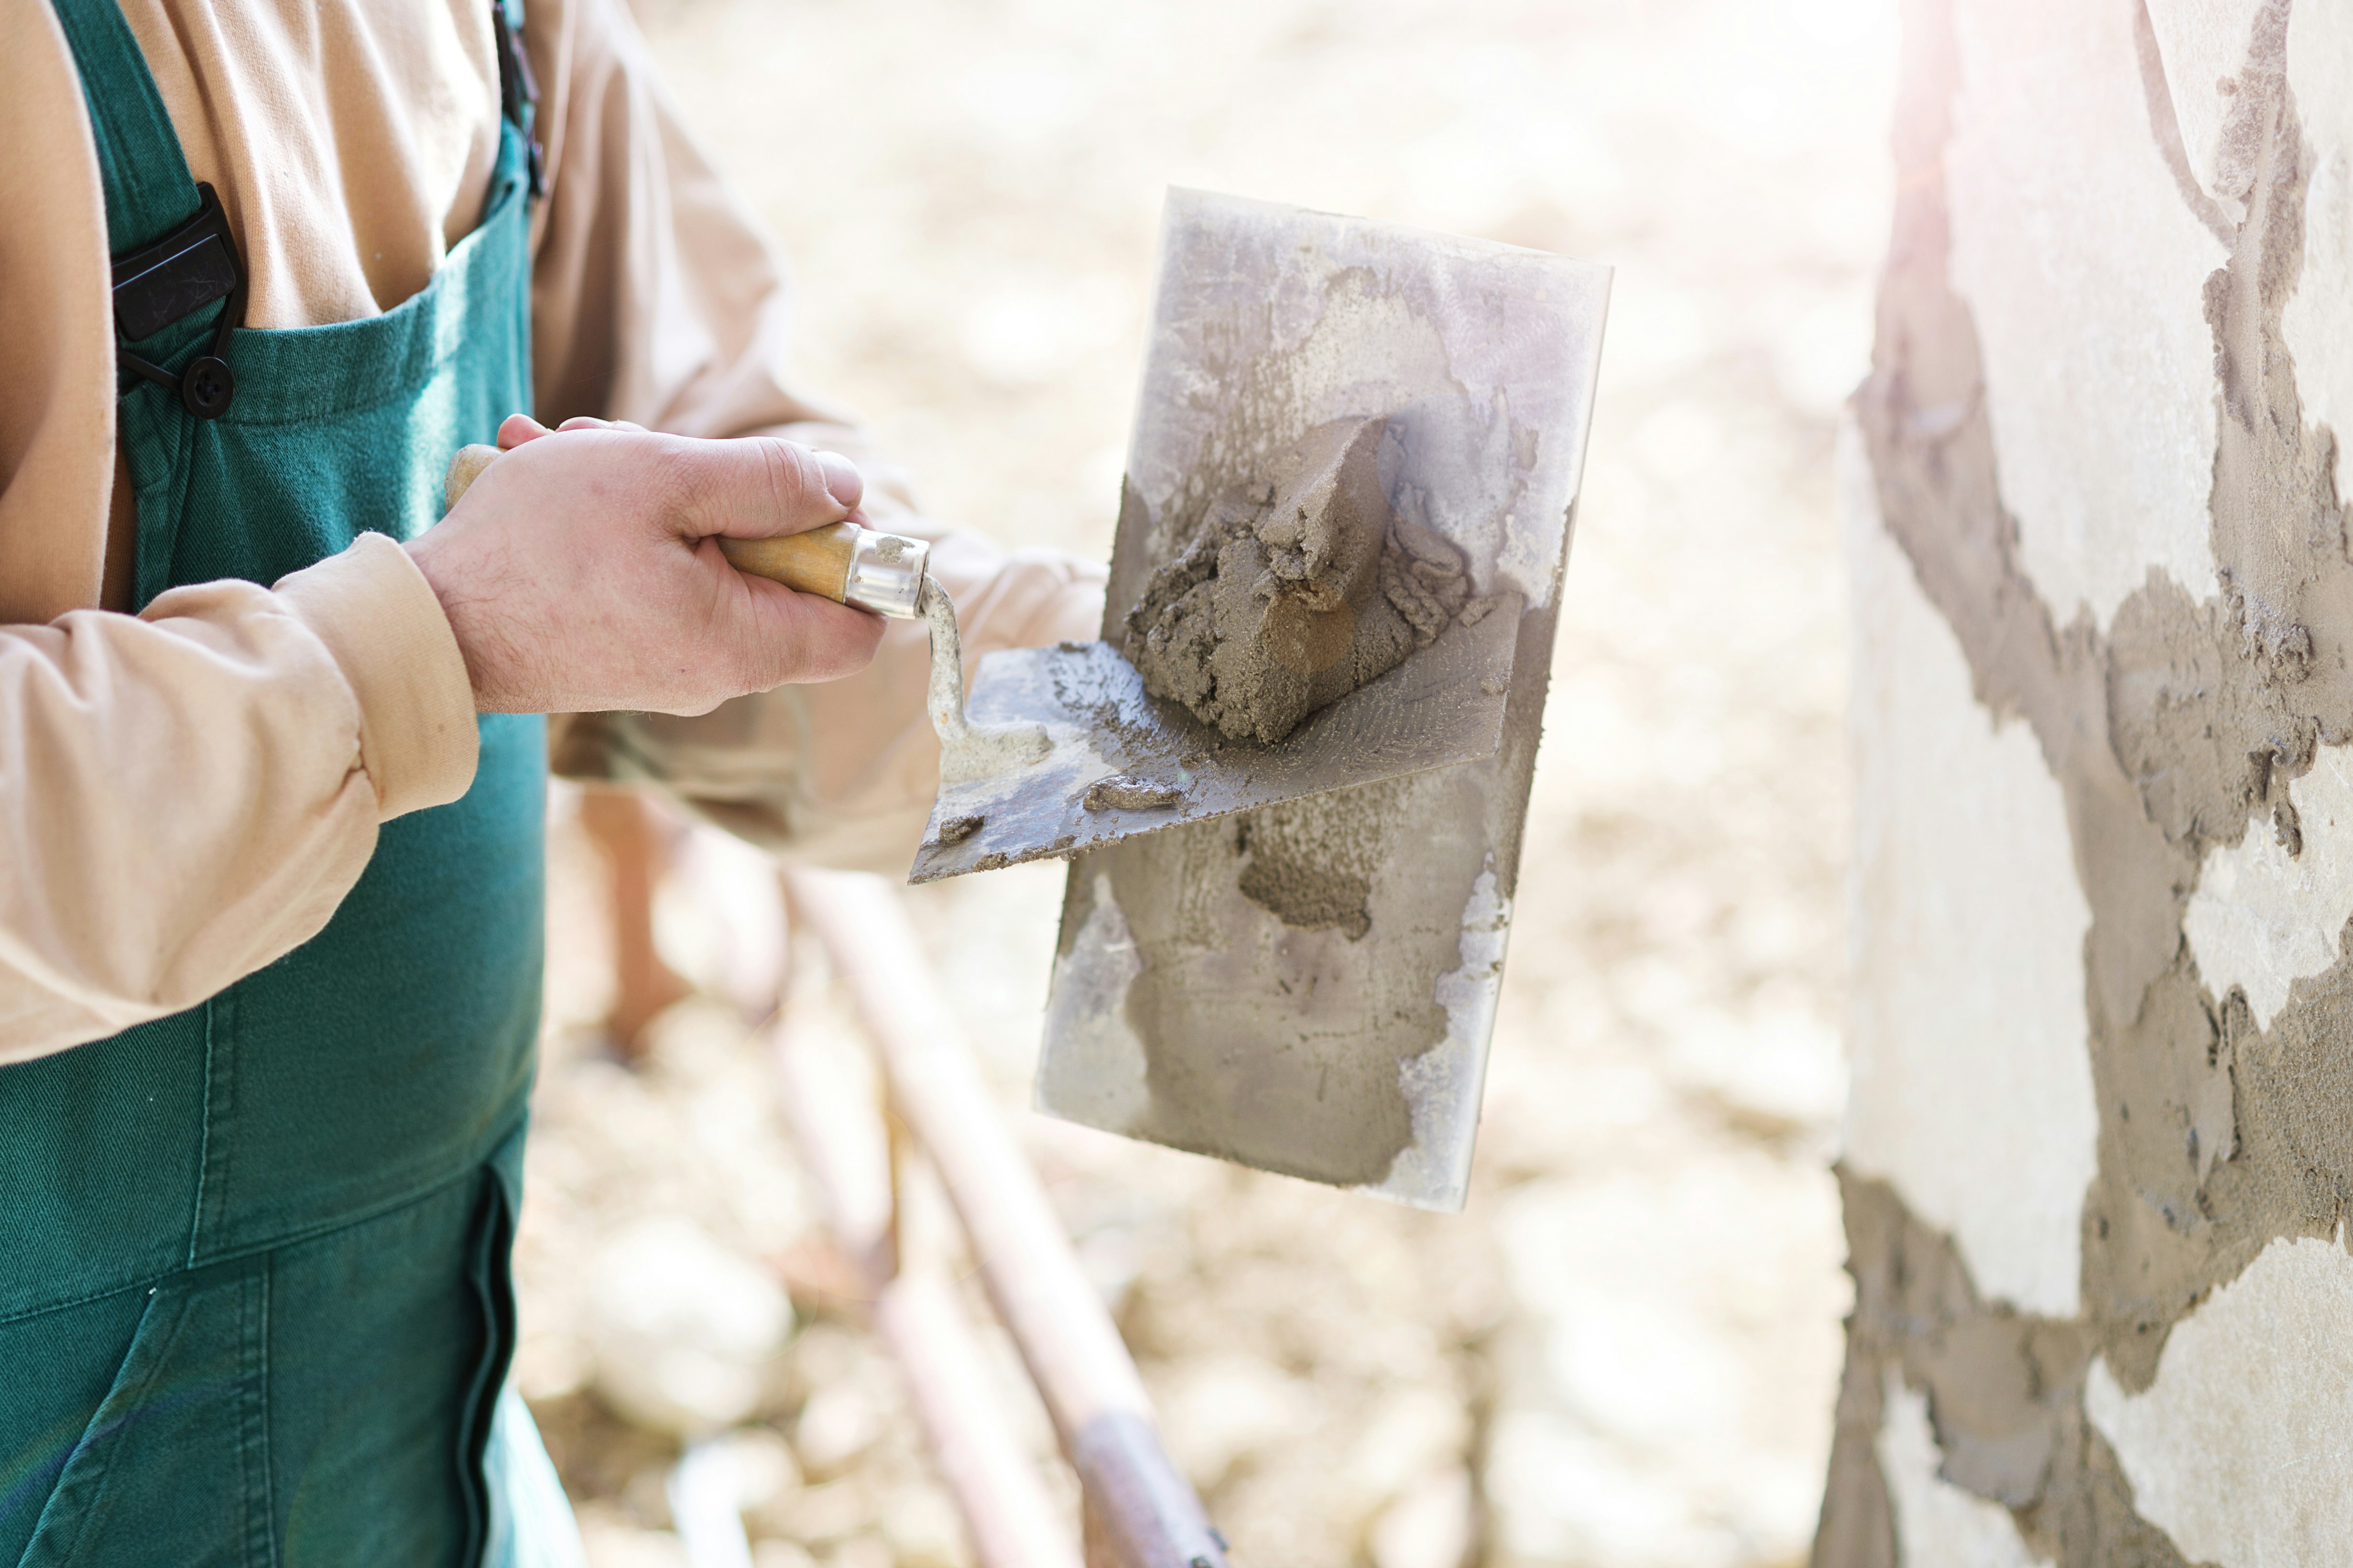
Adhesive Selection and Application

Thin-set mortar vs. mastic adhesives
When it comes to tile installation, choosing the right adhesive is crucial for ensuring a long-lasting and durable finish. Thin-set mortar, also known as cementitious mortar, is a popular choice for most tile types due to its strength and versatility. It is a mixture of cement, sand, and additives that provide excellent bond strength and resistance to moisture. On the other hand, mastic adhesives are premixed and come in ready-to-use containers. While mastic is easier to work with for DIY projects and smaller tiles, it is not suitable for high-moisture areas or heavy tiles like natural stone.
Proper mixing techniques
To achieve the best results when working with thin-set mortar, proper mixing techniques are essential. Start by adding water to a clean bucket according to the manufacturer's instructions. Then slowly pour in the dry mortar mix while stirring continuously to avoid lumps.
Use a drill with a mixing attachment for larger quantities to ensure a smooth consistency without air pockets. Overmixing can lead to premature drying of the adhesive, so follow the recommended mixing time closely.
Application methods for different types of tiles
The application method of adhesive varies depending on the type of tile being installed. For ceramic or porcelain tiles, spread thin-set mortar evenly across the substrate using a notched trowel at a 45-degree angle.
Press the tiles firmly into place while maintaining consistent spacing using spacers. Natural stone tiles require back-buttering where additional adhesive is applied directly to the back of each tile before installation to ensure proper adhesion due to their irregular surface texture.
Grouting Techniques
Types of Grout: Sanded, Unsanded, Epoxy
When it comes to grouting your tiles, selecting the right type of grout is crucial for both aesthetic appeal and durability. There are primarily three types of grout commonly used in tile installation: sanded grout, unsanded grout, and epoxy grout. Sanded grout is recommended for wider tile joints (typically 1/8 inch or more) as the sand particles help prevent shrinkage and cracking.
Unsanded grout, on the other hand, is designed for smaller tile joints (less than 1/8 inch) and is smoother in texture. Epoxy grout is a premium option known for its exceptional strength and resistance to stains and chemicals, making it ideal for high-traffic areas or where moisture is a concern.

Color Selection Considerations
Choosing the right color of grout can significantly impact the overall look of your tiled surface. While matching the color of the grout to the tiles creates a seamless appearance, contrasting colors can make individual tiles stand out and create unique patterns. Light-colored grouts tend to show less dirt but may require more maintenance to keep them looking pristine.
Dark-colored grouts can provide a striking contrast but may fade over time due to exposure to sunlight. It's essential to consider factors such as lighting conditions in the room, tile color variations, and personal preferences when selecting a grout color that best complements your design vision.
Sealing Grout for Longevity
To enhance the longevity and durability of your tiled surface, sealing the grout is a crucial step that should not be overlooked. Grout sealers act as a protective barrier against moisture penetration, stains, mold growth, and discoloration over time. Penetrating sealers are absorbed into the porous grout material to provide long-lasting protection without altering its appearance.
Surface sealers create a protective layer on top of the grout that repels water and stains effectively but may require more frequent reapplications. Regularly sealing your grouted tiles not only prolongs their lifespan but also simplifies maintenance by making cleaning easier and preventing costly repairs down the line.
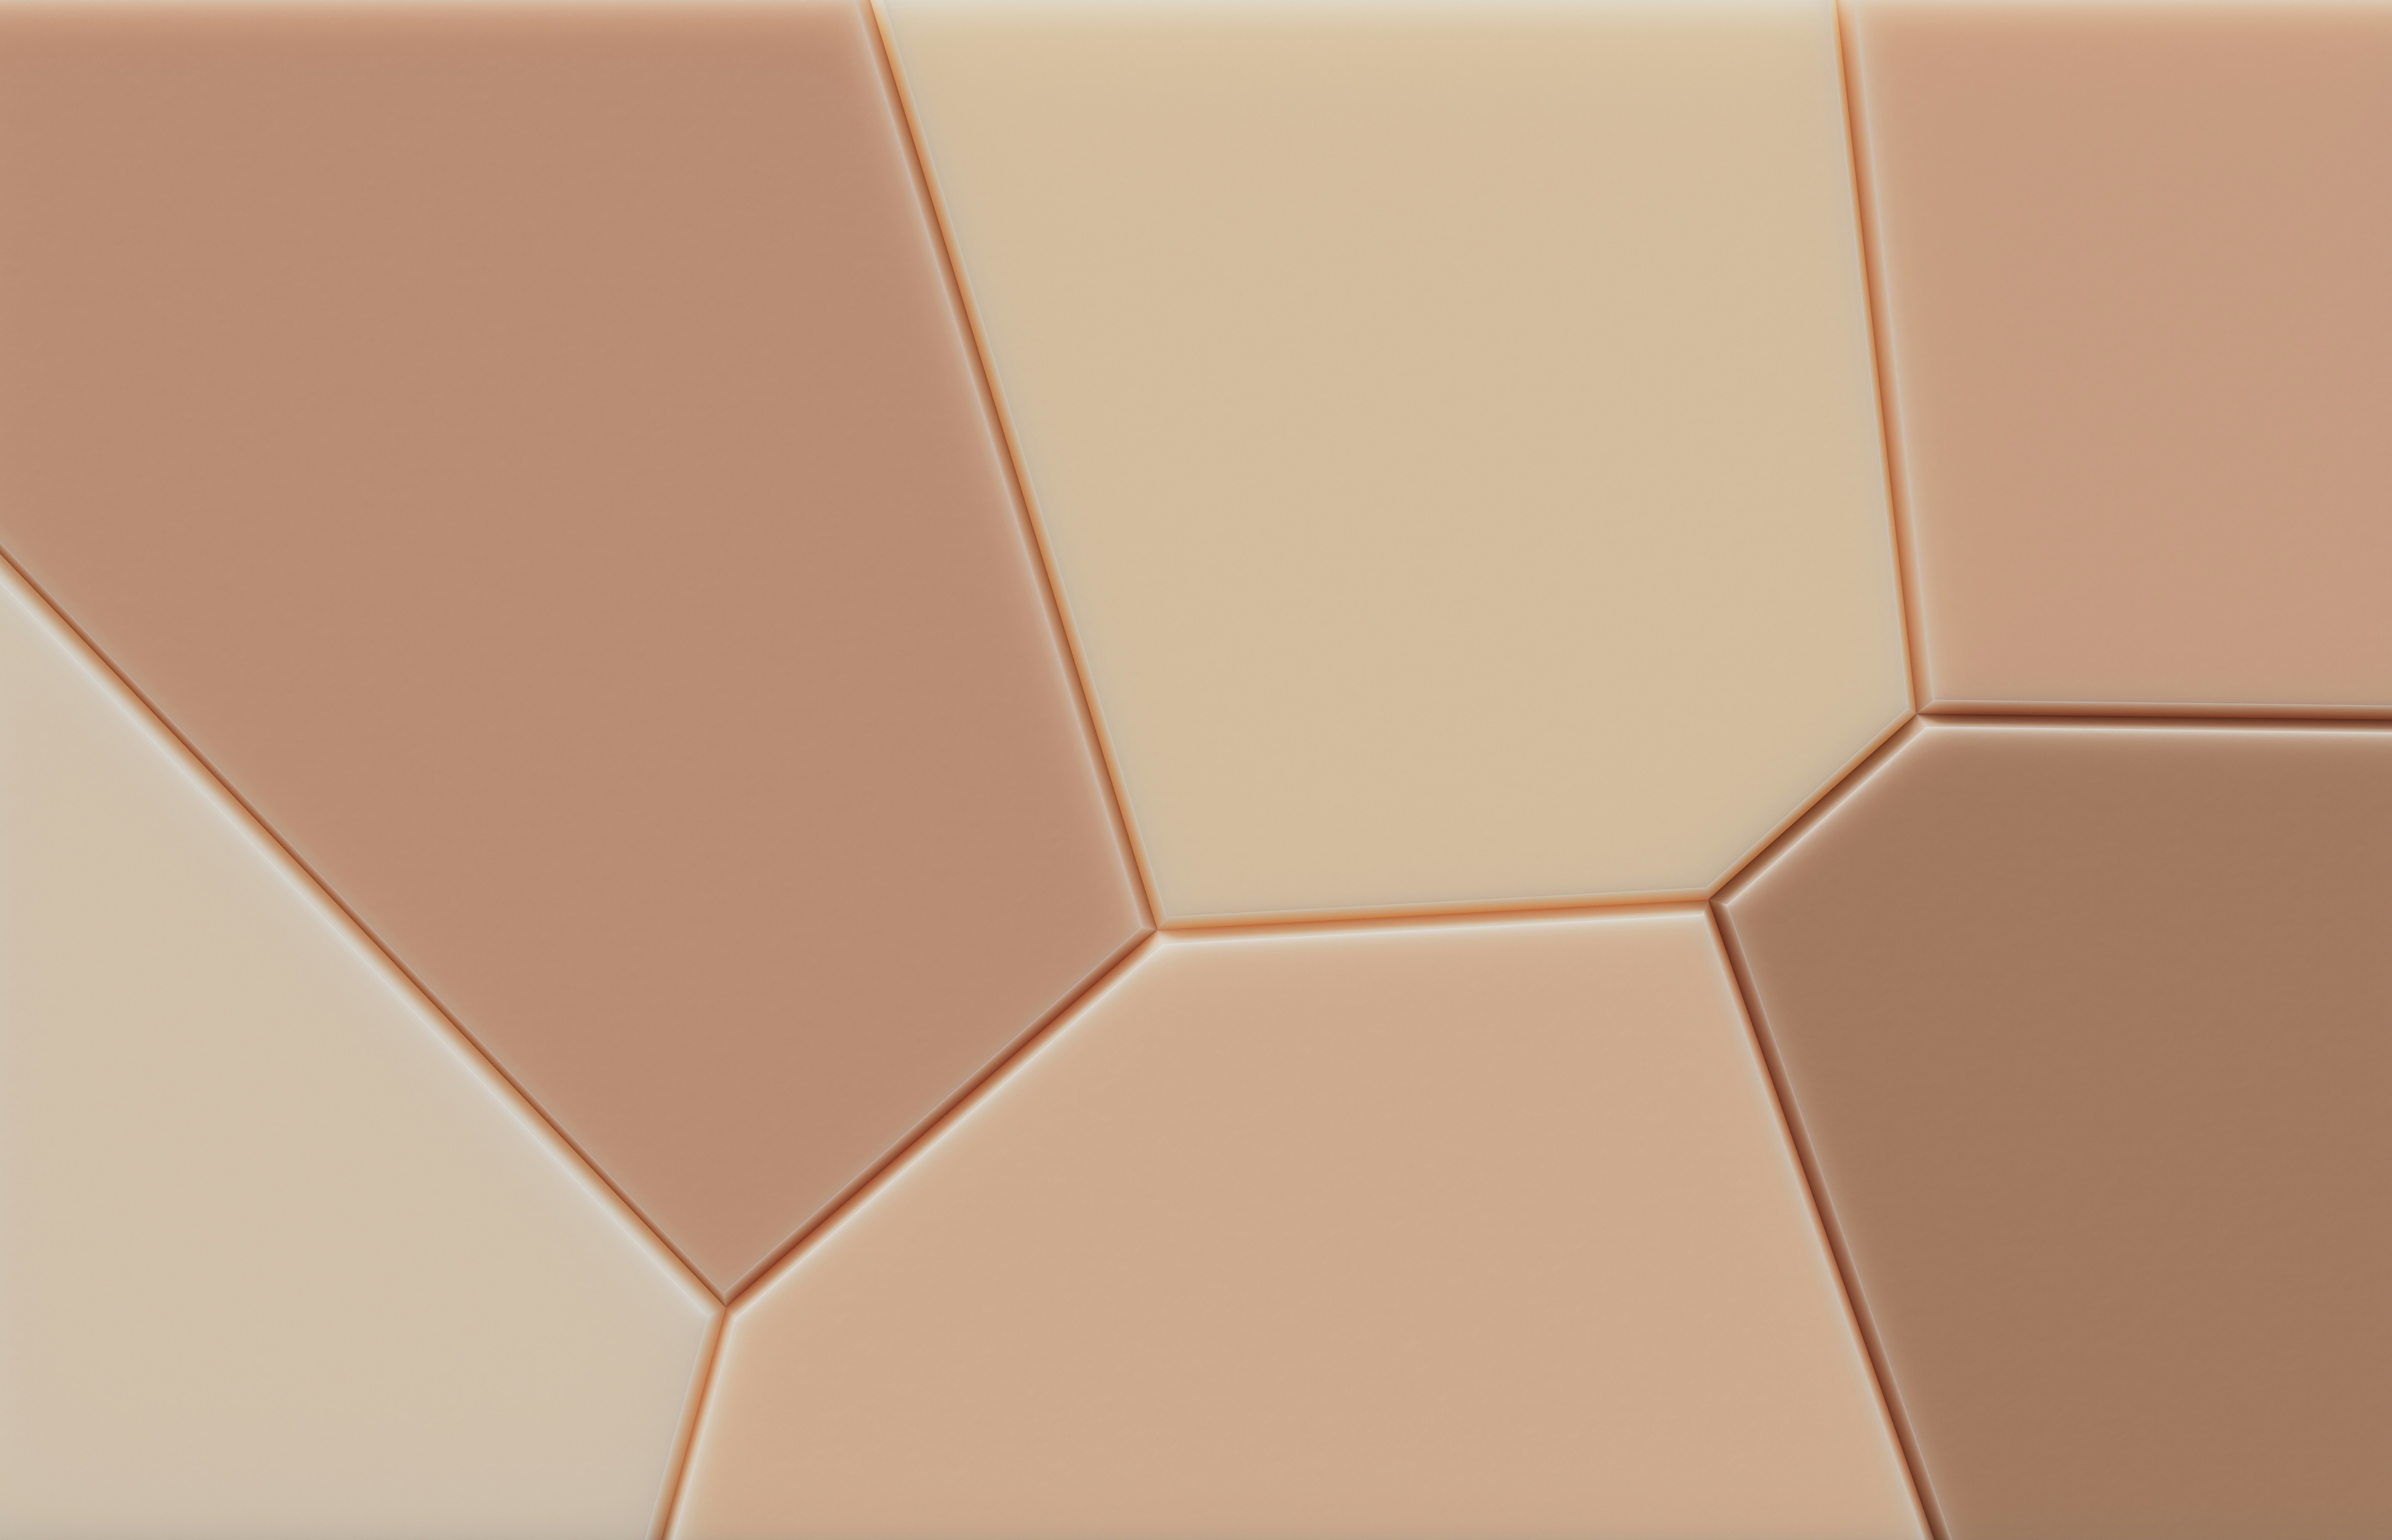
Tile Layout Patterns
Classic Patterns
Classic tile layout patterns have stood the test of time for their timeless appeal and versatility. The straight lay pattern, where tiles are installed in a grid-like fashion, is a popular choice for its simplicity and clean look. This pattern works well in both modern and traditional spaces, adding a sense of order and neatness to the design.
On the other hand, the diagonal pattern involves installing tiles at a 45-degree angle to create a dynamic visual impact. This pattern can make smaller rooms appear larger by drawing the eye diagonally across the space.
Modern Patterns
For those looking to add a contemporary flair to their tile installation, modern patterns like herringbone and chevron offer stylish alternatives. The herringbone pattern features tiles laid in a zig-zag formation, adding visual interest and creating movement within the space.
This pattern is perfect for creating an upscale look in bathrooms or kitchens. Similarly, the chevron pattern involves tiles laid in a V-shape design, providing a sophisticated and trendy aesthetic that can elevate any room's decor.
Conclusion
Mastering different tile layout patterns allows for endless creative possibilities when designing spaces with tile installations. Whether opting for classic styles like straight lay or diagonal patterns or embracing modern trends like herringbone and chevron designs, each layout choice contributes to the overall ambiance of a room.
By carefully considering factors such as room size, tile type, and personal style preferences, individuals can transform their living spaces into visually stunning masterpieces that reflect their unique taste and personality. Embrace the artistry of tile installation with confidence and let your creativity shine through each carefully planned layout decision.