Jun 26, 2024
Master the Art of Painting: Expert Tips & Techniques
Choosing the Right Paint Color
When embarking on a house painting project, selecting the right paint color is paramount in achieving the desired look and feel for your home. Colors have the power to influence mood, perception, and even energy levels within a space.
Before making a decision, consider the existing elements in your home such as furniture, flooring, and decor pieces. Harmonizing or contrasting with these elements can create a cohesive or dynamic aesthetic that suits your personal style.
Take into account natural light exposure in different rooms when choosing paint colors. Spaces with ample natural light can carry bolder hues without feeling overwhelming, while rooms with limited light may benefit from lighter shades to enhance brightness.
Additionally, consider the purpose of each room - calming blues or greens are ideal for bedrooms, while energizing yellows or oranges may be more suited for kitchens or play areas. Explore color psychology to understand how different shades can evoke specific emotions.
For example, cool tones like blues and greens promote relaxation and tranquility, perfect for creating serene environments in bedrooms or bathrooms. Warm tones like reds and yellows exude warmth and energy, making them ideal for social spaces like living rooms or dining areas.
Selecting the Appropriate Paint Finish
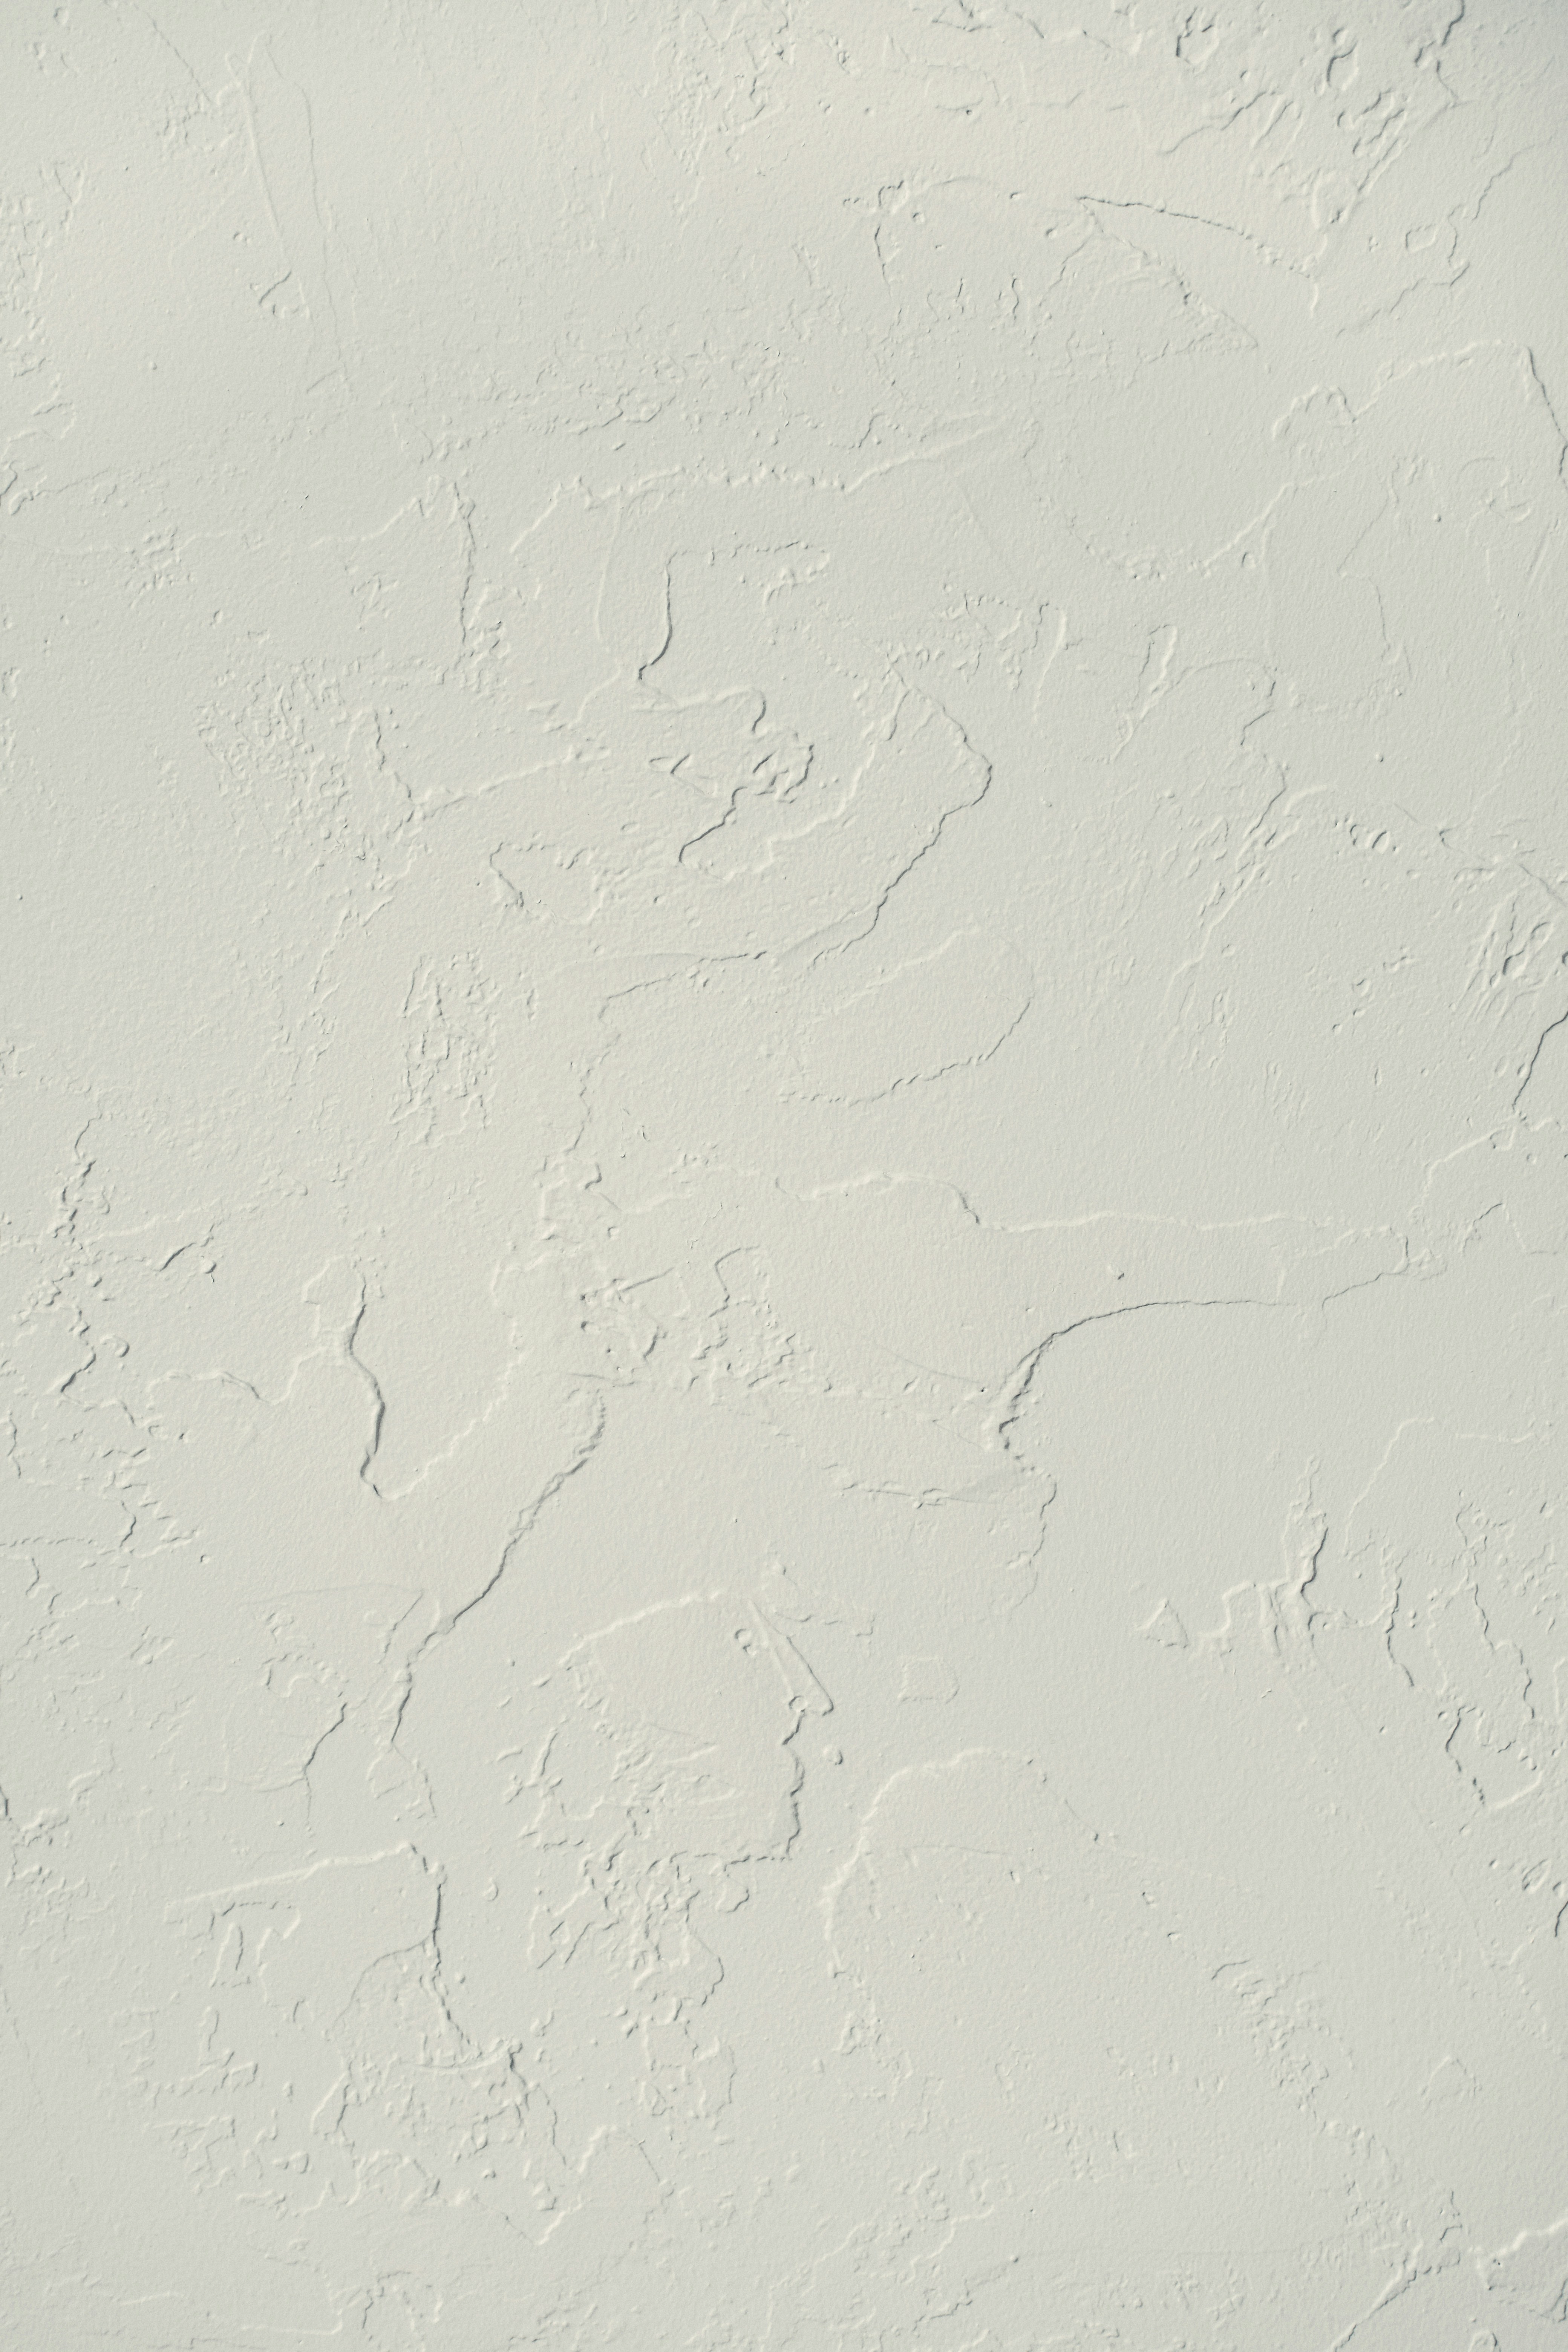
The choice of paint finish can significantly impact both the visual appeal and durability of your painted surfaces. Different types of finishes offer varying levels of sheen and durability, catering to diverse needs and preferences.
Flat finishes provide a matte appearance that conceals imperfections but may require frequent touch-ups in high-traffic areas due to their low resistance to stains and abrasions. Satin finishes strike a balance between matte and glossiness, offering easy maintenance while providing a subtle sheen that enhances depth in color.
This finish is versatile and suitable for most interior spaces such as living rooms, bedrooms, and hallways. Gloss finishes deliver a shiny surface that is highly durable and easy to clean but may highlight flaws on walls; they are commonly used on trims, doors, or cabinets where visibility is desired.
Consider the practical aspects of each finish when making your selection - high-traffic areas benefit from more durable finishes like satin or semi-gloss that withstand frequent cleaning without losing their luster. Additionally, think about the style you wish to achieve; modern aesthetics often favor sleek satin finishes while traditional interiors may feature more matte surfaces for a classic look.
Exterior House Painting
The Foundation of a Flawless Paint Job: Surface Preparation
When it comes to exterior house painting, proper surface preparation is absolutely essential. Before even thinking about picking up a paintbrush, you must ensure that the surfaces are clean, smooth, and ready to accept the new coat of paint.
Begin by thoroughly cleaning the exterior walls, siding, trim, and doors using a mild detergent and water solution. For tougher stains or dirt buildup, pressure washing might be necessary.
Once clean, allow ample time for the surfaces to dry completely before moving on to the next step. Sanding is another crucial aspect of surface preparation that should not be overlooked.
This step involves smoothing out any rough spots or imperfections on the surfaces to be painted. Use a fine-grit sandpaper to gently sand away any peeling paint or uneven areas.
Pay close attention to detail during this process as it will impact the final look and longevity of your paint job. Applying a high-quality primer is essential for ensuring proper adhesion of the paint and enhancing its durability over time.
Mastering Techniques for Precision Painting
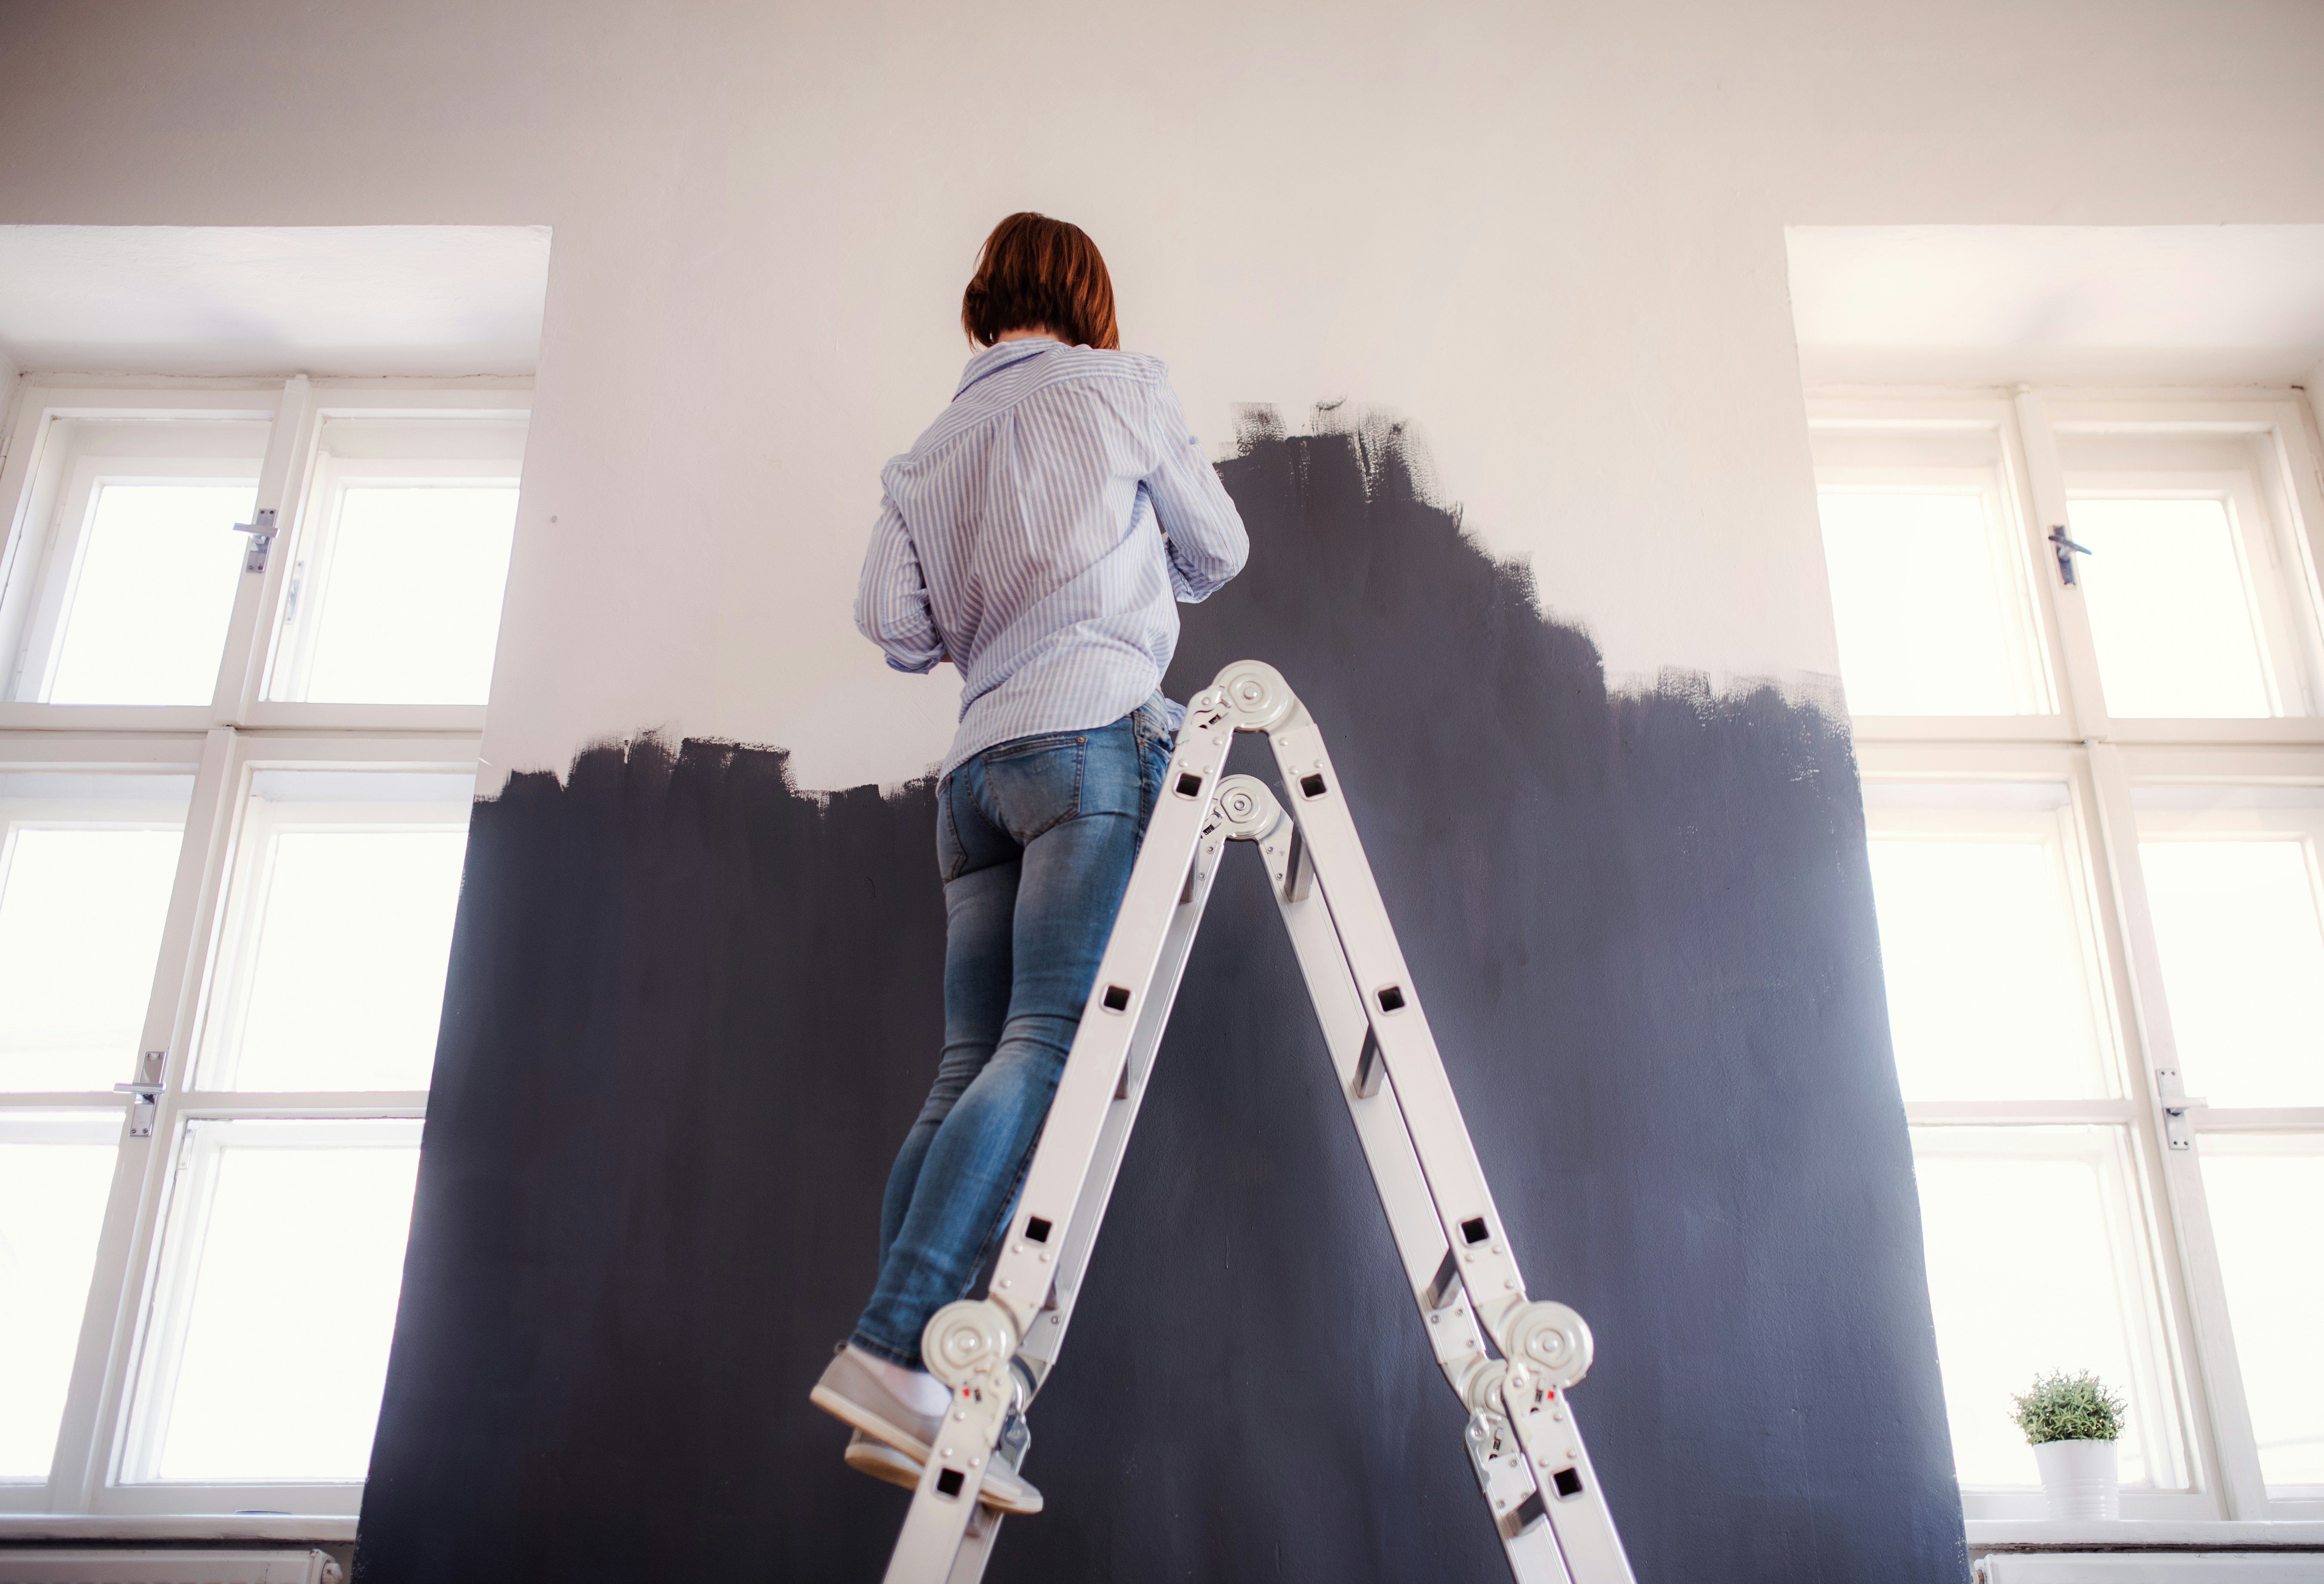
When it comes to painting siding, trim, and doors on your home's exterior, mastering the right techniques can make all the difference in achieving professional-looking results. To ensure even coverage and smooth finishes, start by cutting in along edges with a high-quality brush before using a roller for larger areas.
Be sure to work in small sections at a time to prevent visible lap marks and maintain a wet edge for seamless blending between sections. For siding painting techniques, consider using a sprayer for faster application and more even coverage.
When painting trim and doors, take your time to tape off adjacent areas to avoid accidental splatters or smudges on other surfaces. Remember that multiple thin coats are better than one thick coat when it comes to achieving a durable finish that will withstand outdoor elements.
Navigating Weather Considerations: A Crucial Component
One often underestimated factor in exterior house painting is weather conditions. Temperature and humidity levels can significantly impact how well paint adheres and dries on exterior surfaces.
Ideally, aim to paint when temperatures range between 50-85 degrees Fahrenheit with low humidity levels for optimal drying conditions. Avoid painting in direct sunlight as this can cause premature drying which may lead to visible brush strokes or roller marks on your finished project.
Additionally, be mindful of impending rainstorms or strong winds that could disrupt your painting process or damage wet paint surfaces. Planning ahead and monitoring weather forecasts can help you schedule your exterior house painting project at the most opportune time for successful results that will stand the test of time.
Interior House Painting
Preparing the Canvas: Room Setup for a Flawless Finish
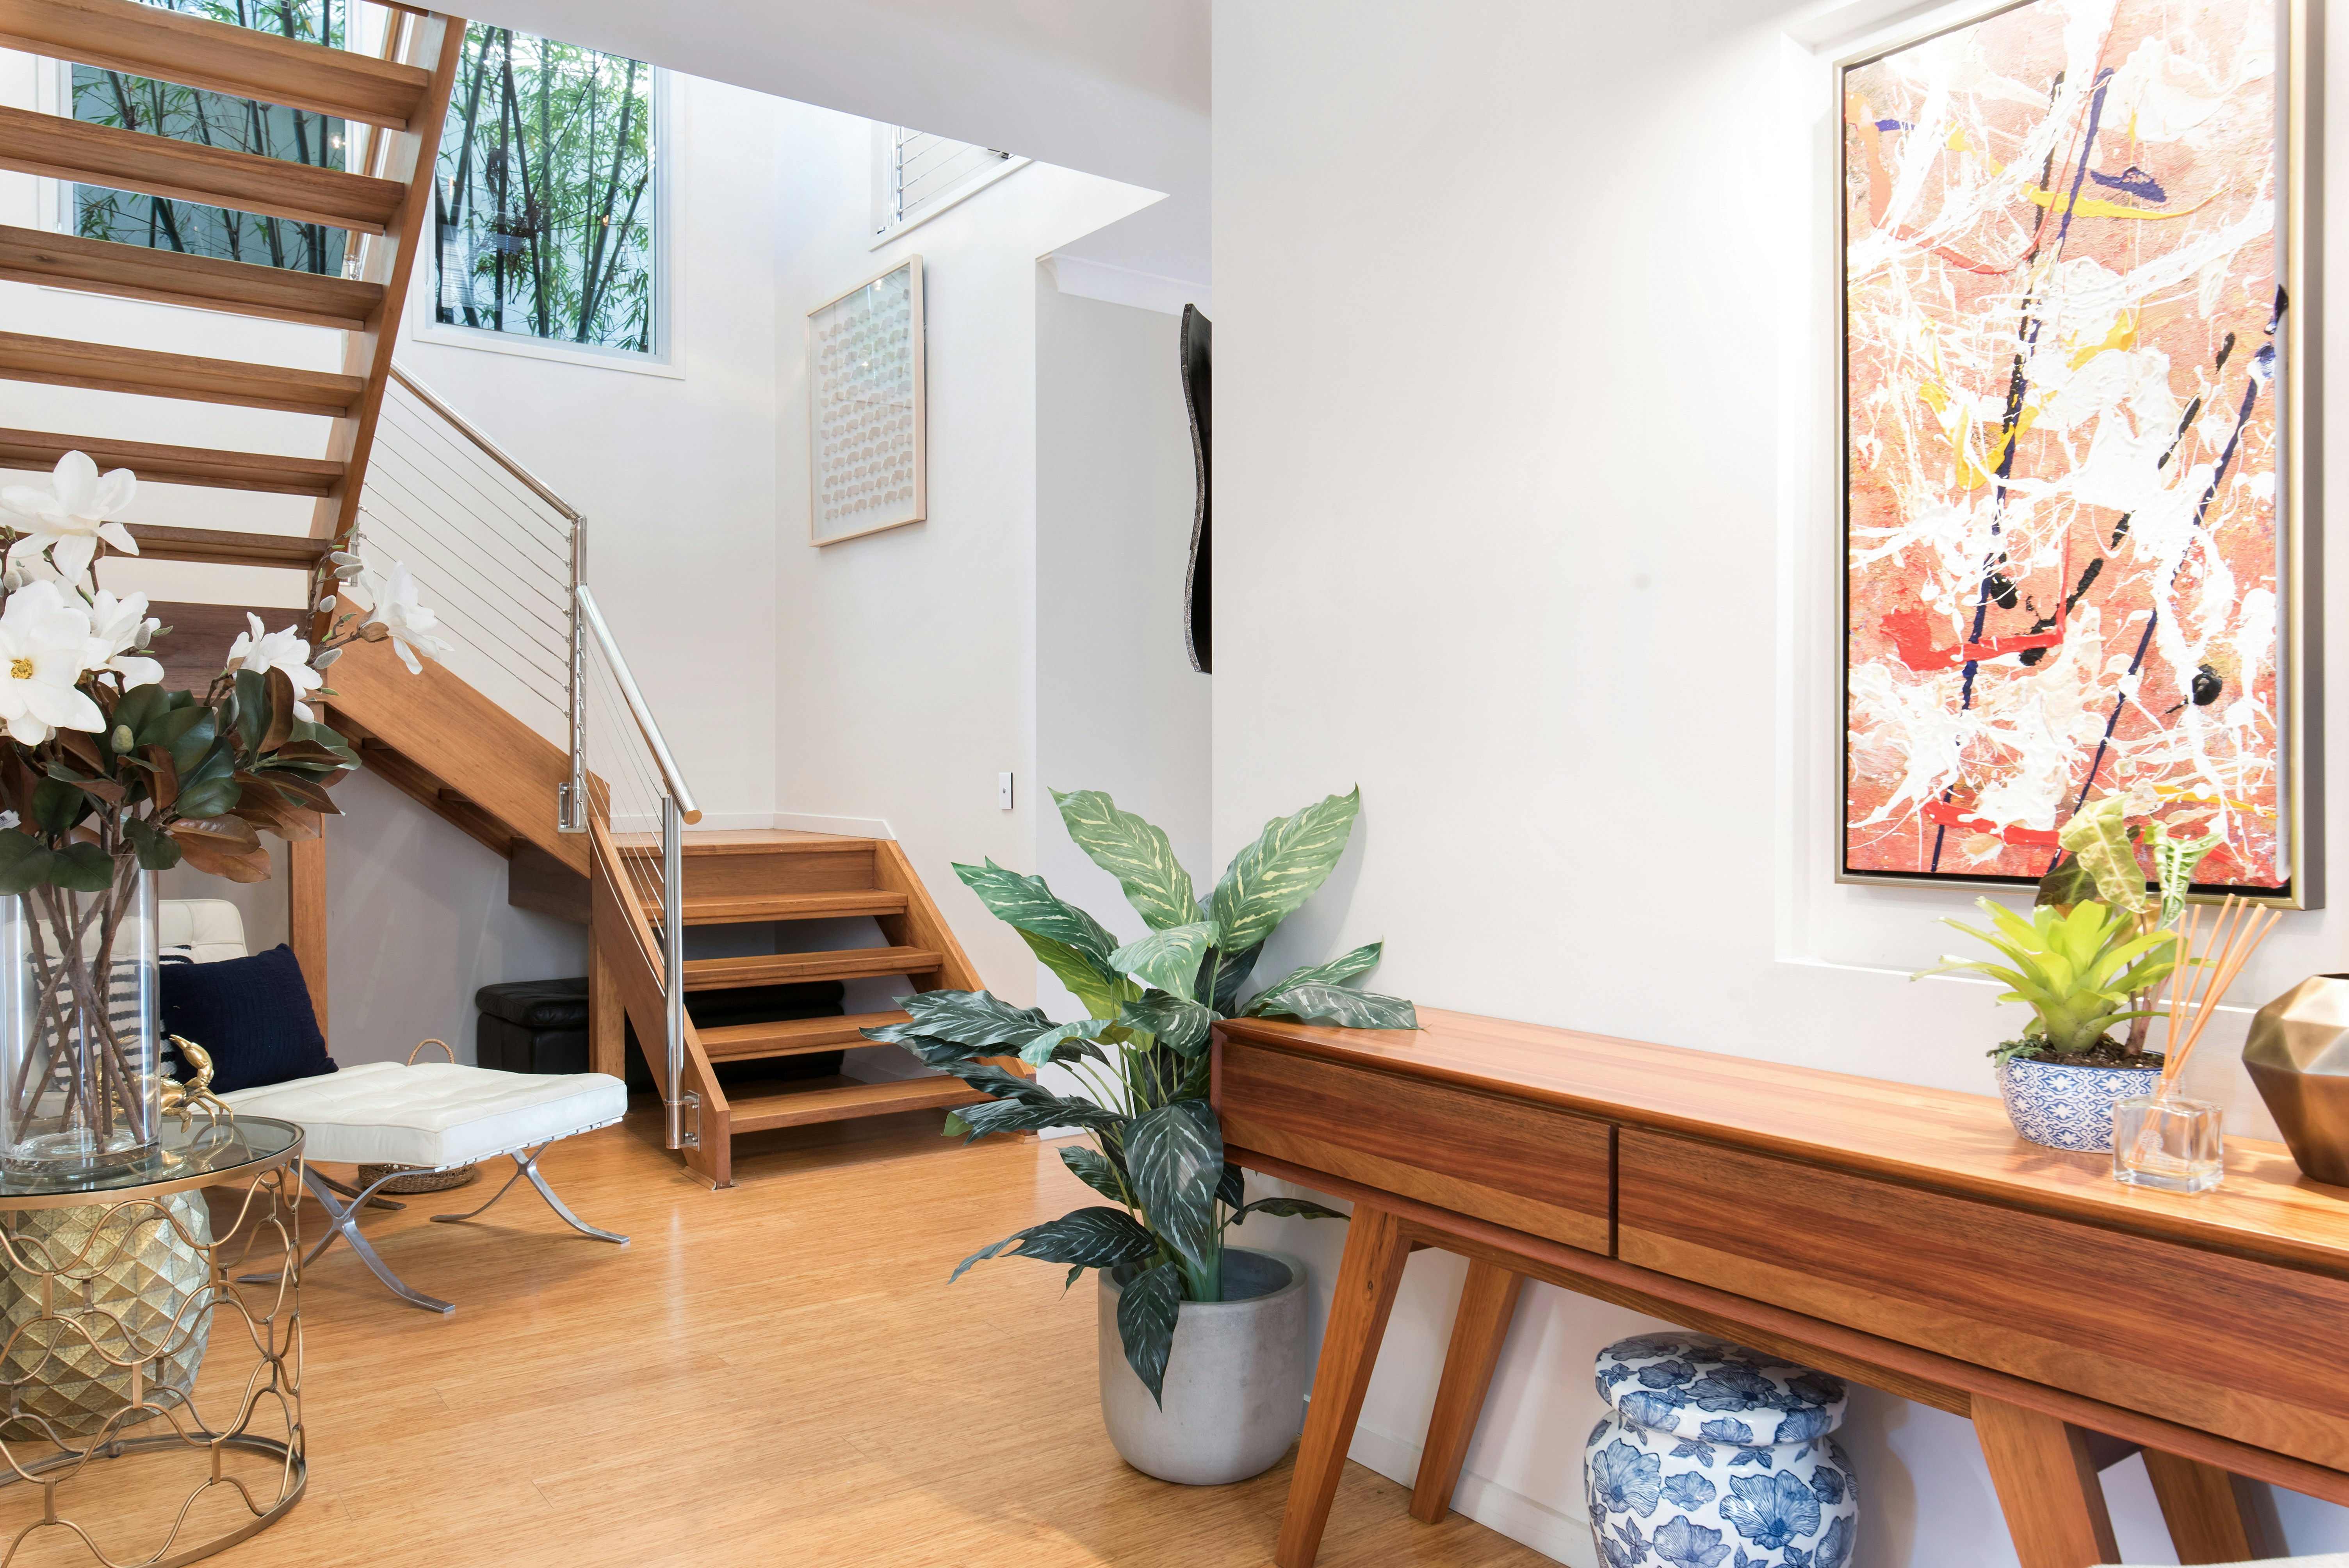
Before embarking on an interior house painting project, meticulous preparation of the room is paramount. Begin by removing all furniture from the space or gathering it in the center and covering it with plastic sheets to protect from paint splatters. Next, detach switch plates, outlet covers, and any fixtures that could obstruct smooth painting.
Use painter's tape to secure protective drop cloths over floors and any surfaces not to be painted. By creating this blank canvas, you ensure a seamless and efficient painting process.
Masterful Precision: Cutting in Edges and Corners
Achieving crisp lines at edges and corners is a hallmark of professional interior house painting. Before dipping your brush into paint, load it generously but not excessively to prevent drips. Hold the brush at a slight angle and carefully outline areas where two different colors meet or where walls intersect with ceilings or baseboards.
Utilize painter's tape as a guide for straight lines if needed but remember to remove it promptly after painting while the paint is still wet for clean results. With patience and a steady hand, master the art of cutting in to elevate the overall aesthetic appeal of your space.
Brushes vs Rollers: The Art of Application
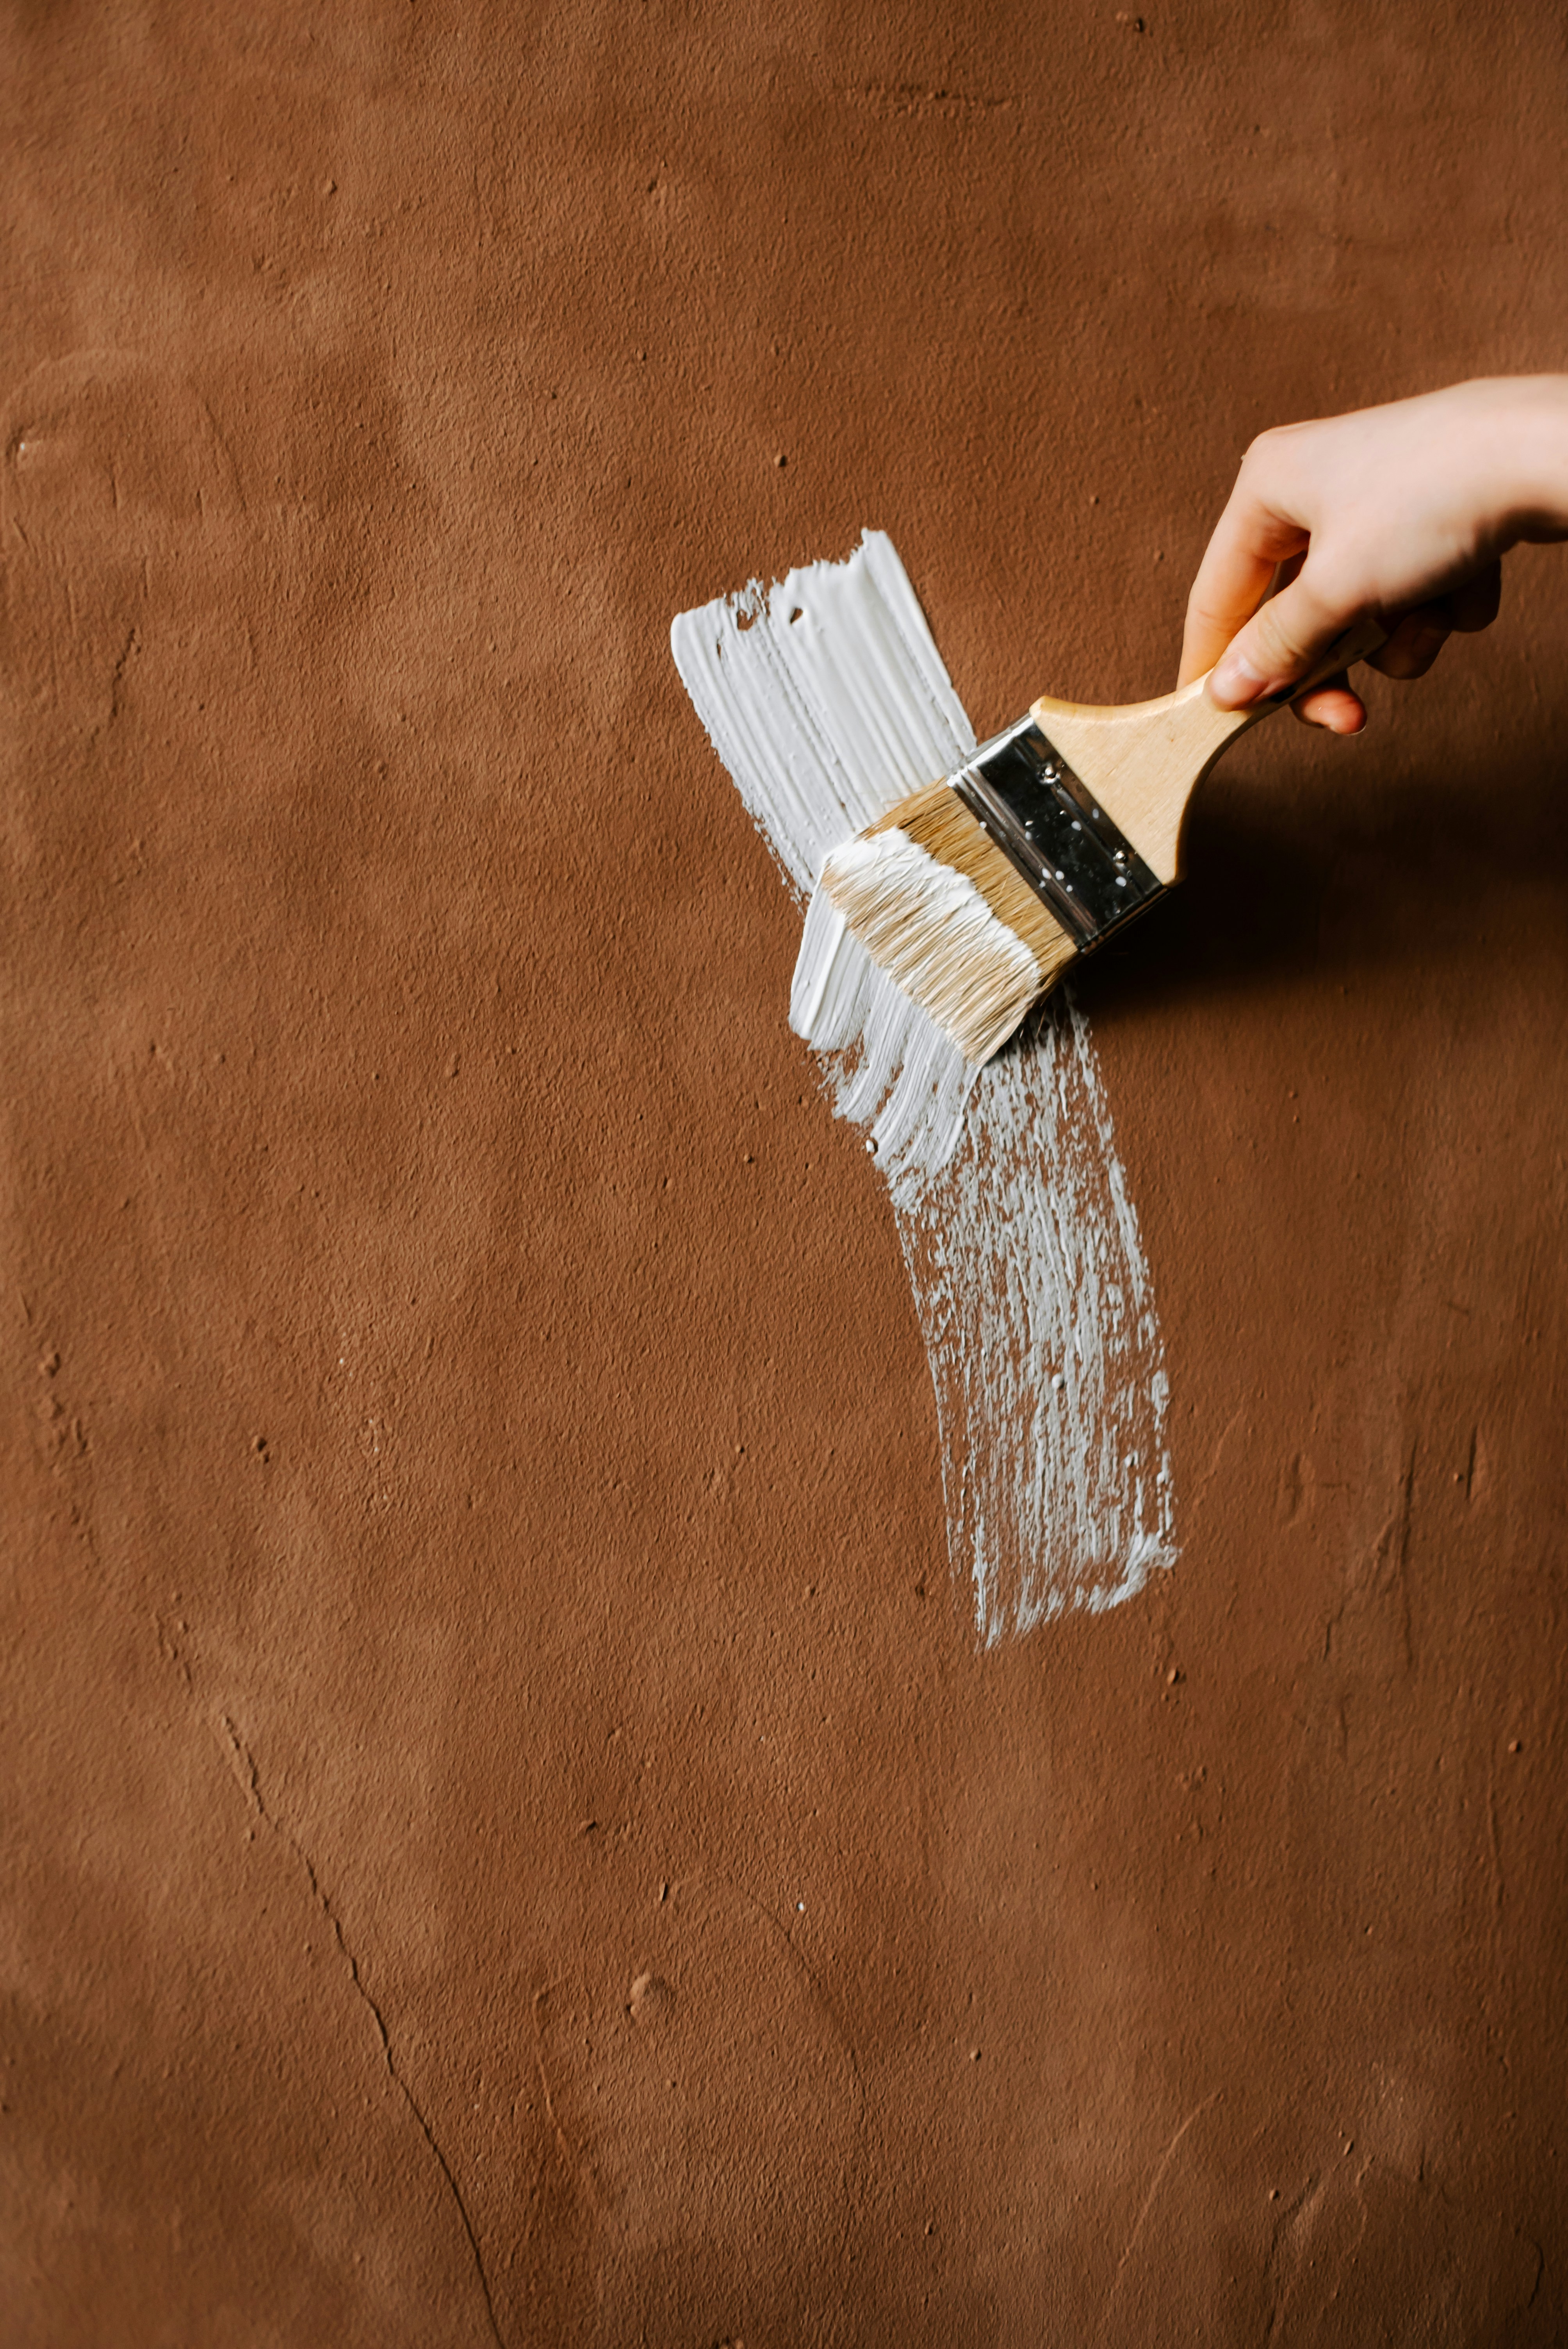
When it comes to applying paint on interior walls, choosing between brushes and rollers depends on various factors such as surface texture, desired finish, and personal preference. Brushes excel at intricate work like cutting in edges, corners, and trim details with precision while rollers are ideal for covering large surface areas quickly and evenly.
To achieve a seamless finish without visible brush marks or roller streaks, start by "boxing" your paint – mixing multiple cans together – before application. Experiment with different techniques such as feathering strokes with brushes or using crisscross patterns with rollers to achieve professional-looking results tailored to your space's unique characteristics.
Specialty Painting Techniques
Faux Finishes: Sponging, Ragging, Stippling
Faux finishes are a fantastic way to add depth and texture to your walls beyond the traditional flat painting style. Sponging involves dabbing a natural sea sponge or sponge paint roller onto the wall to create a soft, mottled effect. This technique adds a sense of dimension and interest to any room.
Ragging is another popular faux finish method where you crumple up a rag and use it to apply or remove glaze from the wall, resulting in a subtle, elegant look resembling fabric texture. Stippling, on the other hand, involves using a brush with stiff bristles to dab or stipple the surface, creating a speckled or dappled appearance that adds visual appeal.

Strie Painting Technique for Creating a Striped Effect
The strie painting technique is perfect for those looking to introduce sophisticated stripes on their walls without using wallpaper. To achieve this effect, begin by applying a base coat of paint and allowing it to dry completely. Next, apply a glaze mixture over the base coat and drag a dry brush vertically down through the wet glaze.
This process creates delicate vertical stripes that can vary in width depending on how quickly or slowly you drag the brush. Strie painting adds an element of elegance and refinement to any space while allowing for customization in terms of stripe width and color combinations.
Creating an Accent Wall or Mural
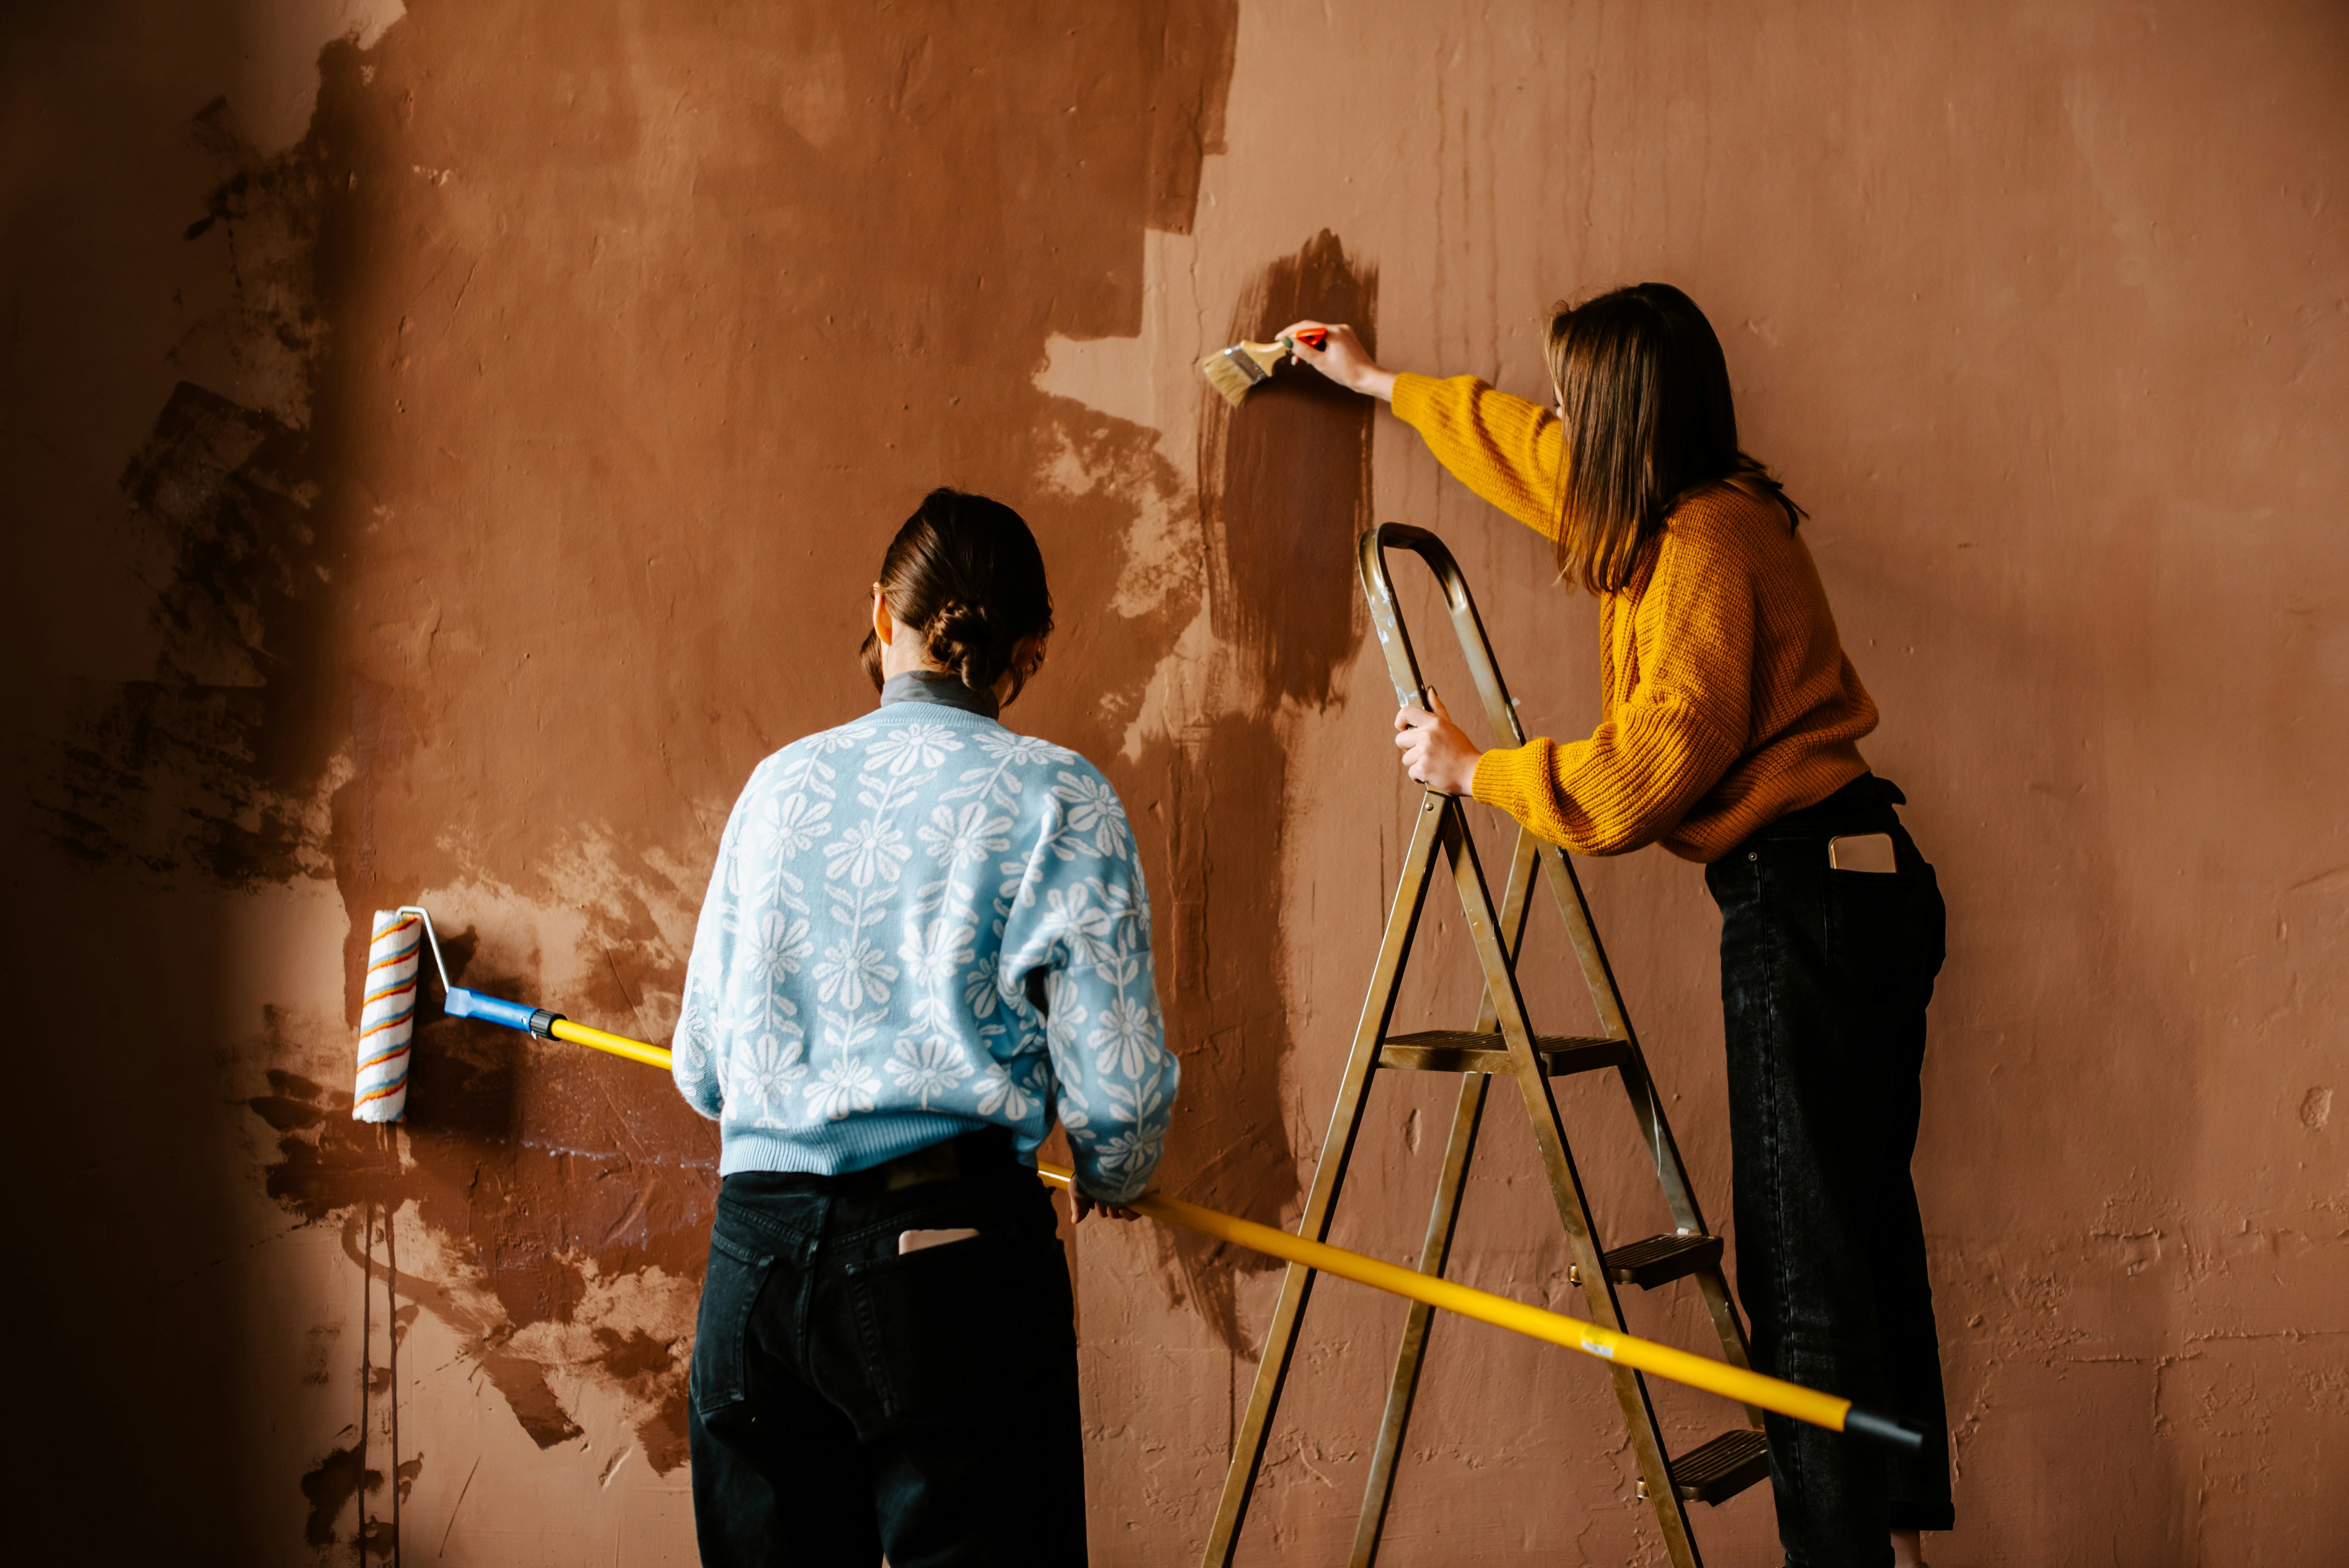
An accent wall or mural serves as a focal point in any room and allows you to showcase your creativity through painting. When selecting which wall to accentuate, consider choosing one that already draws attention or one that lacks architectural features but could benefit from visual interest. To create an accent wall, simply choose a bold color or pattern different from the rest of the room's walls and paint it accordingly.
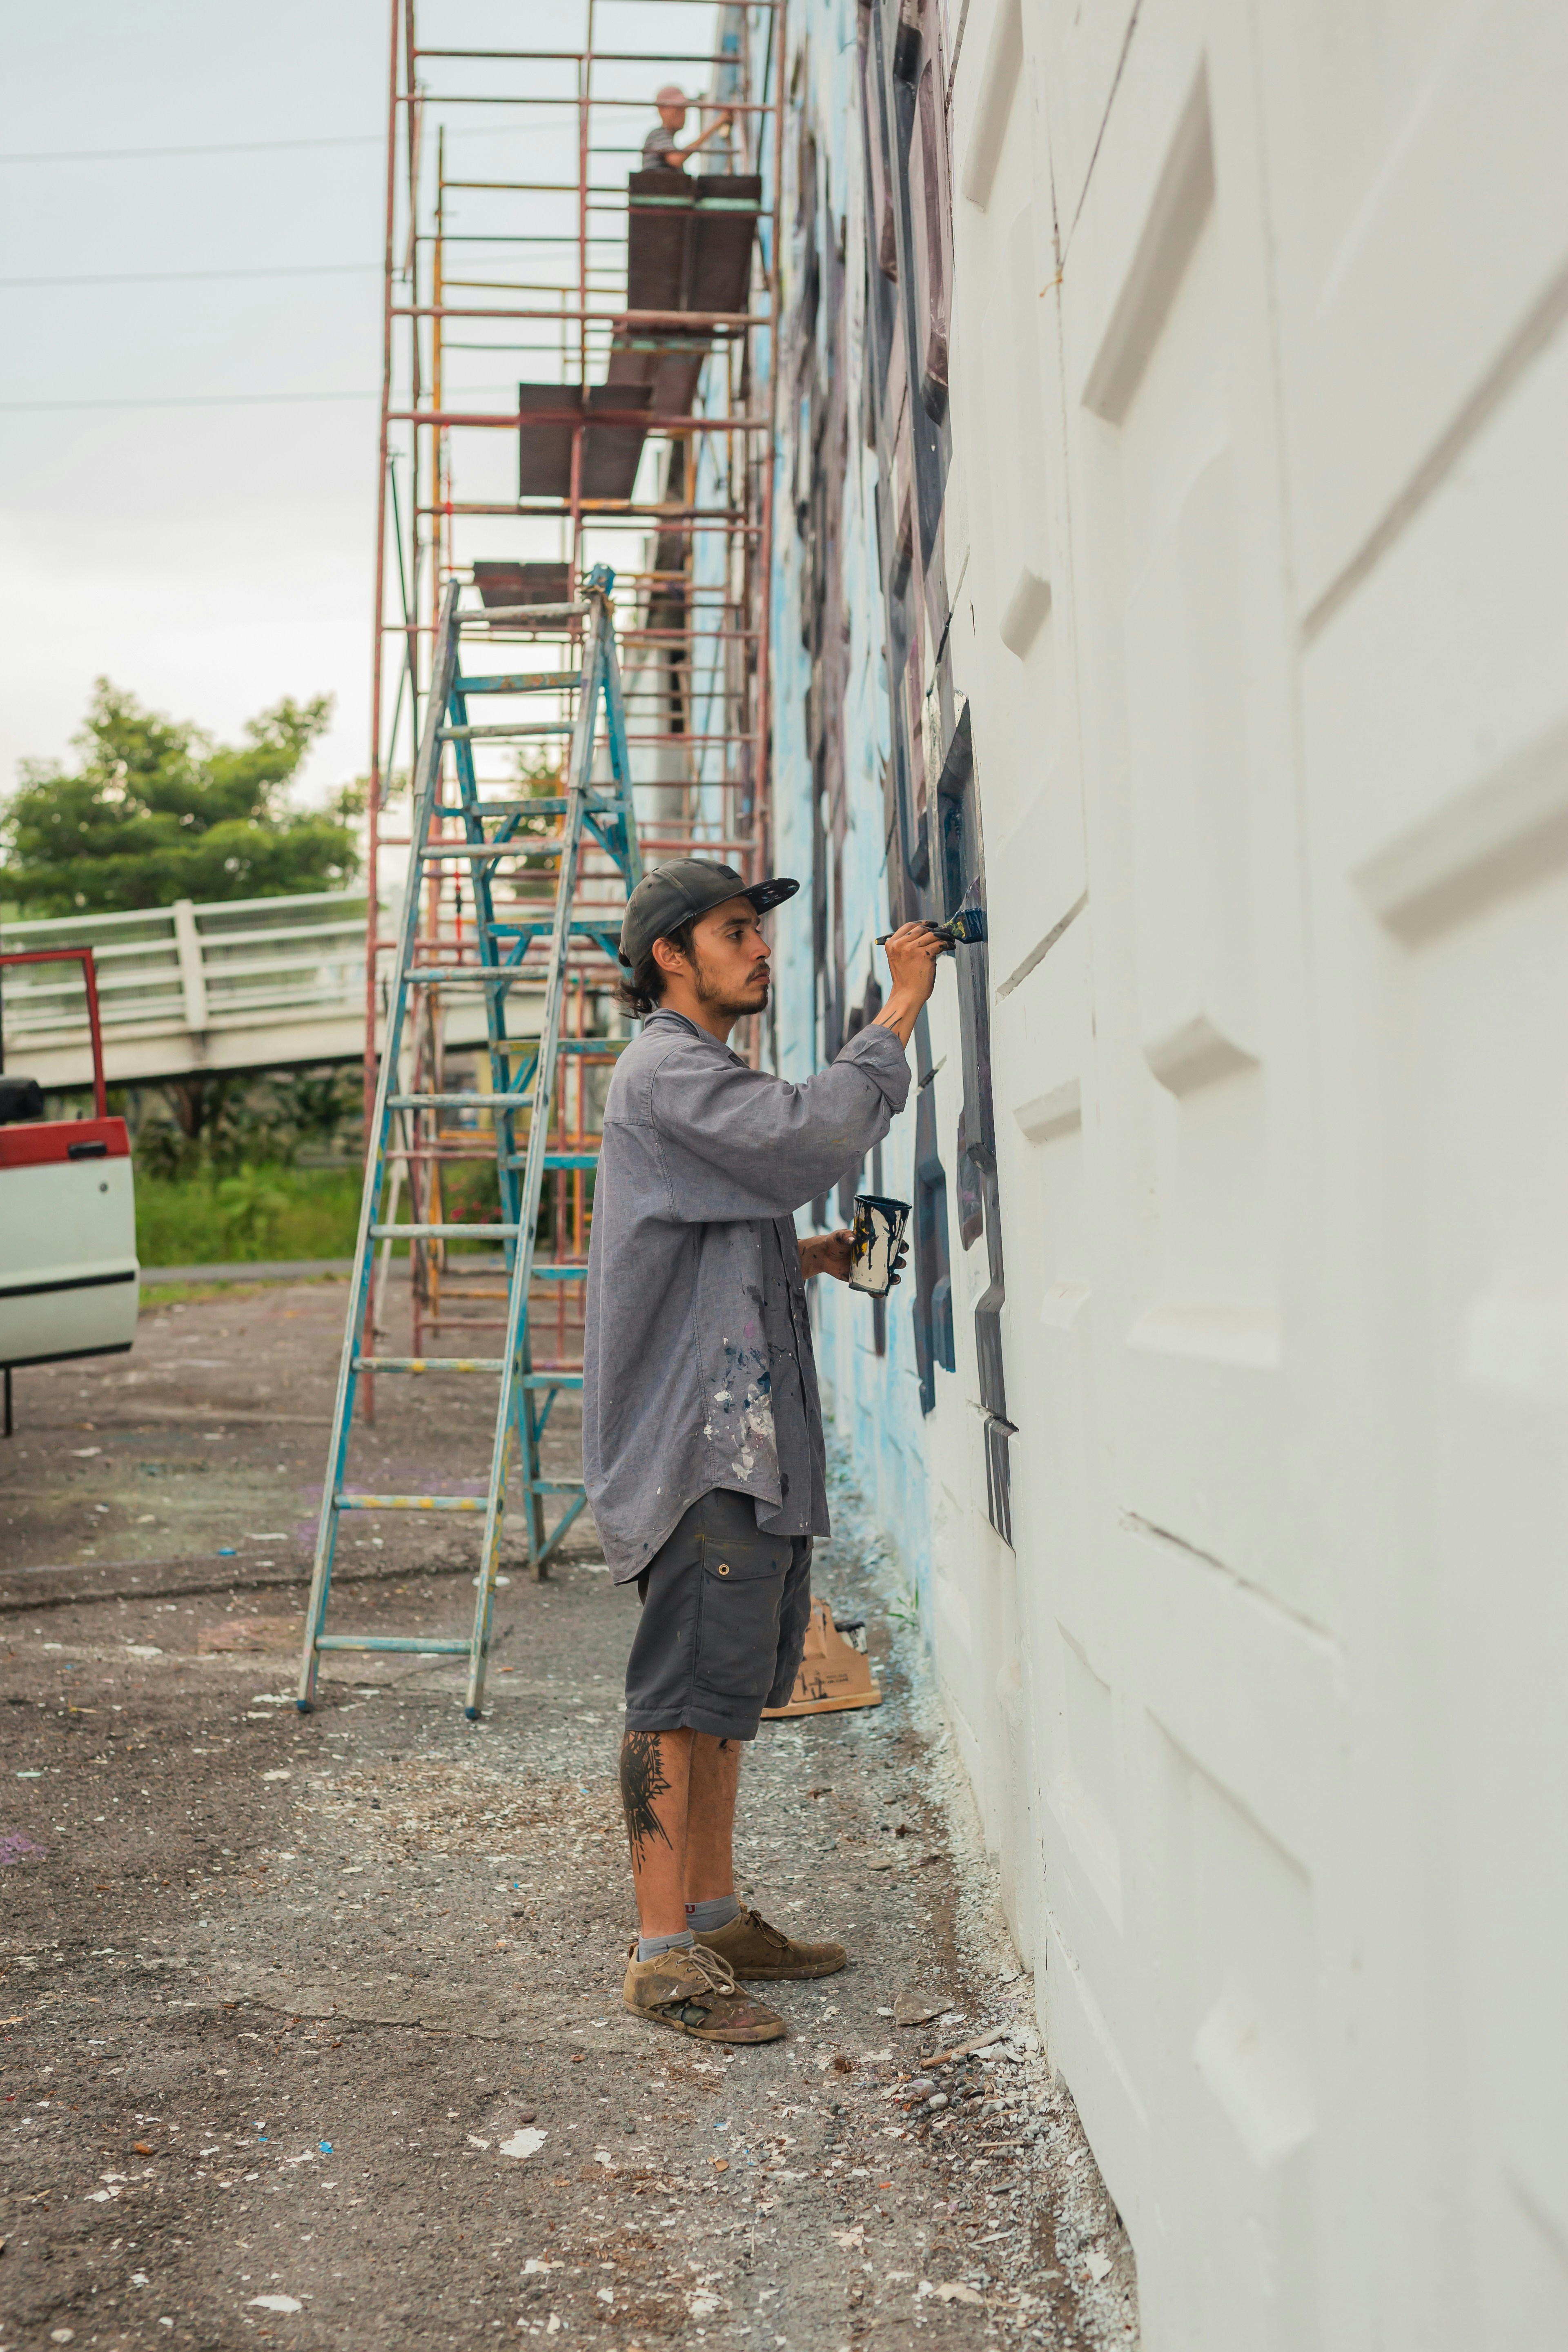
For those feeling artistic, creating a mural can transform your space into an immersive work of art tailored specifically to your taste and style preferences. Whether it's nature-inspired scenes, geometric patterns, or abstract designs – murals offer endless possibilities for personal expression within your home decor.
Painting Safety Tips
Importance of Proper Ventilation
Proper ventilation is crucial when undertaking a house painting project. Adequate airflow helps to dissipate paint fumes, which can contain harmful chemicals that are not only unpleasant to inhale but can also pose health risks.
Opening windows and doors to create cross-ventilation is a simple yet effective way to ensure that fresh air circulates throughout the painted space. Additionally, using fans or an air purifier can further enhance ventilation and improve air quality during and after painting.
Wearing Protective Gear Such as Goggles and Masks
When engaging in house painting, it is paramount to prioritize personal safety by donning appropriate protective gear. Goggles shield your eyes from splatters of paint, dust, or debris that may result from sanding or scraping surfaces. Respiratory masks or respirators protect your lungs from inhaling harmful particles present in paint fumes or dust.
These safety measures help prevent eye irritation, respiratory issues, and skin allergies that may arise from exposure to paint chemicals. Investing in quality goggles and masks is a small price to pay for long-term health protection.

Cleaning Up Properly After Painting
After completing a house painting project, proper cleanup is essential not only for maintaining the aesthetics of your home but also for ensuring a safe environment. Dispose of used paint cans, brushes, rollers, and other materials responsibly according to local regulations. Clean brushes and tools thoroughly with appropriate solvents or water-based solutions depending on the type of paint used.
Wipe down surfaces that may have accumulated splatters or drips of paint during the process. By tidying up meticulously post-painting, you contribute to a tidy living space while minimizing potential hazards associated with leftover materials.
Paint Maintenance Tips
How to Touch Up Painted Walls
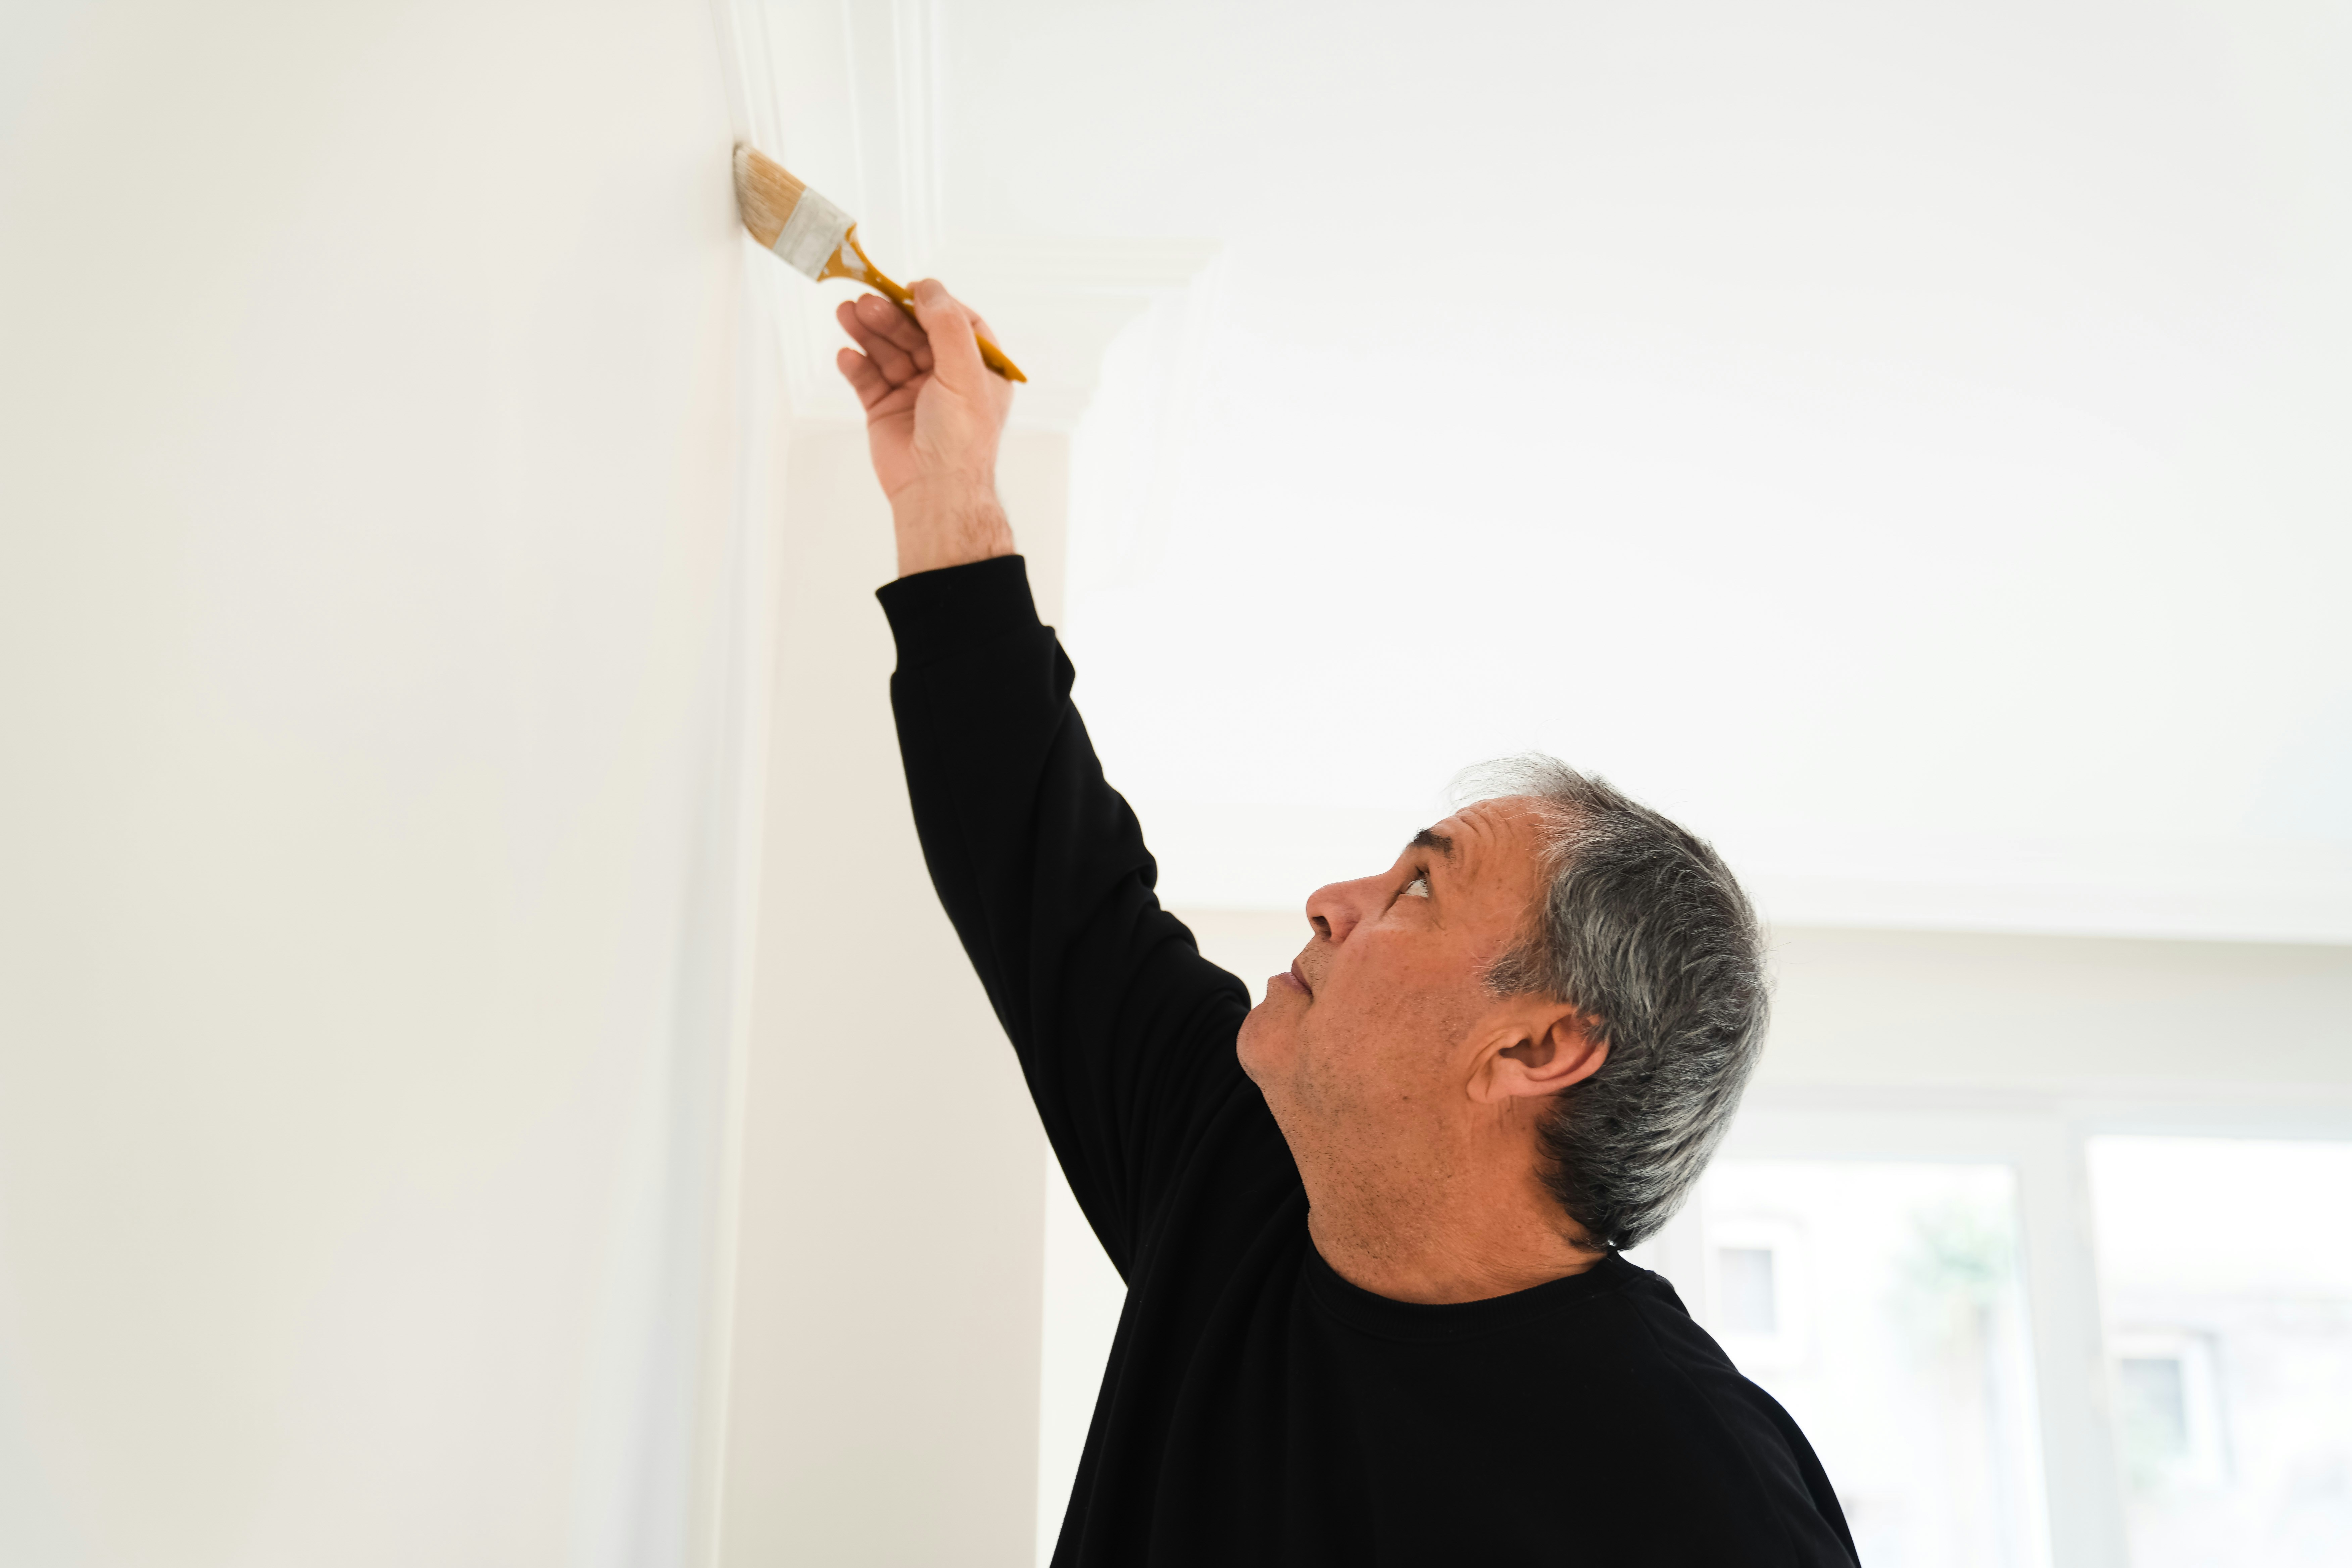
Maintaining the pristine look of your painted walls involves occasional touch-ups to cover scuffs, scratches, or minor imperfections that may occur over time. To effectively touch up painted walls, start by cleaning the affected area with a mild detergent solution and allowing it to dry completely.
Next, use the original paint color in small amounts on a clean brush or roller to carefully fill in the damaged spot. Feather out the edges of the new paint into the surrounding area for a seamless blend.
Allow the touch-up paint to dry thoroughly before assessing if additional layers are needed. For areas with more significant damage or if the color has faded due to sunlight exposure, consider painting an entire section of wall rather than just spot-touching.
This approach ensures uniformity in color and finish across the surface and minimizes any noticeable variations. Remember to keep leftover paint from your initial project for future touch-ups, as even paints labeled as "touch-up" may not perfectly match due to batch variations.
Repainting Strategies to Keep Your Home Looking Fresh
Repainting your home is an opportunity to refresh its appearance and maintain its aesthetic appeal. When planning a repaint, consider updating colors or finishes for a transformative effect. Before starting, assess whether any repairs or surface preparation are necessary, such as patching holes, sanding rough areas, or applying primer on bare spots.
Choose high-quality paint products that offer durability and easy maintenance for long-lasting results. To ensure a successful repaint project, follow proper application techniques such as cutting in edges meticulously before using rollers for larger surfaces; this helps achieve clean lines and even coverage throughout.
Additionally, pay attention to drying times between coats and apply subsequent layers evenly for a professional finish. Regularly inspect your painted surfaces for signs of wear or fading over time so that timely repainting can uphold the beauty of your home.
Conclusion
Summary of Key Points Discussed in the Outline
In this comprehensive guide to house painting, we have delved into the importance of selecting the right paint color and finish, preparing both interior and exterior surfaces, executing specialty painting techniques, adhering to safety measures, and maintaining painted surfaces. We emphasized the significance of proper preparation before diving into a painting project. From choosing colors that impact mood to utilizing various tools and techniques for achieving professional results, every step plays a crucial role in enhancing your living space.
Encouragement to Embark on a House Painting Project
Embarking on a house painting project can be an incredibly rewarding experience that transforms your living environment into a personalized sanctuary. The act of wielding a brush or roller to breathe new life into walls not only adds aesthetic value but also allows you to express your creativity and style.
Whether you are seeking a subtle refresh or a bold statement with accent walls or intricate faux finishes, house painting offers endless possibilities for personalization and self-expression. As you contemplate embarking on your next house painting endeavor, remember that each stroke of paint is an opportunity to infuse your home with character and charm.
With careful planning, attention to detail, and a touch of creativity, you can elevate your living space from mundane to magnificent. Embrace the transformative power of color and design as you embark on this journey towards creating a place that truly reflects your personality and brings joy every time you walk through its freshly painted doors.